

Chapter 4: Dawn of a New Era Walkthrough for Final Fantasy 7 Rebirth (FF7 Rebirth)
This page contains a complete walkthrough and guide for Chapter 4: Dawn of a New Era in the Final Fantasy 7 Rebirth (FF7 Rebirth) including all party members (playable characters), obtainable items, enemies and bosses encountered, and strategies to clear the first main story section of the game.
Chapter 4: Dawn of a New Era Walkthrough Overview
Party Members
| Name | Availability |
|---|---|
| Cloud Strife |
Always |
| Aerith Gainsborough |
Always |
| Barret Wallace |
Always |
| Tifa Lockhart |
Always |
| Red XIII |
Always |
| Yuffie Kisaragi |
Junon Only |
Final Fantasy 7 Rebirth Playable Characters List and Guide
Obtainable Items
| Item | Location |
|---|---|
| Empress Scepter (Aerith Weapon) | Under Junon Inn |
| Lightning Materia | Under Junon Inn |
| Sheet Music: On Our Way | Under Junon – Crow’s Nest Base Camp Building |
| Ogre (QB Card) | Under Junon (Defeat Moore Twins in Queen’s Blood) |
| Zemzelett (QB Card) | Under Junon (Defeat Zoganon in Queen’s Blood) |
| Shiva (QB Card) | Under Junon (Defeat Isabelle in Queen’s Blood) |
| Flametrooper (QB Card) | Under Junon (Defeat Neil in Queen’s Blood) |
| Mindflayer (QB Card) | Under Junon (Defeat Michaela in Queen’s Blood) |
| Midgarsormr (QB Card) | Under Junon (Defeat Cameron in Queen’s Blood) |
| Survival Vest (Accessory) | Junon |
| Rune Blade (Cloud Weapon) | Junon |
| Revival Earrings (Accessory) | Junon |
| Phoenix Down x2 | Junon |
| Armor-Piercing Grenade | Junon |
Enemies
| Enemy | Weakness |
|---|---|
| ? | To be confirmed. |
Final Fantasy 7 Rebirth Enemies List: Weaknesses and Obtainable Items
Bosses
| Enemy | Weakness |
|---|---|
| Terror of the Deep | Lightning |
| Roche | Fire |
Chapter 4 Odd Jobs (Side Quests)
| Side Quest | Location |
|---|---|
| Stuck in a Rut | Gabe’s Ranch |
| When Words Won’t Do | Under Junon |
| The Hardest Sell | Crow’s Nest |
| Dreaming of Blue Skies | Crow’s Nest |
| Calling All Frogs | Under Junon |
Final Fantasy 7 Rebirth Odd Jobs (Side Quests) List
Chapter 4 Bonds of Friendship Dialogue Choices and Answers
Tifa (Inn)
| Dialogue | Answers |
|---|---|
| “Do you remember a guy named Emilio?” | ‘The general store kid?’ (★★★) |
| ‘Only person from the village I remember is you.’ (★★) | |
| ‘No. Sorry.’ (★) |
Aerith (Inn)
| Dialogue | Answers |
|---|---|
| “Do you remember the first time we met?” | ‘You shoved a flower at my face.’ (★★★) |
| ‘The church, right?’ (★★) | |
| ‘Nope.’ (★) |
Barret (Inn)
| Dialogue | Answers |
|---|---|
| “What do you think Yuffie wants with us?” | ‘Your autograph.’ (★★★) |
| ‘To join Avalanche.’ (★★) | |
| ‘Those Shinra bounties.’ (★) |
Red XIII (Inn)
| Dialogue | Answers |
|---|---|
| “I doubt I’ll smell Shrina till it’s too late.” | ‘We’ll manage’ (★★★) |
| ‘Huh. Not good.’ (★★) | |
| ‘Don’t worry, never thought you could.’ (★) |
Final Fantasy 7 Rebirth Bonds of Friendship Dialogue Answers List
Chapter 4 Story Beat Relationship Events
Aerith and Tifa (Junon Inauguration Parade)
Win against the opposing team in the Junon inauguration parade mini game to increase Aerith or Tifa’s relationship level.
Final Fantasy 7 Rebirth All Chapter Relationship Events List
Chapter 4 Walkthrough Summary
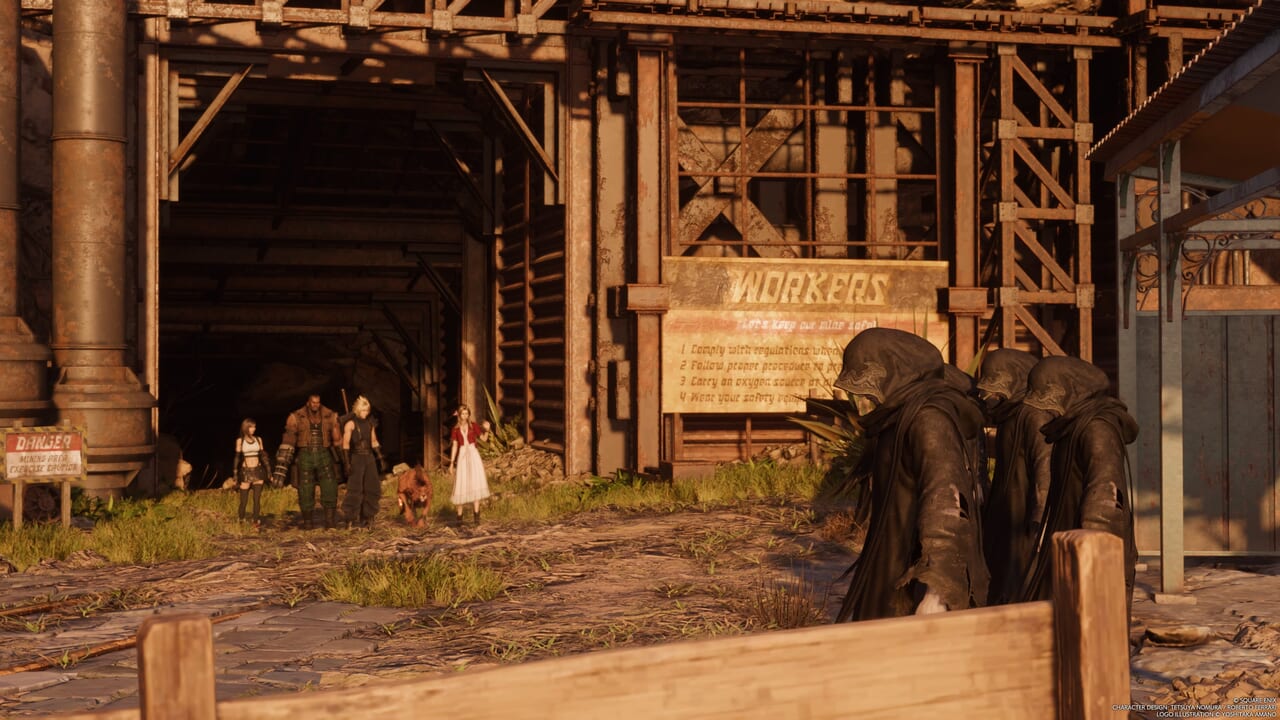
Junon Region – Under Junon
| 1 | After the cutscene, head for the quest marker to proceed through the story in Under Junon. |
|---|---|
| 2 | After reaching Under Junon, feel free to explore the town. |
| 3 | To continue with the main quest, head to the inn and talk to the inkeeper. |
| 4 | Afterwards, go outside. You will hear a girl (Priscilla) scream for help. |
| 5 | Follow Priscilla down to the docks and prepare to battle Terror of the Deep. |
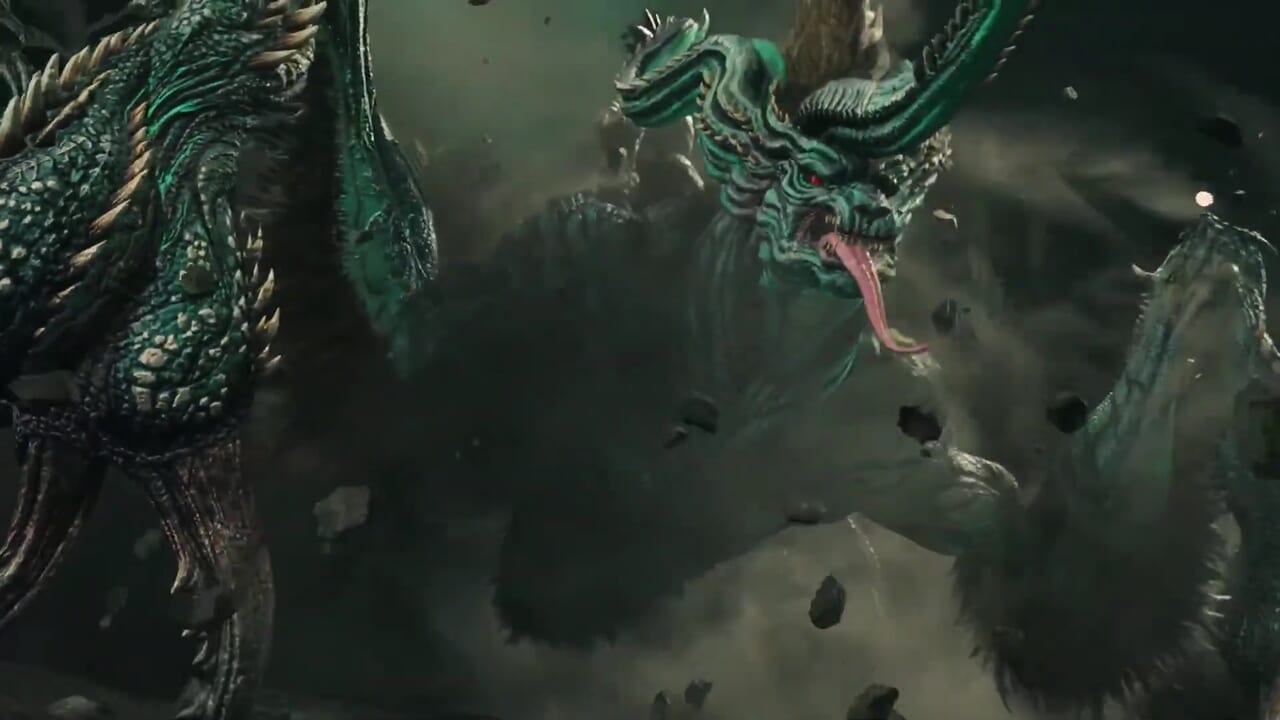
| 6 | It is recommended to take on the boss with Cloud, Barret, and Aerith.
Terror of the Deep is weak to lightning so equipping Lightning materia to cast Thunder will help you build up the boss’ stagger gauge faster. Having Aerith setup up doublecast with Arcane Ward will also help speed up building stagger as well as depleting the boss’ HP when is is rendered in the helpless state. Terror of the Deep’s Water Cell will trap a party member in a ball of water, preventing them from acting in battle. Switch your target to the bound ally to free them by attacking and destroying the Water Cell. Terror of the Depp can perform Grasping Tail that will bind a party member. To force the boss to let your ally go, attack its tail fin. Throw out Limit Breaks and Synergy Abilities if you need to for closing out the fight. You can also have Aerith use Healing Wind during emergencies if you have not accumulated enough ATB for her to use Pray (though you are better of using items anyway to heal). |
| 7 | After taking down the boss, return to the shore. Then, pick up HP Up materia nearby. |
| 8 | Return to the village. After the cutscene, go back to the inn. |
| 9 | At the inn, talk to your allies to trigger relationship dialogue events with each of them. |
| 10 | Head for Aerith’s room for a short scene. Then, talk to her inside. Then open the nearby chest to get Empress’ Scepter (Aerith Weapon). |
| 11 | Go upstairs to find Tifa. Then, pick up the Lightning materia inside the last room of the corridor. |
| 12 | Head to your room and rest. |
| 13 | After waking up, go downstairs for a cutscene. |
| 14 | Afterwards, try clearing all available side quests in this region which are Stuck in a Rut, When Words Won’t Do, The Hardest Sell, Dreaming of Blue Skies, and calling All Frogs. |
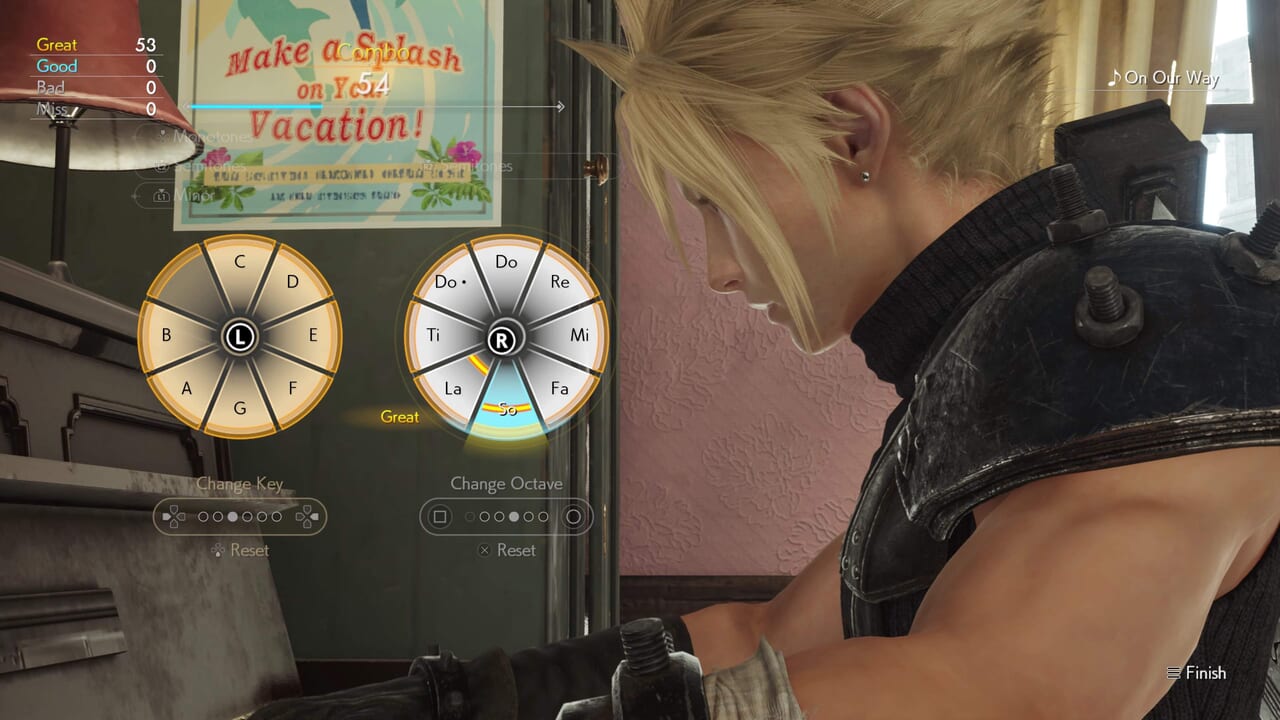
| 15 | Do not forget to stop by the Base Camp Building of Crow’s Nest to get Sheet Music: On Our Way that unlocks the song during the piano mini game. |
| 16 | You can also try beating the Queen’s Blood players around Under Junon. The Moore Twins are in one of the houses in near Sea Dragon Square. Defeat both of them to get the Ogre card.
Zoganon is at Under Junon docks. Beat him to get a Zemzelett card. Isabelle, another player, is found near the bar. Beat her to get a Shiva card. Neil can be found near Crow’s Nest but only becomes available later after you progress through the main story objectives. Beating him rewards you with the Flametrooper card. Michaela is found southwest of Crow’s Nest. As with Neil, she only becomes available after progressing through the main story objectives. You get a Mindflayer card for beating her. Finally, Cameron can be challenged when you reach Queen’s Blood Rank 3. He is found southeast of Crow’s Nest and gives the Midgarsormr card upon defeat. |
| 17 | To proceed with the main story head for the quest marker (dock) where Priscilla is. |
| 18 | Before traveling with the dolphin, make sure that you have done all side activities in Under Junon as you will be locked out of them for time afterwards. |
| 19 | When you are ready, dive into the water and approach the dolphin. |
| 20 | Going to the dolphin will trigger its own mini game. You must reach the destination before time runs out by using the balls around the course to get a speed boost. Be sure to avoid crashing into the obstacles as this will cost you valuable time during the mini game. |
Junon
| 1 | Once you land on the shiplift, examine the controls in the room ahead. |
|---|---|
| 2 | Use the right analog stick to control the ship so the rest of the party can board it. |
| 3 | Move forward to reunite with your allies. |
| 4 | Continue following the path to the upper level. Then, go up using the elevators. Barret and Red XIII will also leave also temporarily leave the party from here. |
| 5 | Follow Aerith into one of the rooms. Then, get Survival Vest (accessory) in the nearby chest. Afterwards, change into a Shinra trooper uniform by interacting with the box. |
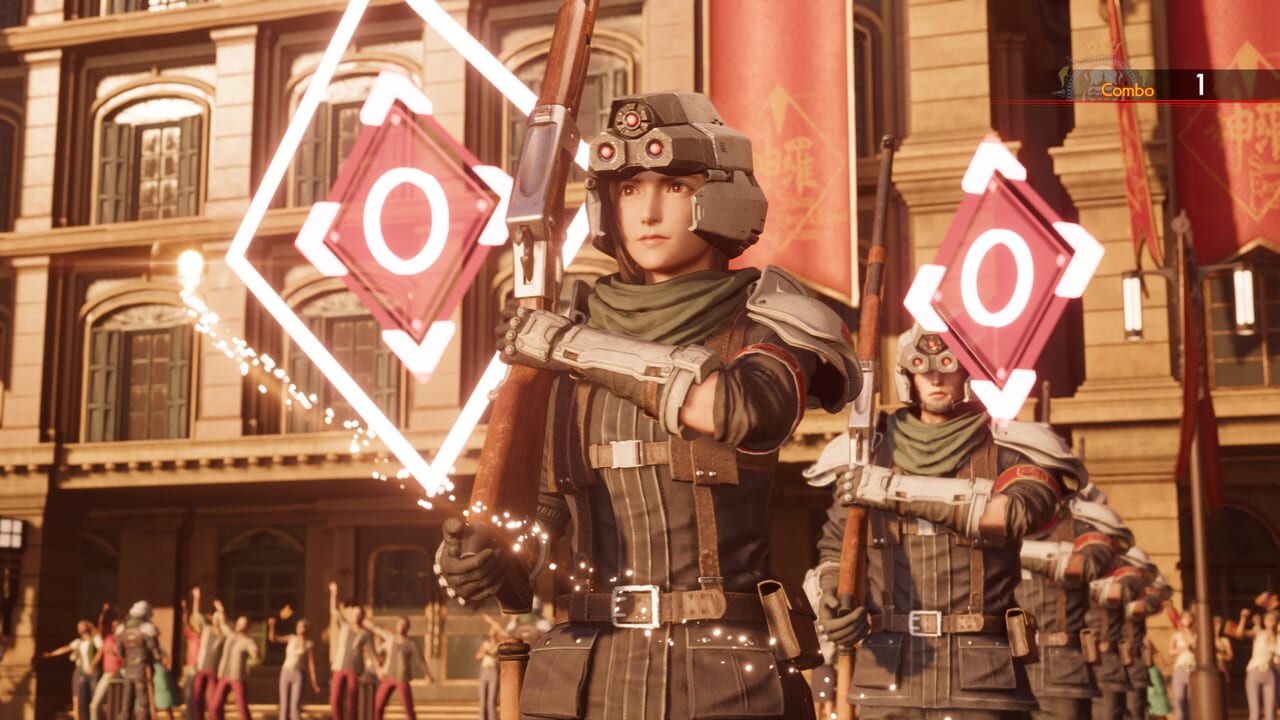
| 6 | Exit the room for a cutscene. Then, go through the Junon Parade mini game tutorial. |
| 7 | Before the actual parade, go around the base to find the Midgar 7th Infantry unit members. While you are only required to find 5 of them to proceed with the parade, it is recommended to round up all 10 troopers to unlock the 7th, Assemble achievement (bronze trophy) in this chapter. This guide details where to find all of them. |
| 8 | After finding all unit members, talk to the Commander. This will then begin the actual Junon Parade mini game which lets you unlock the Stealing the Show achievement (bronze trophy) if you get more than 100,000 points during your performance. |
| 9 | After the parade performance, you will gain control of Yuffie. Go up the area and aim at Rufus during the short shooting section. The main story will progress once you do this three times. |
| 10 | Once you are back controlling Cloud, defeat the enemies along the path with the help of the Shinra troopers. |
| 11 | Head for the rest spot and open the chest nearby to get Rune Blade (Cloud Weapon). |
| 12 | Use the rest spot if you need to. Then, follow the quest marker by going down the stairs. Some Shinra Officers can be interacted with as you progress through the rooms to get Hi-Potions. |
| 13 | Continue taking out the enemies along the way until you reach the dining hall. |
| 14 | After dealing with the enemies here, continue forward and up some stairs to find a chest with Revival Earrings (accessory). |
| 15 | When you come up to the J-Unit Sweeper, use Lightning magic to quickly build up its stagger gauge. Then, pummel it with follow-up abilities until it is defeated. |
| 16 | Afterwards, go for the remaining Shinra troopers on the upper area. More enemies also appear here that you need to mop up. |
| 17 | When up against the Deathwheel, hit it with Fire, Ice, and Wind magic as it is vulnerable to all three elemental attributes. Then, finish it off the same way as the J-Unit Sweeper. |
| 18 | Continue going forward and heal up at the rest stop. Then, prepare to battle Roche. |
| 19 | Build up your ATB and unload on Roche with Fire spells. He will not pose much of a challenge in this one-on-one fight so just deal with him a combination of abilities and magic. Just be ready to dodge when you see Roche ride his bike on the wall as he will follow-up by performing a descending attack towards you. |
| 20 | After the fight, enter the room ahead. Open the chests to get Phoenix Down x2, Armor-Piercing Grenades, and 3,000 Gil. |
| 21 | Head for the elevator and ride it down to the lower floor. |
| 22 | Move forward to reunite with the party. Then, enter the passage behind the ship. |
| ← Ch. 3: Deeper into Darkness | Ch. 5: Blood in the Water → |
Final Fantasy 7 Rebirth Recommended Article List
FF7 Rebirth Chapter Walkthroughs
 Final Fantasy 7 Rebirth All Chapter Walkthroughs List
 Ch. 1: Fall of a Hero
 Ch. 2: A New Journey Begins
 Ch. 3: Deeper into Darkness
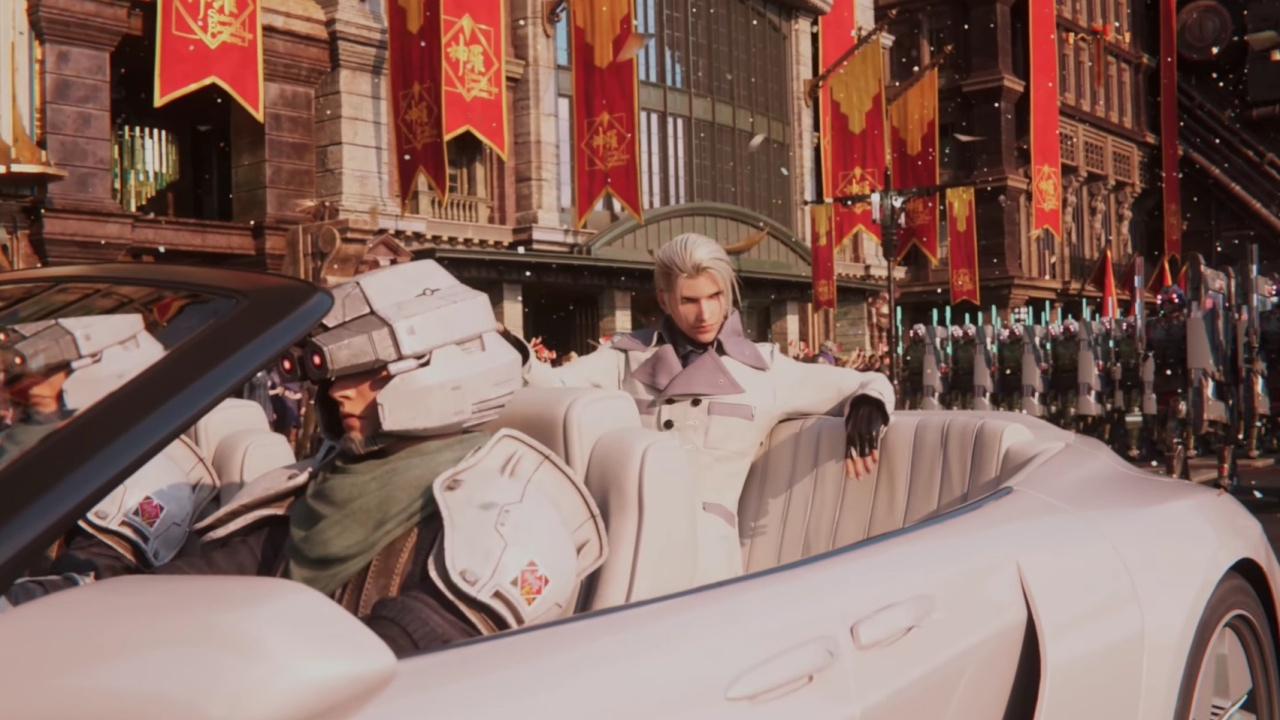 Ch. 4: Dawn of a New Era
 Ch. 5: Blood in the Water
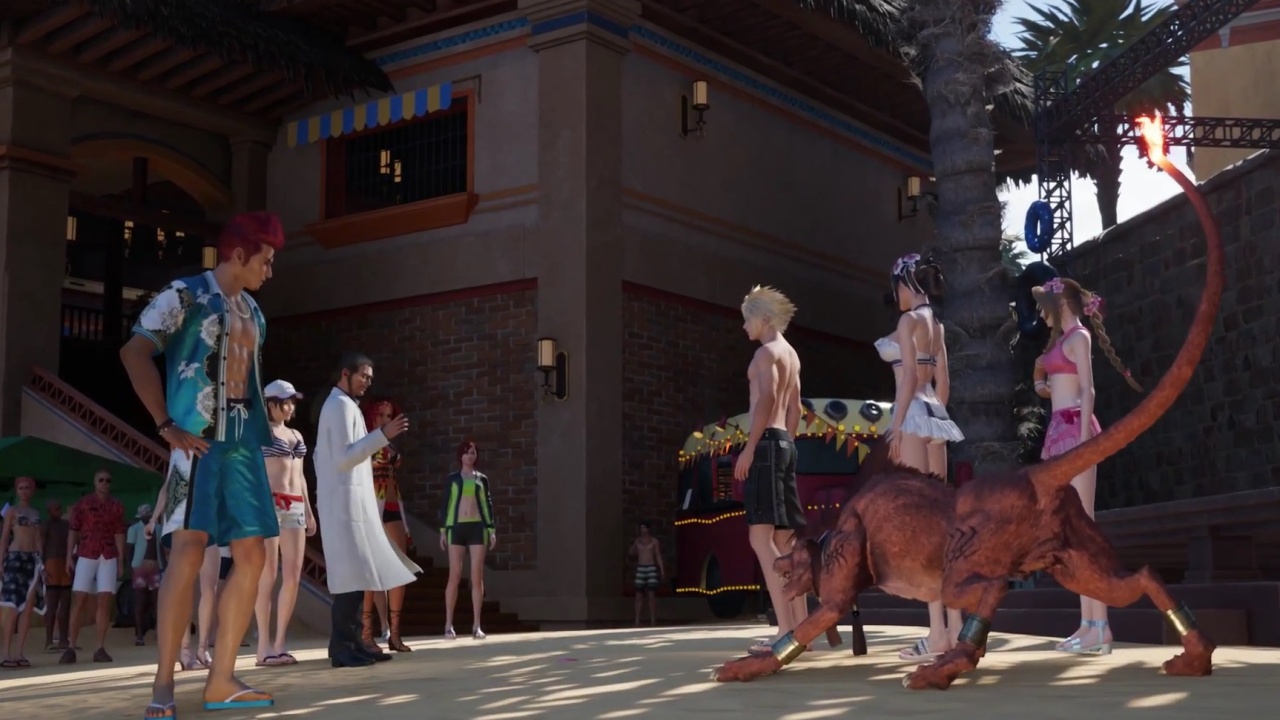 Ch. 6: Fool's Paradise
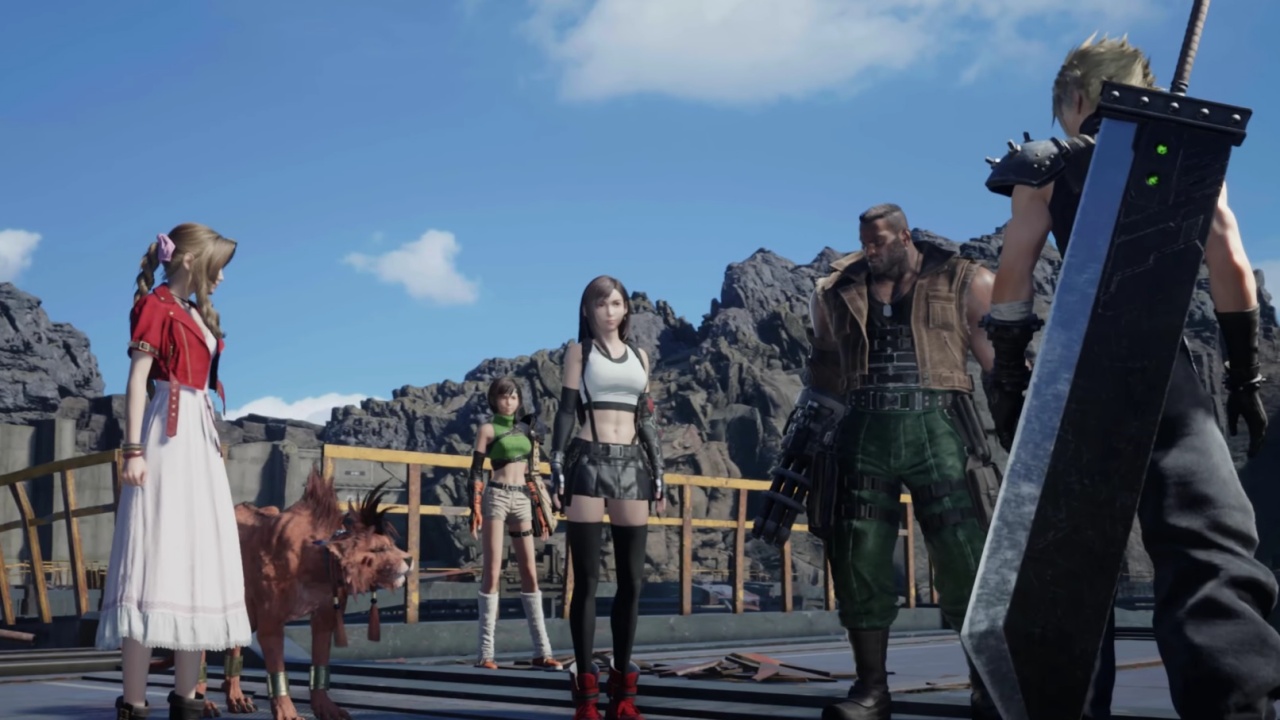 Ch. 7: Those Left Behind
 Ch. 8: All that Glitters
 Ch. 9: The Planet Stirs
 Ch. 10: Watcher of the Vale
 Ch. 11: The Long Shadow of Shinra
 Ch. 12: A Golden Key
 Ch. 13: Where Angels Fear to Tread
 Ch. 14: End of the World
FF7 Rebirth Side Quests (Odd Jobs)

Chapter 2 Side Quests
| ▼FF7 Rebirth Chapter 2 Side Quests | |
|---|---|
| Flowers from the Hill | Livestock’s Bane |
| Lifeline in Peril | Where the Wind Blows |
| A Rare Card Lost | |
Chapter 4 Side Quests
| ▼FF7 Rebirth Chapter 4 Side Quests | |
|---|---|
| Stuck in a Rut | When Words Won’t Do |
| The Hardest Sell | Dreaming of Blue Skies |
| Calling All Frogs | |
Chapter 7 Side Quests
| ▼FF7 Rebirth Chapter 7 Side Quests | |
|---|---|
| The Saga of the Seaside Inn | Rendezvous in Costa del Sol |
| Bodybuilders in a Bind | Of Robed Men and Ransoms |
Chapter 9 Side Quests
| ▼FF7 Rebirth Chapter 9 Side Quests | |
|---|---|
| Missing: Mr. Birdie | The Pursuit of Perfection |
| O Chicken, Where Art Thou | Teach Me, Great Warrior |
| The Spice of Life | |
Chapter 10 Side Quests
| ▼FF7 Rebirth Chapter 10 Side Quests | |
|---|---|
| Bonds of Trust | Absence of a Sign |
| From Whence Life Flows | Promises to Keep |
Chapter 11 Side Quests
| ▼FF7 Rebirth Chapter 11 Side Quests | |
|---|---|
| Esoteric Secrets of the Elders | My White-Haired Angel |
Chapter 12 Side Quests
| ▼FF7 Rebirth Chapter 12 Side Quests | |
|---|---|
| Hustle and Grind | Beneath Still Waters |
| Tides of War and Worry | Gold Cup or Bust |
| Trouble in Paradise | Sand and Circuses |
| Escape from Endless Writer’s Block | Woodland Vigil |
| Victim of Circumstance | Lament of the Damned |
| Can’t Stop Won’t Stop | |
FF7 Rebirth Strategy Guides

Beginner Guides
| ▼FF7 Rebirth Beginner Guides | |
|---|---|
| Game Controls | Game Difficulty |
| Beginner's Guide: Things to Do First | Best Gameplay Settings |
| Battle System Guide | Permanent Events and Missables |
| Characters List | Stats and Attributes Guide |
| Status Effects List and Guide | How to Recover HP and MP |
| How to Save | How to Fast Travel |
| How to Upgrade Weapons | How to Unlock Skill Cores |
| How to Increase Weapon Ability Slots | How to Unlock Weapon Abilities |
| How to Tame Chocobos | How to Ride Chocobos |
| How to Change Party Members | |
Useful Guides
Relationship Guides (Bonds of Friendship)
| ▼FF7 Rebirth Relationship Guides | |
|---|---|
| Aerith Intimate Date Guide | Tifa Intimate Date Guide |
| Barret Intimate Date Guide | Red XIII Intimate Date Guide |
| Yuffie Intimate Date Guide | |
Chocobo Mounts Guides
FF7 Rebirth Collectibles and Locations Guides
 Final Fantasy 7 Rebirth All Collectibles List and Guide
FF7 Rebirth Boss Guides

| ▼FF7 Rebirth Boss Guides | |
|---|---|
 Materia Guardian Materia Guardian |
 Terror of the Deep Terror of the Deep |
 Phoenix Phoenix |
|
FF7 Rebirth Mini Game Guides

| ▼FF7 Rebirth Mini Game Guides | |
|---|---|
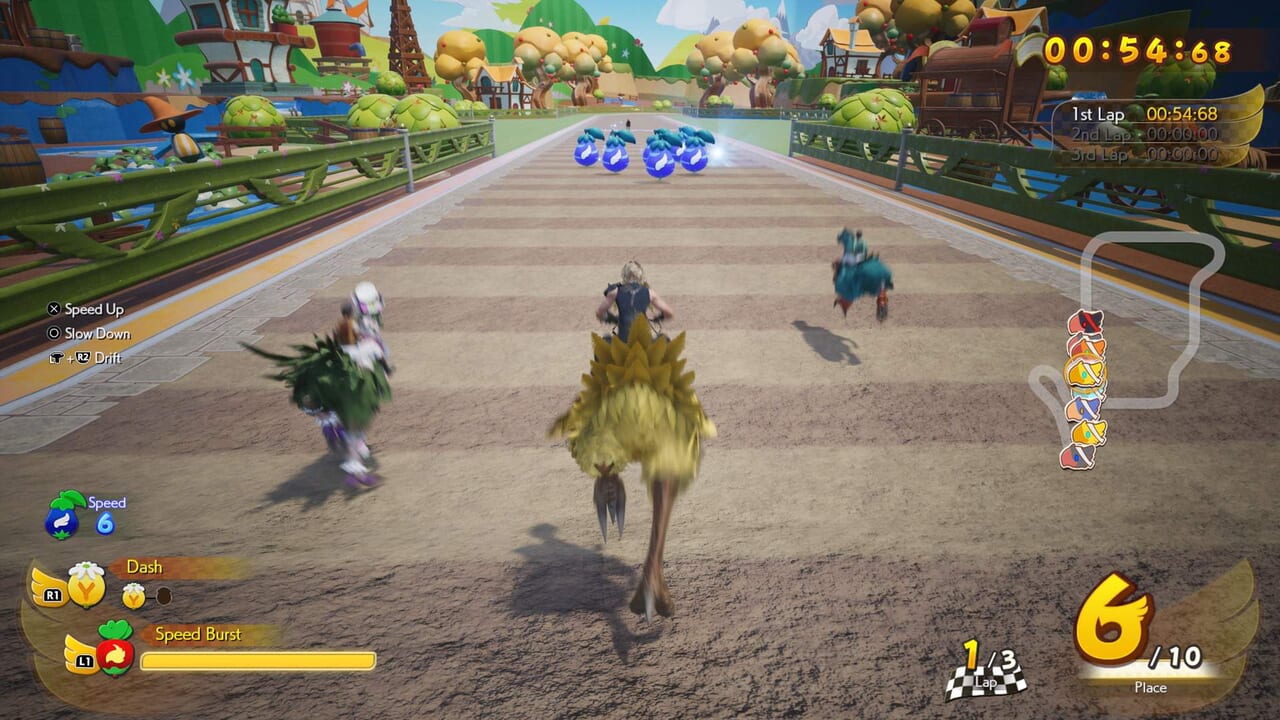 Chocobo Racing Chocobo Racing |
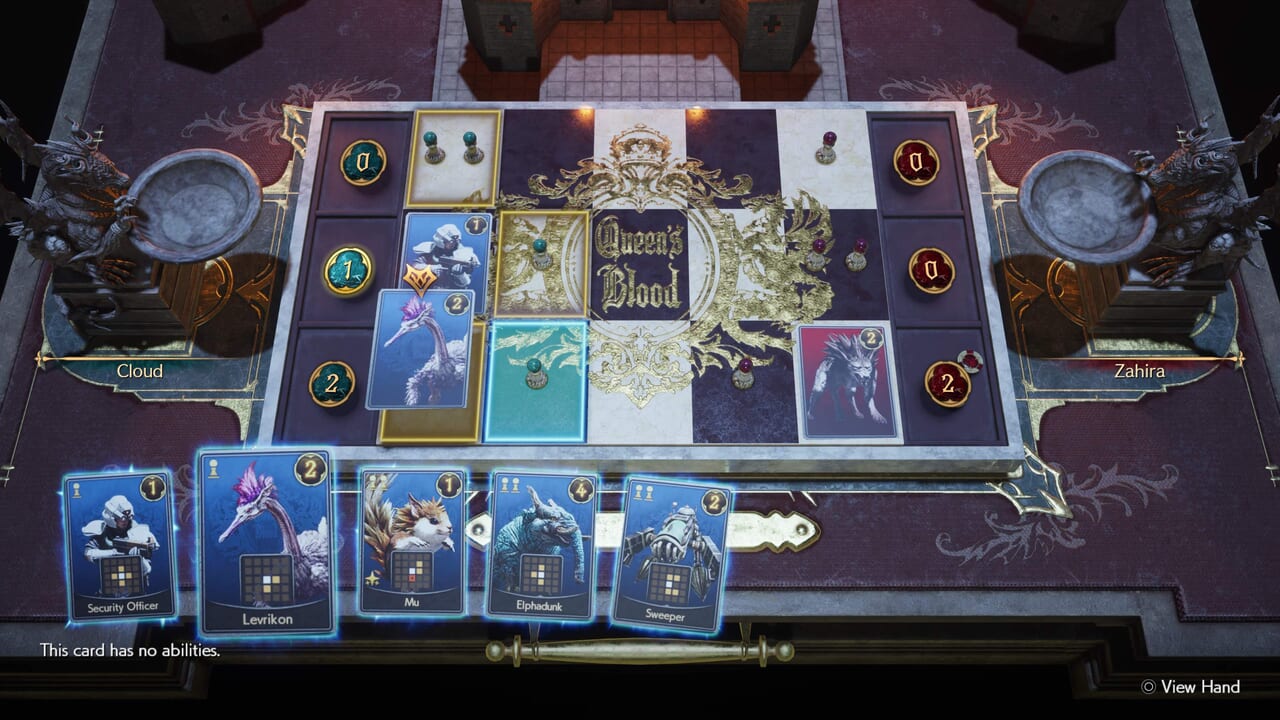 Queen's Blood Queen's Blood |
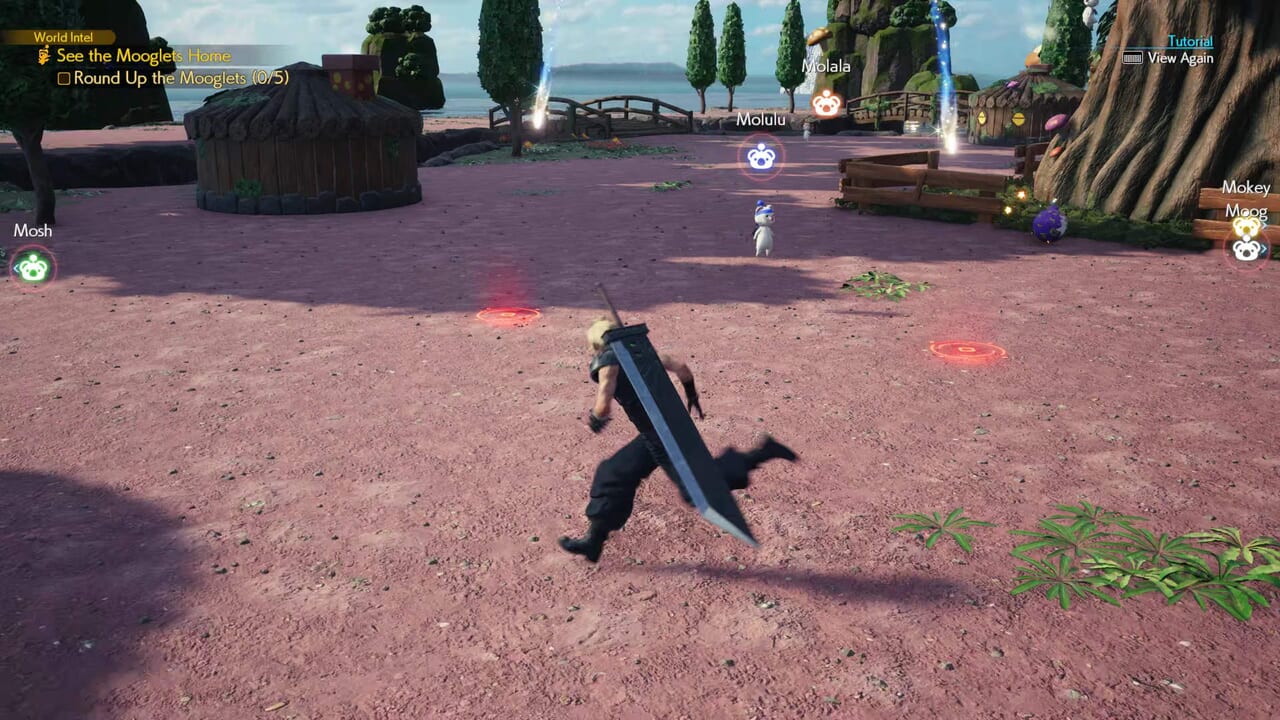 Moogle Mischief Moogle Mischief |
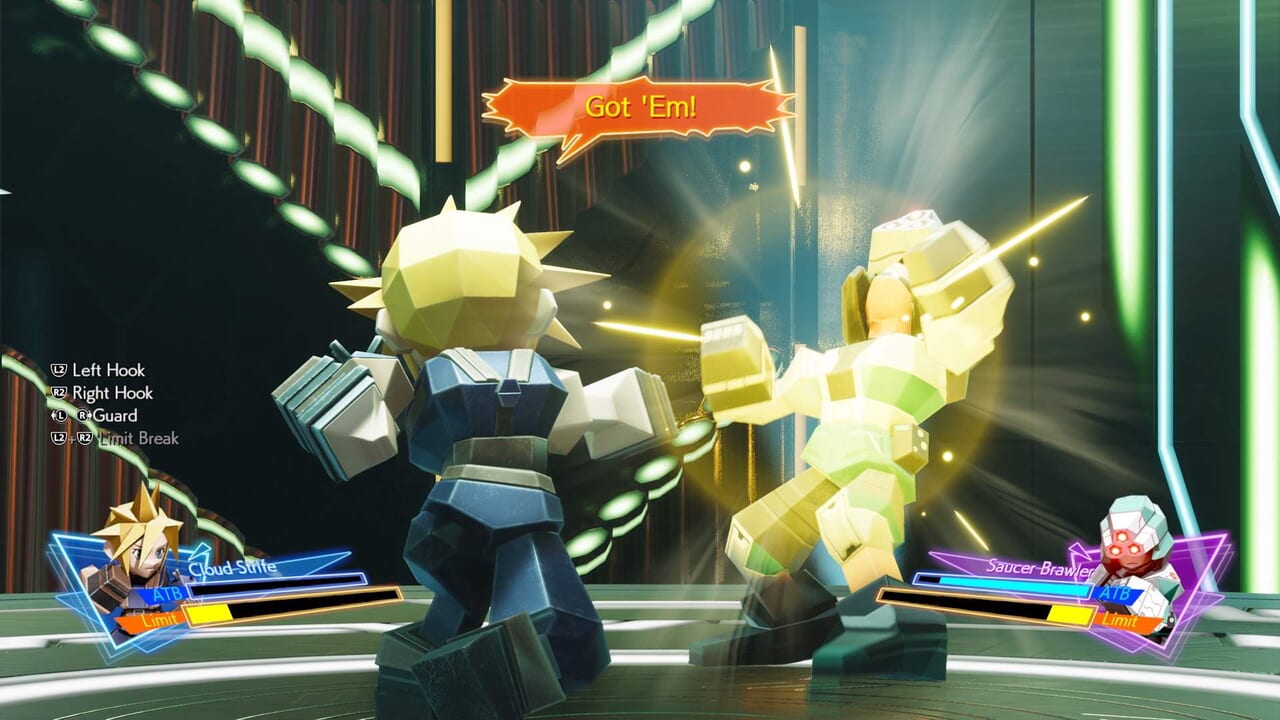 3D Brawler 3D Brawler |
 Piano Mini Game Piano Mini Game |
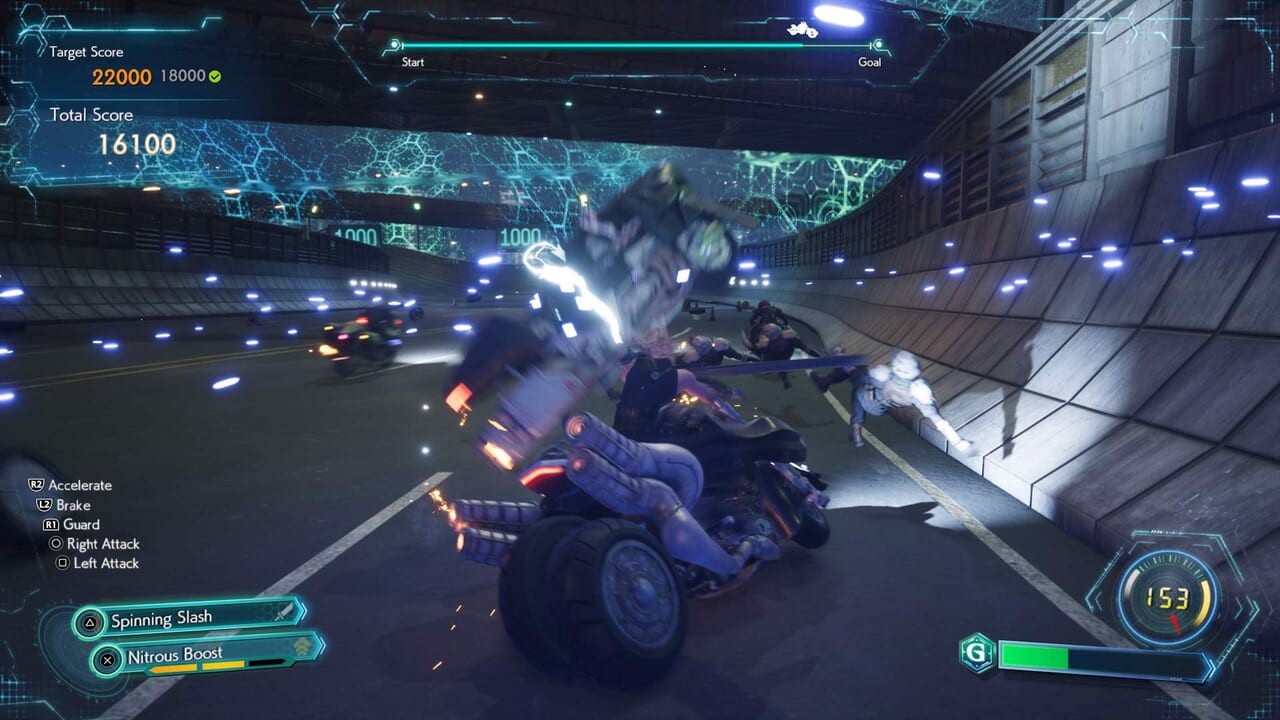 G-Bike G-Bike |
 Johnny's Seaside Inn Johnny's Seaside Inn |
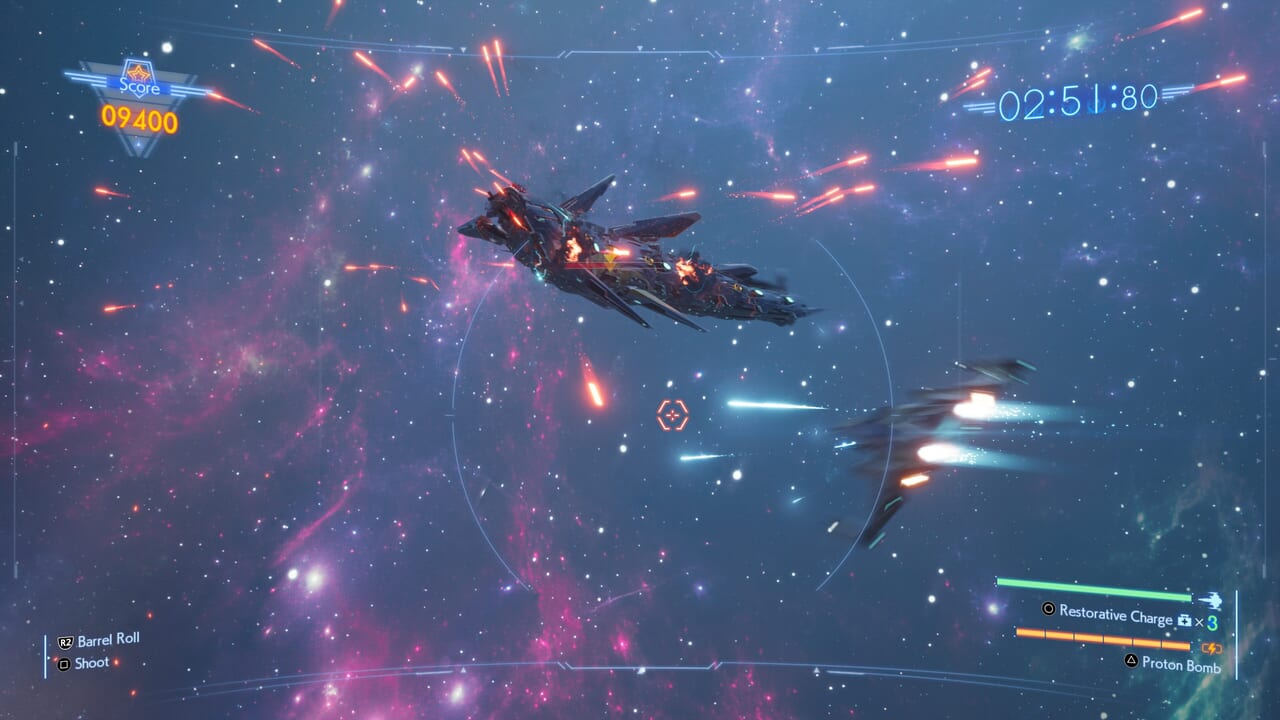
 Junon Parade Junon Parade |
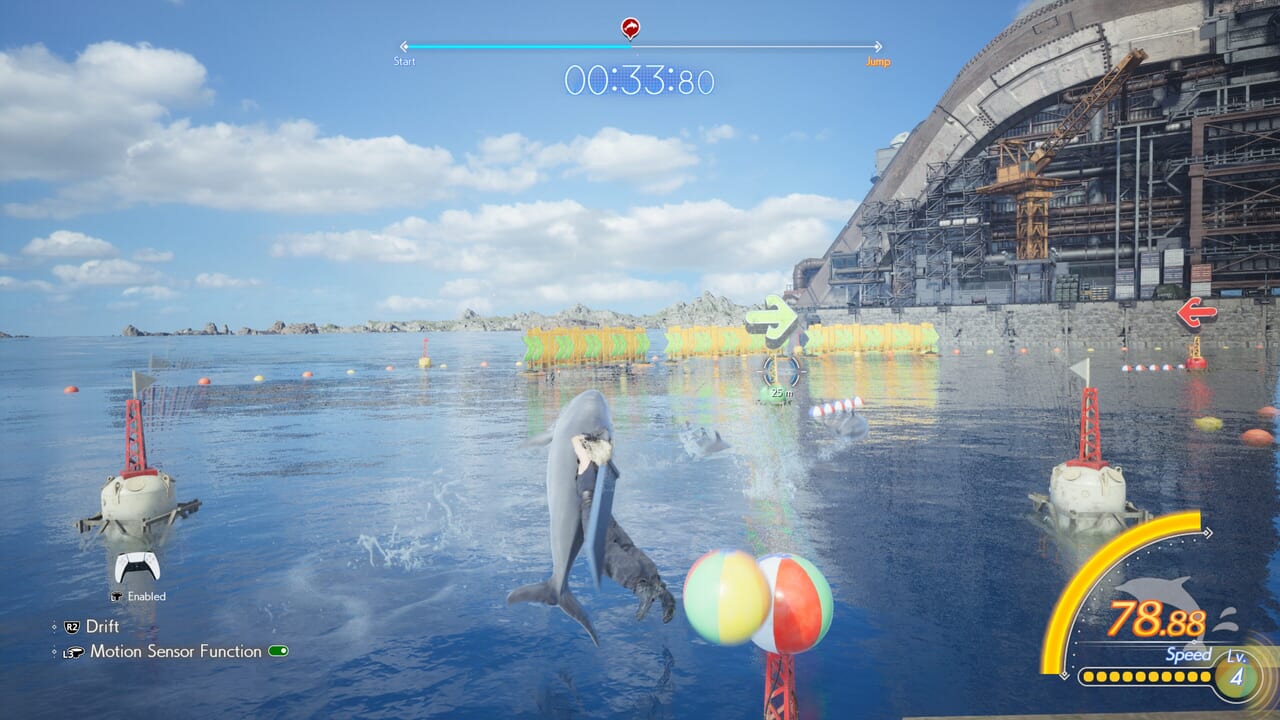 Dolphin Course Dolphin Course |
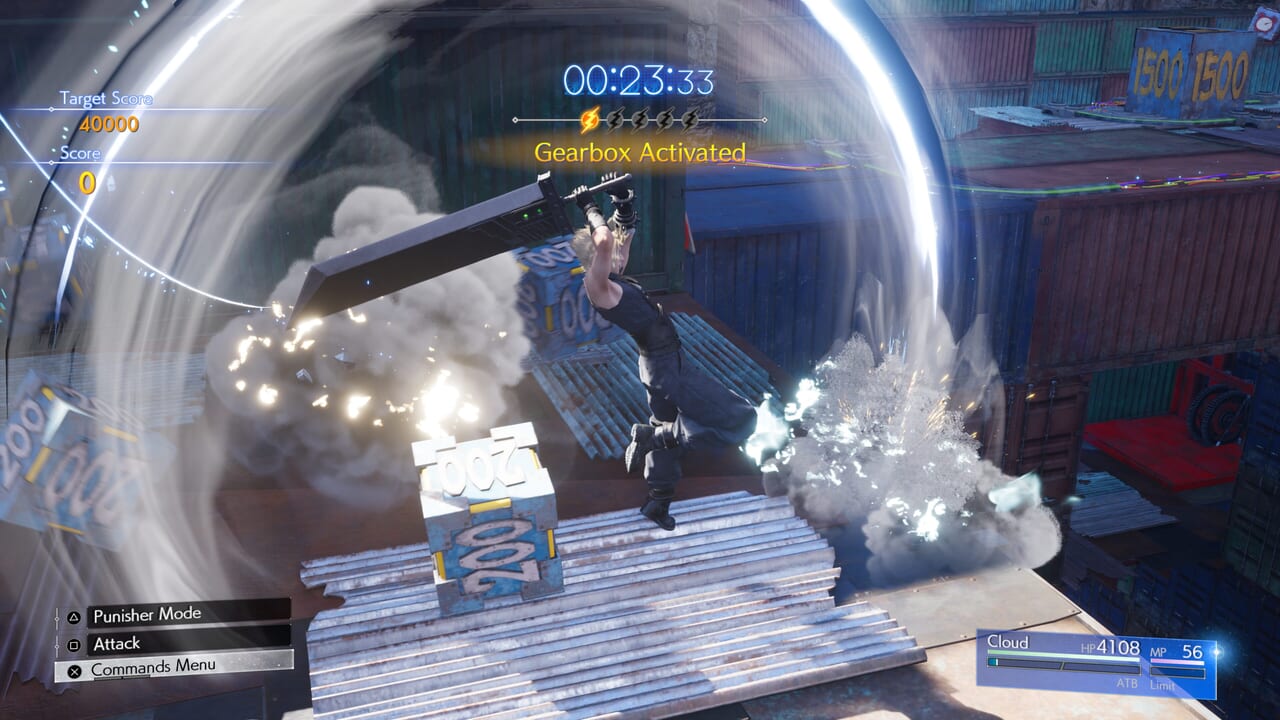 Desert Rush (Whack-a-Box) Desert Rush (Whack-a-Box) |
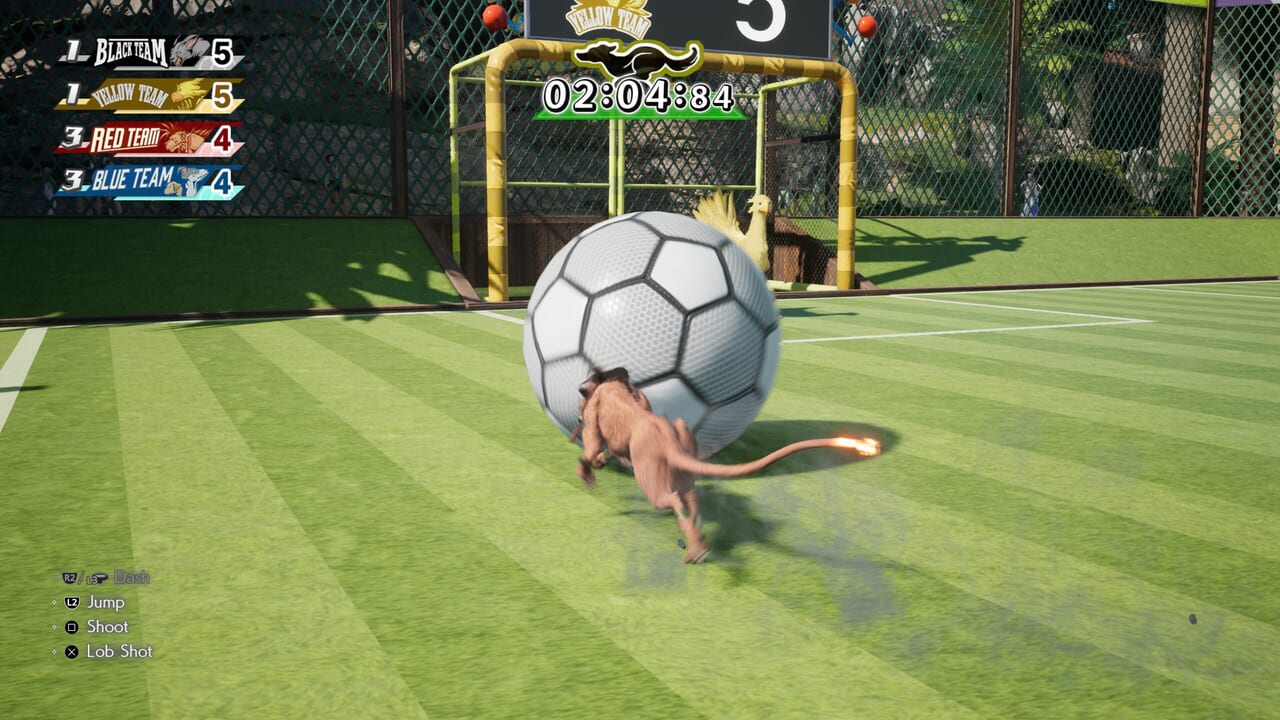 Run Wild (Soccer) Run Wild (Soccer) |
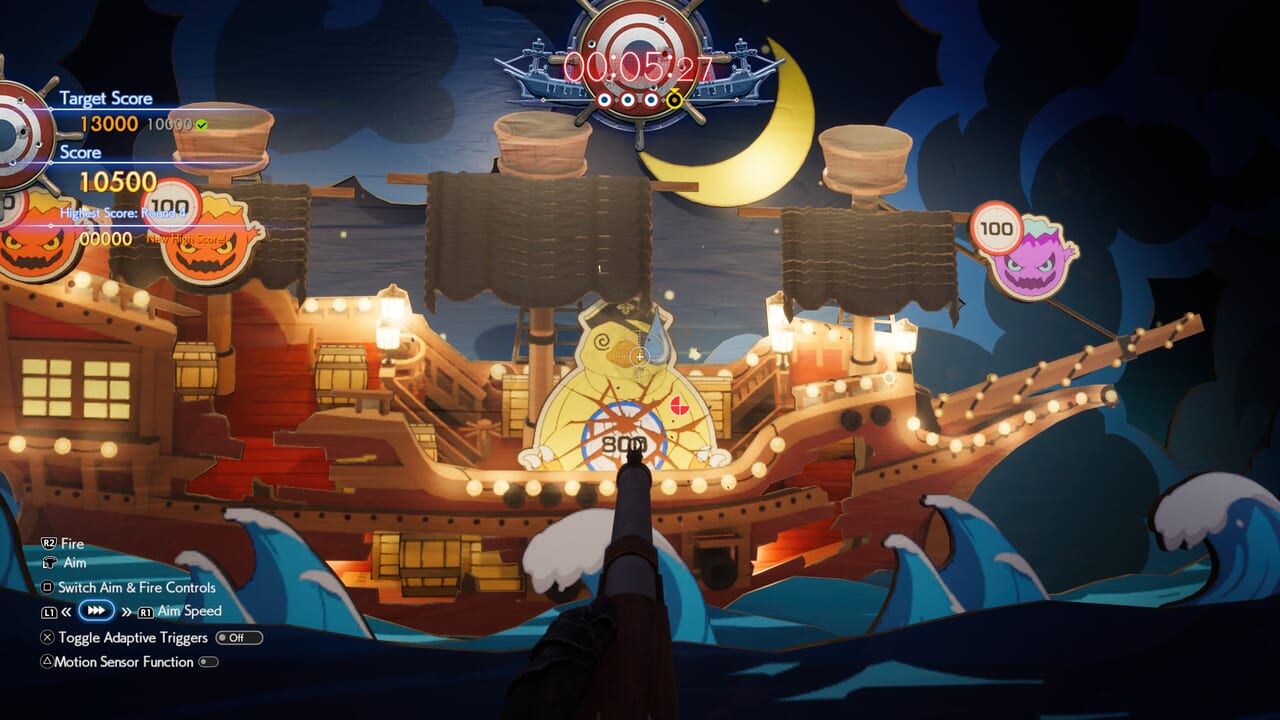 Pirate's Rampage Pirate's Rampage |
 Galactic Saviors Galactic Saviors |
|
FF7 Rebirth Summon Guides

New Summons
| ▼FF7 Rebirth New Summons | |
|---|---|
Returning Summons
| ▼FF7 Rebirth Returning Summons | |
|---|---|
FF7 Rebirth Game Database

Equipment
| ▼FF7 Rebirth Equipment Database | |
|---|---|
Materia
| ▼FF7 Rebirth Materia Database | |
|---|---|
Skills and Magic
| ▼FF7 Rebirth Skills and Magic Database | |
|---|---|
| Weapon Abilities | Limit Breaks |
| Synergy Abilities | Synergy Skills |
| Magic | Summons |
FF7 Rebirth Characters

Playable Characters
| ▼FF7 Rebirth Playable Characters | |
|---|---|
Non-Playable Characters
| ▼FF7 Rebirth Non-Playable Characters | |
|---|---|
FF7 Rebirth Pre-Release Information

FF7 Rebirth Demo Walkthrough and Guides

Demo Walkthroughs
| ▼FF7 Rebirth Demo Walkthroughs | |
|---|---|
 Demo Part 1: Nibelheim Demo Part 1: Nibelheim |
 Demo Part 2: Junon Demo Part 2: Junon |
Demo Boss Guides
| ▼FF7 Rebirth Demo Boss Guides | |
|---|---|
| Materia Guardian |
Terror of the Deep |
| Phoenix |
|
Demo Useful Guides
FF7 Rebirth Game Forum

| ▼FF7 Rebirth Game Forum | |
|---|---|
| Chat Board | Question Board |
| Bug Report Board | |
Other FF7 Game Walkthroughs

| ▼FF7 Game Guides | |
|---|---|
| Final Fantasy 7 | Final Fantasy 7 Remake Intergrade |
| Crisis Core: Final Fantasy 7 Reunion | |
Leave a Reply