

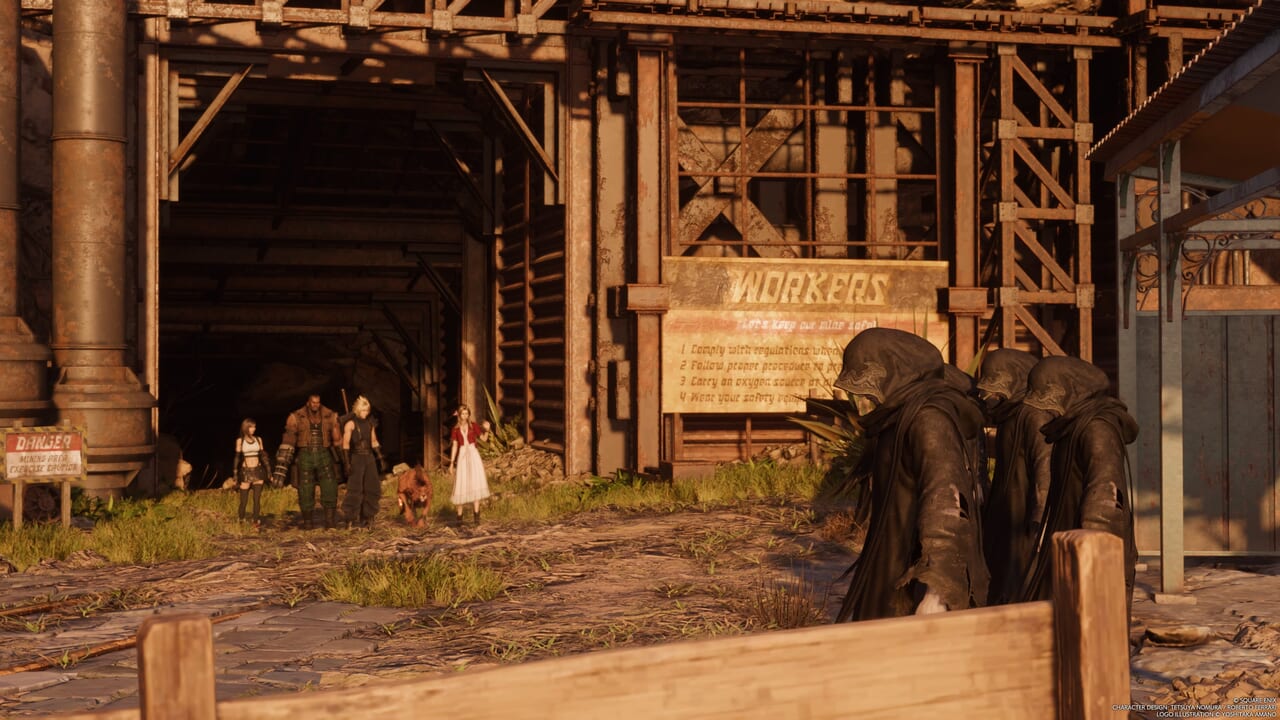
Chapter 9: The Planet Stirs Walkthrough for Final Fantasy 7 Rebirth (FF7 Rebirth)
This page contains a complete walkthrough and guide for Chapter 9: The Planet Stirs in the Final Fantasy 7 Rebirth (FF7 Rebirth) including all party members (playable characters), obtainable items, enemies and bosses encountered, and strategies to clear the first main story section of the game.
Chapter 9: The Planet Stirs Walkthrough Overview
Party Members
| Name | Availability |
|---|---|
| Cloud Strife |
Always |
| Aerith Gainsborough |
Always |
| Barret Wallace |
Always |
| Tifa Lockhart |
Always |
| Red XIII |
Always |
| Cait Sith |
Always |
Final Fantasy 7 Rebirth Playable Characters List and Guide
Obtainable Items
| Item | Location |
|---|---|
| Bird of Prey (Yuffie Weapon) | Gongaga Village |
| Crystal Sword (Cloud Weapon) | Abandoned Facility (Cloud Section) |
| Sage Armband (Armor) | Abandoned Facility (Cloud Section) |
| Golden Collar (Red XIII Weapon) | Abandoned Facility (Cloud Section) |
| Subversion Materia | Abandoned Facility (Cloud Section) |
| Tiger Fangs (Tifa Weapon) | Abandoned Facility (Tifa Section) |
| Sapphire | Abandoned Facility (Tifa Section) |
| Griffon (QB Card) | Gongaga Village (Beat Oscar in Queen’s Blood) |
| Great Malboro (QB Card) | Gongaga Village (Beat Zhujin in Queen’s Blood) |
| Sheet Music: Cinco de Chocobo | Gongaga Village |
Enemies
| Enemy | Weakness |
|---|---|
| Grangalan | None |
| Grandhorn | Fire |
| Amalgam | Fire |
| Chimera Mimic | None |
| Slug-Ray | None |
Final Fantasy 7 Rebirth Enemies List: Weaknesses and Obtainable Items
Bosses
| Enemy | Weakness |
|---|---|
| Specimen H1024 | Fire |
| Crimson Mare Mk. II | Lightning |
Chapter 9 Odd Jobs (Side Quests)
| Side Quest | Location |
|---|---|
| Missing Mr. Birdie | North Corel |
| The Pursuit of Perfection | Gongaga Village |
| O Chicken, Where Art Thou | Gongaga Village |
| Teach Me, Great Warrior | Gongaga Village |
| The Spice of Life | Gongaga Village |
Final Fantasy 7 Rebirth Odd Jobs (Side Quests) List
Chapter 9 Bonds of Friendship Dialogue Choices and Answers
Aerith (Fair Residence)
| Dialogue | Answers |
|---|---|
| “Pretty selfish, huh? Waltzing in there, stirring up memories…” | ‘They didn’t seem to mind.’ (★★★) |
| ‘You’re too hard on yourself.’ (★★) | |
| ‘Yeah, you mighta crossed the line.’ (★) |
Tifa (First House Past the Flower Altar)
| Dialogue | Answers |
|---|---|
| “What sorta thing would you go for?” | ‘Gonna go with pot roast.’ (★★★) |
| ‘Pilaf, I guess.’ (★★) | |
| ‘Soup’s good.’ (★) |
Barret (Near Cissnei’s House)
| Dialogue | Answers |
|---|---|
| “Wonder what kind stuff we’d end up growing here.” | ‘Mushrooms.’ (★★★) |
| ‘Onions.’ (★★) | |
| ‘Black milly? Red shelly?’ (★) |
Red XIII (Near the Flower Altar)
| Dialogue | Answers |
|---|---|
| Select the patch you believe to be Gongaga Mushrooms. | The Right Patch (★★★) |
| Middle Patch (★★) | |
| Left Patch (★) |
Yuffie (Inside Cissnei’s House)
| Dialogue | Answers |
|---|---|
| “I am so, so bored… Bored right out of my brain.” | ‘Nice song. Funny too.’ (★★★) |
| ‘I’d love an encore.’ (★★) | |
| ‘Quiet down, will ya?’ (★) |
Final Fantasy 7 Rebirth Bonds of Friendship Dialogue Answers List
Chapter 9 Story Beat Relationship Events
There are no story beat events to increase relationships with any party member in this chapter.
Final Fantasy 7 Rebirth All Chapter Relationship Events List
Chapter 9 Walkthrough Summary
Corel Desert
| 1 | Before proceeding with the main story, feel free to do some side quests and World Intel objectives in the Corel Region. |
|---|---|
| 2 | To proceed with the main story, ride the buggy towards the quest marker to the south. |
Gongaga Jungle – Gongaga Village
| 1 | After getting off from the buggy, head for the rest stop to heal HP and MP. |
|---|---|
| 2 | Move through the area to reach Gongaga Village. |
| 3 | Watch the cutscene. Afterwards, follow Cissnei up the hill. |
| 4 | From here, go around the village to trigger relationship dialogue events with your party (except Cait Sith). |
| 5 | Backtrack to the bridge to the rest stop at the building to find a chest with Bird of Prey (Yuffie weapon). |
| 6 | Go south and follow Aerith when she goes inside a house. |
| 7 | Afterwards, return to Cissnei’s house. Then, approach the bed and rest “until it’s time to leave.” |
| 8 | When you wake up, follow Yuffie. |
| 9 | Head for the quest marker going south to the gate. |
Gongaga Jungle – Abandoned Facility
| 1 | Continue towards the quest marker while taking down enemies along the way. |
|---|---|
| 2 | Enter the closed off facility through the opening the fence. |
| 3 | Use the rest stop if you need to. Then, head for the stairs. |
| 4 | Take out the enemies along the path. When you reach the area with the door you can squeeze through, head to the room on the left to find a chest with Crystal Sword (Cloud weapon). |
| 5 | Continue following the path through the corridor but instead of going left, crawl under the opening on the right. Take out the enemies here and and into another opening. |
| 6 | In the next room, pick up Sapphire from the chest. Then, leave the room through the hole nearby. |
| 7 | From here, continue following the quest marker. |
| 8 | Swim through submerged area while still following the quest marker. |
| 9 | In the generator room, follow the cable and pick it up with the L2 button. Then, plug it in the terminal. |
| 10 | Go through the door and into the next area. When you reach a fork, take the one going northeast which has a chest containing Hazardous Materials x3. |
| 11 | Backtrack to the fork. Then, follow the path that leads below a large platform. From here, make your way up and head northeast for a chest with Sage Armband (armor). |
| 12 | Make your way higher up to the next platform and take out the enemies there. |
| 13 | Walk towards the far edge of the platform. Then, follow the path along the corridor to the next area. |
| 14 | Drop down into the water and swim across to the ladder ahead. |
| 15 | Keep going up and then inside the room where the control panel is. |
| 16 | Move the cart out of the way so you can pick up the cable and plug it in the terminal. |
| 17 | Grab the cart and place it near the ledge on the far side of the room. Then, climb up the cart and climb up the ledge to find a path that leads to a chest with Golden Collar (Red XIII weapon). |
| 18 | From the platform, jump down and take out the enemies below. Then, swim through the water again and return to the corridor where the Whispers went through. |
| 19 | Continue following the path and open the chest along the way to get Remedy. |
| 20 | Keep moving forward along the corridor to find a rest stop. Just a little further is Subversion materia you can pick up. Equip this as it will be useful during the upcoming boss fight. |
| 21 | Head for the quest marker at the reactor and defeat the enemies along the platforms. |
| 22 | Prepare to battle Specimen H1024. |
| 23 | Specimen H1024 is weak to ice to use ice spells to build its stagger gauge fast during the fight.
Save ATB for spells when the boss’ uses Mako Ingestion. Hitting it with ice magic or abilities will interrupt its follow-up attack. When the boss gains Barrier and Manaward, remove its effects using Subversion materia. |
Gongaga Village – Abandoned Facility
| 1 | When you gain control of Tifa, go south to the village gate. |
|---|---|
| 2 | After getting the Chocobos from Cissnei, head for the reactor by jumping off the large mushrooms in along the path. |
| 3 | Take out the enemies at the reactor. Use the grapple gun to swing over the wall to the next area. |
| 4 | Follow the path until you find the rest spot. Then, go down the stairs. |
| 5 | Proceed through the area again until you door you restored power to before. Swim to the platform in the center and grapple up to the upper area. |
| 6 | Turn around and grapple to the beam on the side of the area. Then, swing over to the platform across to find a chest with Tiger Fangs (Tifa weapon). |
| 7 | Head down to the lower area and take out the enemies there. |
| 8 | Grapple up towards the opening above where light is coming from. |
| 9 | Take out the enemies in the area. Afterwards, head up to the generator terminal and head right to find Sapphire inside a chest. |
| 10 | Grapple up to the upper level from the chest. Then, head for the generator by crossing the walkway and grappling across. |
| 11 | Push the generator to the edge of the platform to let the cord drop near the terminal. |
| 12 | Head back down to the terminal via the pole and plug the cord in. |
| 13 | Grapple to the next area and take down the enemies. Afterwards, move forward along the path with the helicopter. When you reach the dead end, look to the left and grapple up to the platform there. |
| 14 | Continue towards the quest marker and use the rest stop. Then, grapple up to the platform on the right and prepare to battle Crimson Mare Mk. II. |
| 15 | Crimson Mare Mk. II is weak to lightning so equip Lightning materia to build stagger fast during the fight.
At the start of the battle, focus on attacking Crimson Mare’s Left and Right Sabers. Doing so will allow you to target Scarlet to build up the boss’ stagger gauge using magic and abilities. When the boss unleashes its Makocannons, guard against its ranged attacks. Continue dealing damage to its limbs to give you the chance to target Scarlet. Be sure to use healing items or magic if you need to as you are likely to get clipped by the boss’ long-range attacks. As the fight draws to a close, Crimson Mare will swap out its cannons for large gauntlets that deal massive damage but will lose its threatening range. Throw out Limit Breaks and summons if you can to end the fight. |
| 16 | After the fight, grapple up to crane. Complete the button sequence to operate it. |
Gongaga Village – Airstrip
| 1 | Watch the cutscene. Then, leave the room and talk to your allies. |
|---|---|
| 2 | From hear, try to clear some of the new side quests that become available and World Intel objectives, especially since you now have Chocobos to ride around the area. |
| 3 | There are two Queen’s Blood players here which are Oscar to the southwest of the village. Beating him rewards you with the Griffon card. Zhijun is to the northeast who give you Great Malboro Card if you win against him. |
| 4 | Finally, stop by the piano in the building to the south of Memorial Hill to get Music Sheet: Cinco de Chocobo. |
| 5 | To progress to the next chapter, go south to the newly-opened gate. |
| 6 | Follow the path to the airstrip and use the phone booth. |
| 7 | After the cutscene, you must pay Cid 1,000 Gil to reach Cosmo Canyon. |
| ← Ch. 8: All that Glitters | Ch. 10: Watcher of the Vale → |
Final Fantasy 7 Rebirth Recommended Article List
FF7 Rebirth Chapter Walkthroughs
 Final Fantasy 7 Rebirth All Chapter Walkthroughs List
 Ch. 1: Fall of a Hero
 Ch. 2: A New Journey Begins
 Ch. 3: Deeper into Darkness
 Ch. 4: Dawn of a New Era
 Ch. 5: Blood in the Water
 Ch. 6: Fool's Paradise
 Ch. 7: Those Left Behind
 Ch. 8: All that Glitters
 Ch. 9: The Planet Stirs
 Ch. 10: Watcher of the Vale
 Ch. 11: The Long Shadow of Shinra
 Ch. 12: A Golden Key
 Ch. 13: Where Angels Fear to Tread
 Ch. 14: End of the World
FF7 Rebirth Side Quests (Odd Jobs)
Chapter 2 Side Quests
| ▼FF7 Rebirth Chapter 2 Side Quests | |
|---|---|
| Flowers from the Hill | Livestock’s Bane |
| Lifeline in Peril | Where the Wind Blows |
| A Rare Card Lost | |
Chapter 4 Side Quests
| ▼FF7 Rebirth Chapter 4 Side Quests | |
|---|---|
| Stuck in a Rut | When Words Won’t Do |
| The Hardest Sell | Dreaming of Blue Skies |
| Calling All Frogs | |
Chapter 7 Side Quests
| ▼FF7 Rebirth Chapter 7 Side Quests | |
|---|---|
| The Saga of the Seaside Inn | Rendezvous in Costa del Sol |
| Bodybuilders in a Bind | Of Robed Men and Ransoms |
Chapter 9 Side Quests
| ▼FF7 Rebirth Chapter 9 Side Quests | |
|---|---|
| Missing: Mr. Birdie | The Pursuit of Perfection |
| O Chicken, Where Art Thou | Teach Me, Great Warrior |
| The Spice of Life | |
Chapter 10 Side Quests
| ▼FF7 Rebirth Chapter 10 Side Quests | |
|---|---|
| Bonds of Trust | Absence of a Sign |
| From Whence Life Flows | Promises to Keep |
Chapter 11 Side Quests
| ▼FF7 Rebirth Chapter 11 Side Quests | |
|---|---|
| Esoteric Secrets of the Elders | My White-Haired Angel |
Chapter 12 Side Quests
| ▼FF7 Rebirth Chapter 12 Side Quests | |
|---|---|
| Hustle and Grind | Beneath Still Waters |
| Tides of War and Worry | Gold Cup or Bust |
| Trouble in Paradise | Sand and Circuses |
| Escape from Endless Writer’s Block | Woodland Vigil |
| Victim of Circumstance | Lament of the Damned |
| Can’t Stop Won’t Stop | |
FF7 Rebirth Strategy Guides

Beginner Guides
| ▼FF7 Rebirth Beginner Guides | |
|---|---|
| Game Controls | Game Difficulty |
| Beginner's Guide: Things to Do First | Best Gameplay Settings |
| Battle System Guide | Permanent Events and Missables |
| Characters List | Stats and Attributes Guide |
| Status Effects List and Guide | How to Recover HP and MP |
| How to Save | How to Fast Travel |
| How to Upgrade Weapons | How to Unlock Skill Cores |
| How to Increase Weapon Ability Slots | How to Unlock Weapon Abilities |
| How to Tame Chocobos | How to Ride Chocobos |
| How to Change Party Members | |
Useful Guides
Relationship Guides (Bonds of Friendship)
| ▼FF7 Rebirth Relationship Guides | |
|---|---|
| Aerith Intimate Date Guide | Tifa Intimate Date Guide |
| Barret Intimate Date Guide | Red XIII Intimate Date Guide |
| Yuffie Intimate Date Guide | |
Chocobo Mounts Guides
FF7 Rebirth Collectibles and Locations Guides
 Final Fantasy 7 Rebirth All Collectibles List and Guide
FF7 Rebirth Boss Guides

| ▼FF7 Rebirth Boss Guides | |
|---|---|
 Materia Guardian Materia Guardian |
 Terror of the Deep Terror of the Deep |
 Phoenix Phoenix |
|
FF7 Rebirth Mini Game Guides

| ▼FF7 Rebirth Mini Game Guides | |
|---|---|
 Chocobo Racing Chocobo Racing |
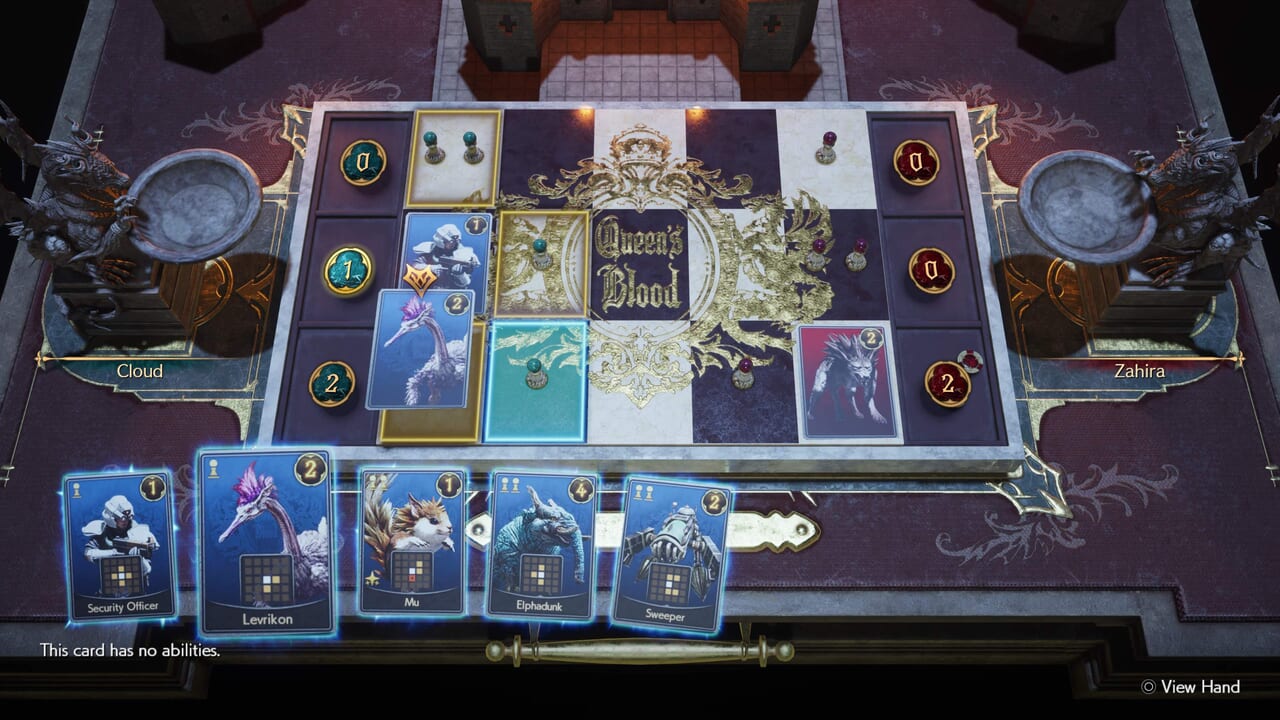 Queen's Blood Queen's Blood |
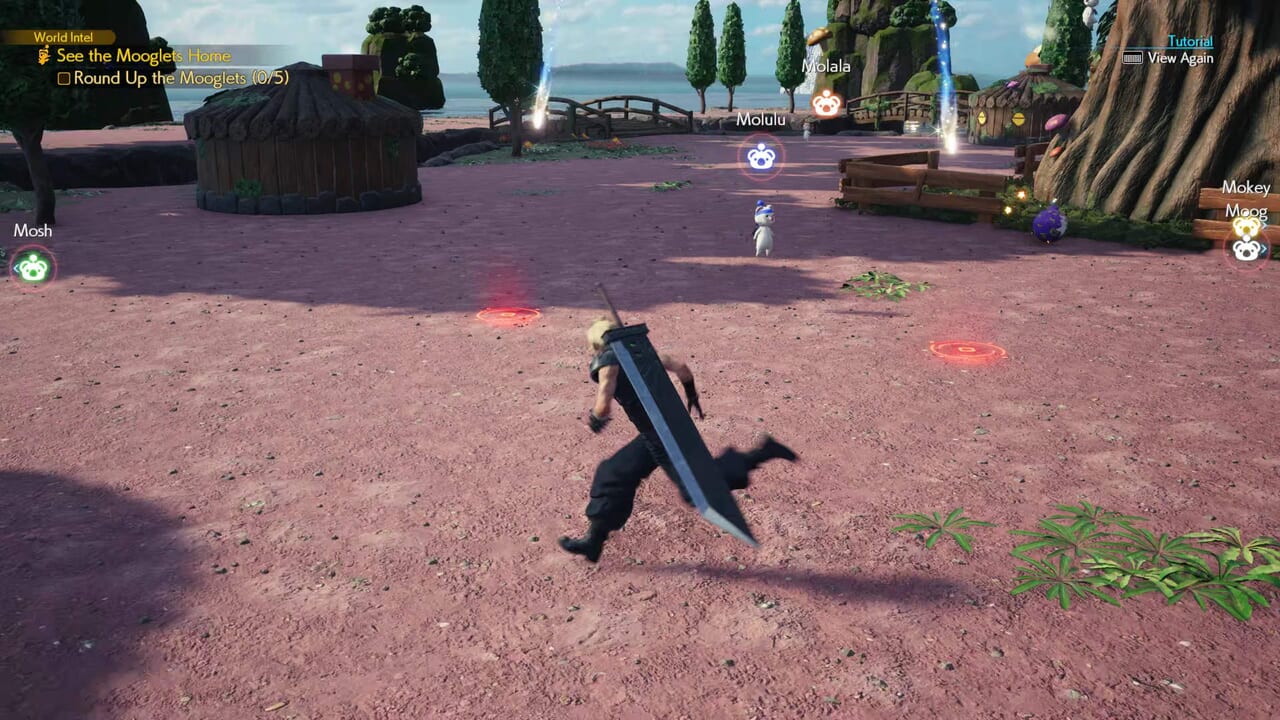 Moogle Mischief Moogle Mischief |
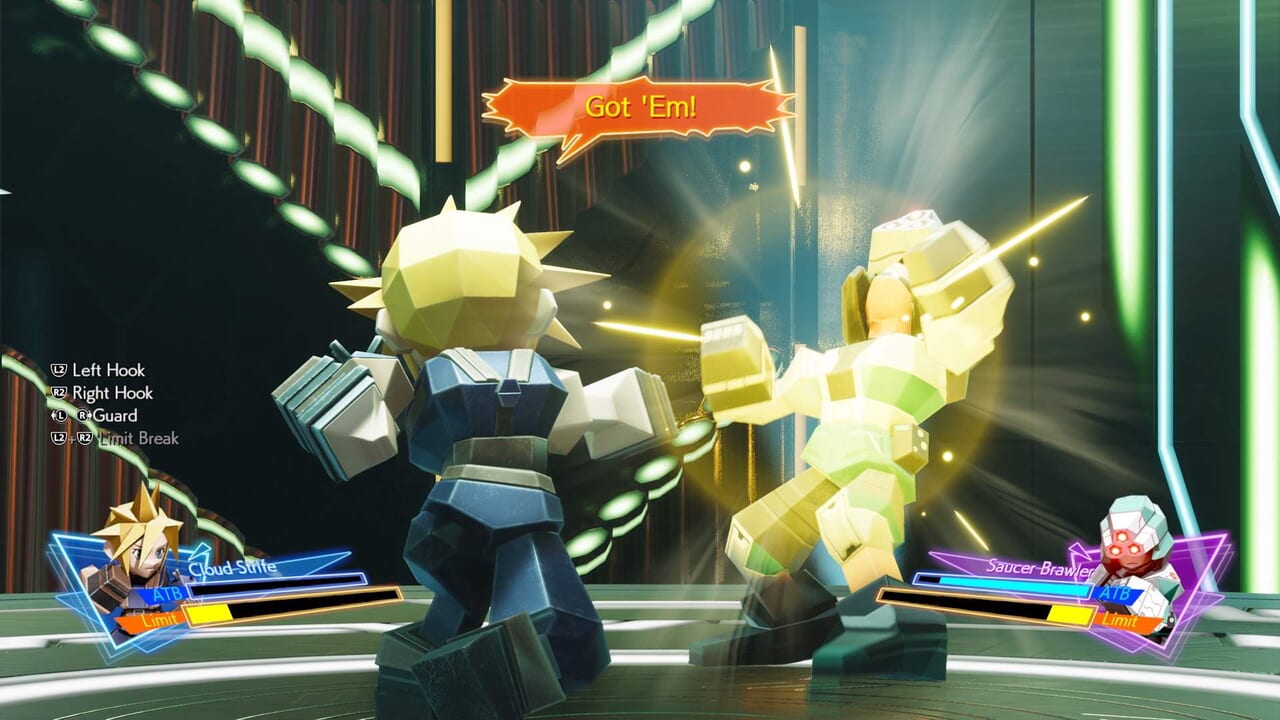 3D Brawler 3D Brawler |
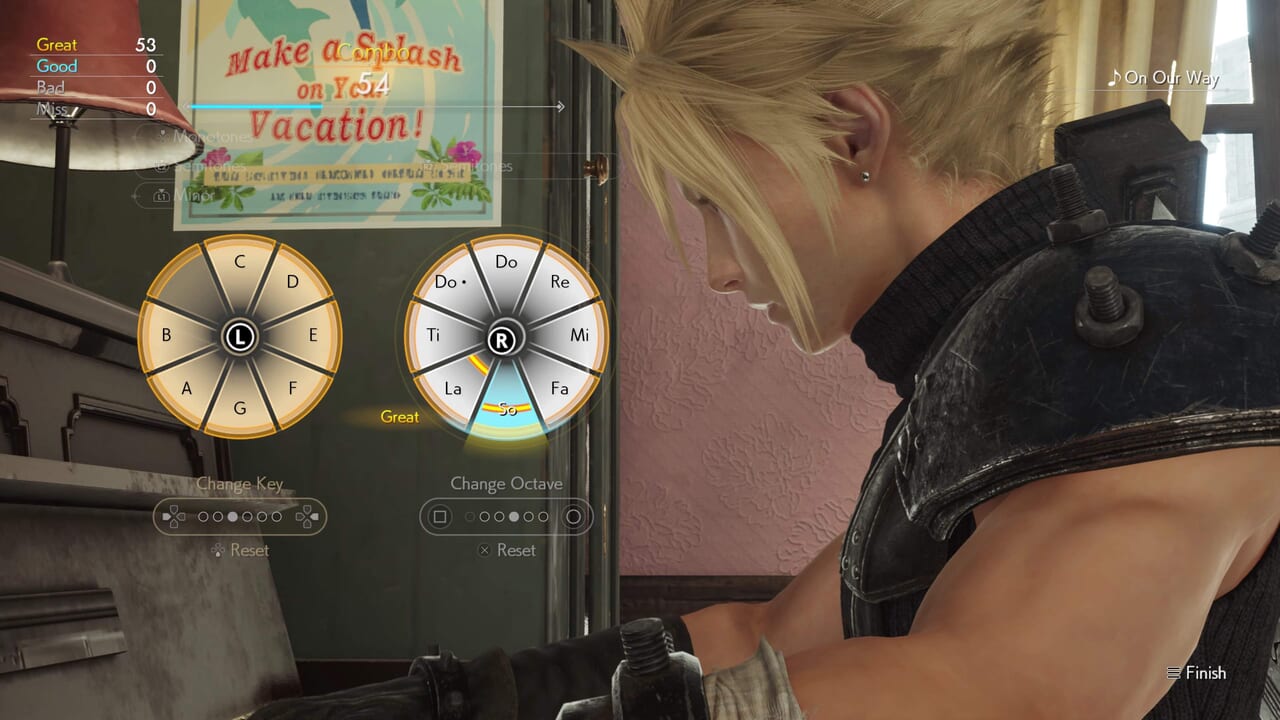 Piano Mini Game Piano Mini Game |
 G-Bike G-Bike |
 Johnny's Seaside Inn Johnny's Seaside Inn |
 Junon Parade Junon Parade |
 Dolphin Course Dolphin Course |
 Desert Rush (Whack-a-Box) Desert Rush (Whack-a-Box) |
 Run Wild (Soccer) Run Wild (Soccer) |
 Pirate's Rampage Pirate's Rampage |
 Galactic Saviors Galactic Saviors |
|
FF7 Rebirth Summon Guides
New Summons
| ▼FF7 Rebirth New Summons | |
|---|---|
Returning Summons
| ▼FF7 Rebirth Returning Summons | |
|---|---|
FF7 Rebirth Game Database
Equipment
| ▼FF7 Rebirth Equipment Database | |
|---|---|
Materia
| ▼FF7 Rebirth Materia Database | |
|---|---|
Skills and Magic
| ▼FF7 Rebirth Skills and Magic Database | |
|---|---|
| Weapon Abilities | Limit Breaks |
| Synergy Abilities | Synergy Skills |
| Magic | Summons |
FF7 Rebirth Characters
Playable Characters
| ▼FF7 Rebirth Playable Characters | |
|---|---|
Non-Playable Characters
| ▼FF7 Rebirth Non-Playable Characters | |
|---|---|
FF7 Rebirth Pre-Release Information

FF7 Rebirth Demo Walkthrough and Guides

Demo Walkthroughs
| ▼FF7 Rebirth Demo Walkthroughs | |
|---|---|
 Demo Part 1: Nibelheim Demo Part 1: Nibelheim |
 Demo Part 2: Junon Demo Part 2: Junon |
Demo Boss Guides
| ▼FF7 Rebirth Demo Boss Guides | |
|---|---|
| Materia Guardian |
Terror of the Deep |
| Phoenix |
|
Demo Useful Guides
FF7 Rebirth Game Forum
| ▼FF7 Rebirth Game Forum | |
|---|---|
| Chat Board | Question Board |
| Bug Report Board | |
Other FF7 Game Walkthroughs

| ▼FF7 Game Guides | |
|---|---|
| Final Fantasy 7 | Final Fantasy 7 Remake Intergrade |
| Crisis Core: Final Fantasy 7 Reunion | |
Leave a Reply