

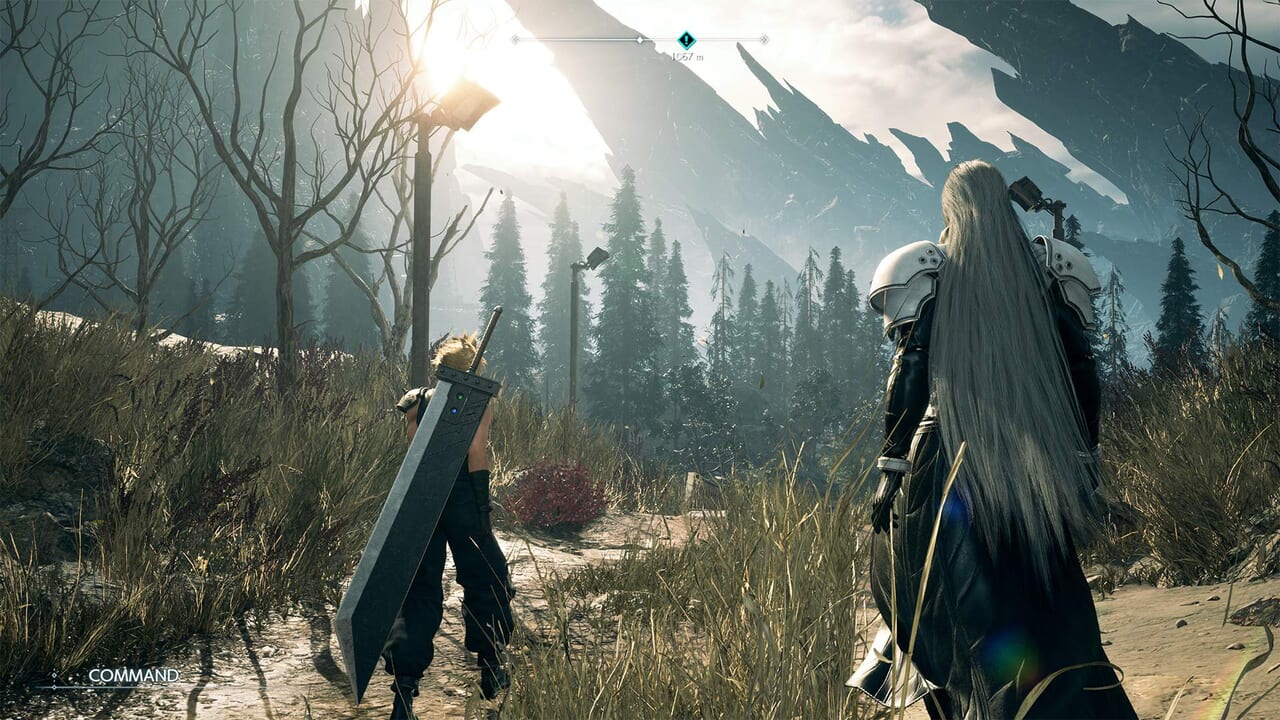
Demo Part 2 Walkthrough and Clear Rewards for Final Fantasy 7 Rebirth (FF7 Rebirth)
This page contains a complete walkthrough for the Final Fantasy 7 Rebirth (FF7 Rebirth) playable demo Dawn of a New Era in Junon, including all party members (playable characters), obtainable items, enemies and bosses encountered, demo clear rewards, and an in-depth guide on how to complete the trial version.
Demo Part 2 Walkthrough Overview: Dawn of a New Era in Junon
Party Members
| Name | Availability |
|---|---|
| Cloud Strife |
Always |
| Tifa Lockhart |
Always |
| Aerith Gainsborough |
Always |
| Barret Wallace |
Always |
| Red XIII |
Always |
Final Fantasy 7 Rebirth Playable Characters List and Guide
Obtainable Items
| Item | Location |
|---|---|
| Numinous Ashes | Junon: Found along the path going to The Fortress. |
| Iron Ore | Junon: Found along the path going to The Fortress. |
| Gold Dust | Junon: Found along the path going to The Fortress. |
| Planet’s Blessing | Junon: Found along the path going to The Fortress. |
| Planet’s Favor | Junon: Found along the path going to The Fortress. |
| Sage | Junon: Found along the path going to The Fortress. |
| Mist Seeds | Junon: Found along the path going to The Fortress. |
| Laurel | Junon: Found along the path going to The Fortress. |
| Pearl Ginger Root | Junon: Found along the path going to The Fortress. |
| Marjoram | Junon: Found along the path going to The Fortress. |
| Lea Titanium | Junon: Found along the path going to The Fortress. |
| Ether Onion | Junon: Found along the path going to The Fortress. |
| Ruby | Junon: Found along the path going to The Fortress. |
| Emerald | Junon: Found along the path going to The Fortress. |
| Golden Plume x1 | Junon: Given by the Chocobo chick after repairing the Chocobo Stop west of Gabe’s ranch. |
| Moogle Medal x2 | Junon: Inside some breakable crates at the top of the tower at Fiend Sighting 2’s location (middle Junon). |
| Precision Defense Focus Materia | Junon: Northeast of the map. From Fiend Sighting 2’s location (middle Junon), keep heading northeast past the excavation pit to find a broken fence that lets you crawl under a pipe to find the area where the chest is. |
| Whistlewind Scarf | Junon: Northeast of the map. From Fiend Sighting 2’s location (middle Junon), head northeast past the excavation pit to find a broken fence that lets you crawl under a pipe to find the area where the chest is. |
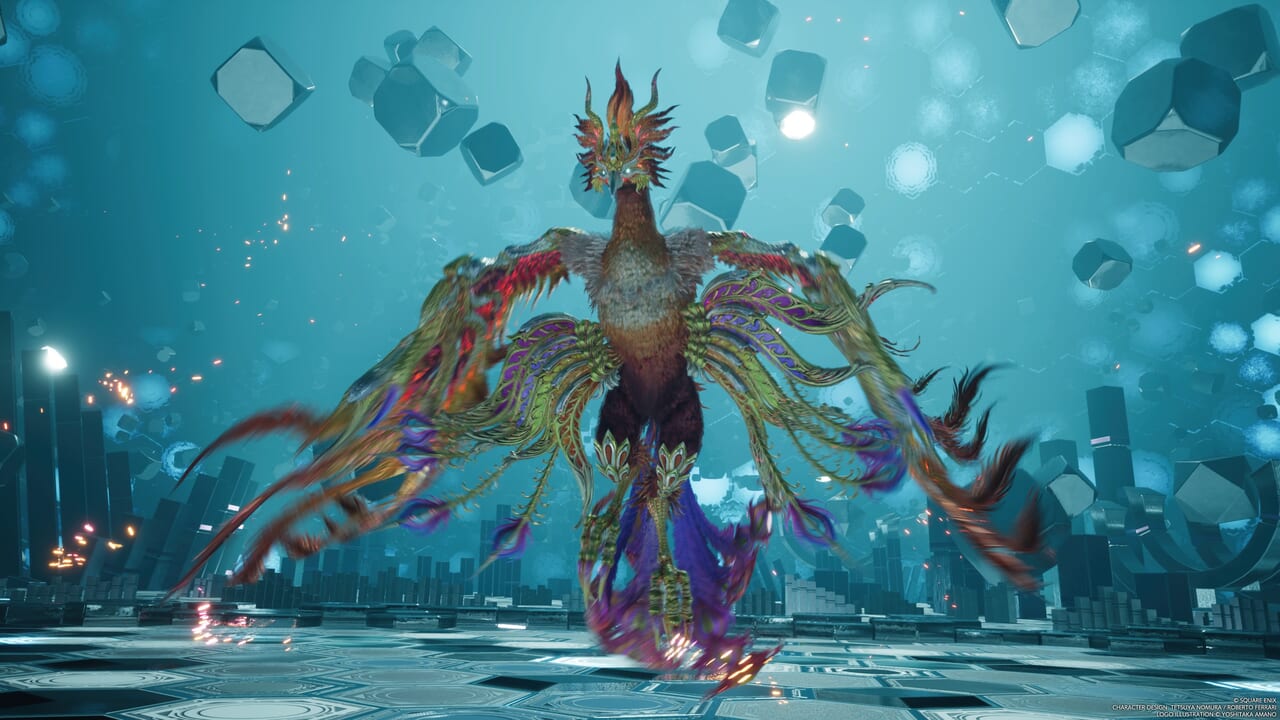
| Phoenix Materia | Junon: Obtained as a reward for clearing Summon Entity: Phoenix Combat Simulator challenge. |
World Intel (Areas of Interest)
Combat Assignments
| Name | Objectives | Location |
|---|---|---|
| Fiend Sighting 1: Bearer of Grudges |
|
North Junon |
| Enemies | Enmidunk x2 | |
| Fiend Sighting 2: Cacophonic Corivid |
|
Middle Junon |
| Enemies | Fonadu x1 | |
| Fiend Sighting 3: Zemze Breaks |
|
Northwest Junon south of The Fortress. |
| Enemies | Whymzelett x2 | |
| Fiend Sighting 4: Unholy Union |
|
Southwest Junon near the sea (directly west of the Mythril Mine starting location). |
| Enemies | Silver Chimera x2 | |
Final Fantasy 7 Rebirth Combat Assignments List
Enemies
| Enemy | Weakness | Items |
|---|---|---|
| Orc | Fire | Iron Ore (Drop, Steal), Lea Titanium (Rare Drop, Morph), |
| Grassland Wolf | Ice | Beast Talon (Drop, Steal), Beast Pelt (Rare Drop, Morph) |
| Zemzelett | Ice | Beast Talon (Drop, Steal), Beast Pelt (Rare Drop, Morph) |
| Fleetwing | Wind | |
| Ignilisk | Ice | Beat Bone (Drop, Steal), Beast Talon (Rare Drop, Morph) |
| Enmidunk | Fire/Ice | |
| Fonadu | Wind | Beast Pelt (Drop, Steal), Laurel (Rare Drop, Morph) |
| Whymzelett | Ice | Beast Talon (Drop, Steal), Beast Pelt (Rare Drop, Morph) |
| Silver Chimera | Fire | Beast Bone (Drop), Beast Belt (Rare Drop, Steal), Gold Dust (Morph) |
Bosses
| Boss | Weakness | Items |
|---|---|---|
| Terror of the Deep | Lightning | None |
| Phoenix (Optional) | Ice | Phoenix Materia |
Demo Part 2 Junon Region Map
Demo Part 2: The Fortress Walkthrough Summary
Junon Region
| 1 | After the cutscene, read through the Chocobo mount tutorial. You can call your Chocobo mount using the R1 button while exploring open maps in the demo. |
|---|---|
| 2 | Approach your Chocobo to mount it. Doing so also automatically lets your party members ride their own Chocobos as well. |
| 3 | Follow the robed men while riding the Chocobo. Use R2 or L3 to sprint so you can move faster. |
| 4 | Head down the slope. Your main destination is The Fortress to the northwest, though you will want to explore the region first as there are many things to do here. |
| 5 | Be sure to pick up materials such as Numinous Ashes, Gold Dust, and Iron Ore that you can use to transmute items (can be done from the main menu screen) while exploring Junon. |
| 6 | As you descend down the slope, a Chocobo chick will appear. Follow it to the left as it will lead you to a Chocobo Stop which you can supposedly repair by interacting with the fallen stop sign (△ button). Unfortunately, this particular stop cannot be fixed right now but you can use the resting bench to fully heal the party’s HP and MP using a Cushion. |
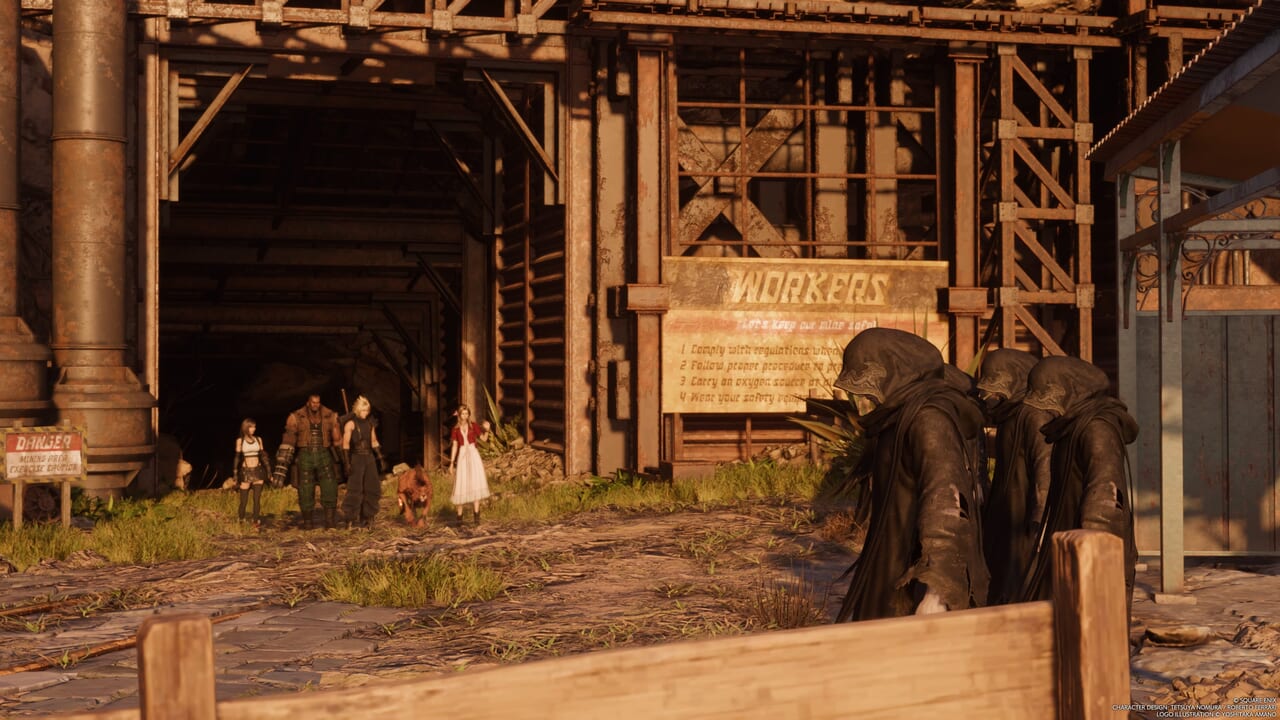
| 7 | From the Chocobo Stop, climb up the rock formations up ahead to reach the other side of the path (directly west of the starting location). Follow it south to discover an Area of Interest and Fiend Sighting 4: Unholy Union (World Intel). This also adds a new Combat Assignment that requires you to defeat 2 Silver Chimeras.
Fiend Sighting 4: Unholy Union Combat Assignment Strategy This Combat Assignment’s objectives might prove somewhat challenging to clear at the start of the demo, though it is perfectly doable by using Cloud, Red XIII, and Aerith. A good way to quickly build up stagger on each Silver Chimera is to have Red XIII accumulate 2 ATB bars to be able to use Stardust Ray. Afterwards, pummel the enemies with Cloud’s Firebolt Blade to exploit their weakness and stack even more stagger damage. Aerith can focus on supporting the party with Arcane Ward (allowing Cloud or anyone equipped with Fire Materia to cast Fire twice) or contribute to offense using Sorcerous Storm. The Silver Chimeras attack hard and fast and tend to gang up on a single target which lets them easily burst down a party member if you are not watching their HPs. Use Cure or items when you need to as it will be hard to kill both enemies even if you are down by just 1 ally. Finally, letting Cloud summon Ramuh will also help you close out the fight before the time limit reaches zero. Just make sure that Cloud has ATB charge to use it when the summon gauge is full. After clearing this battle, you will be rewarded with data points that can be used for Materia Development later with Chadley at the Chocobo Ranch. |
| 8 | Afterwards, head back to the Chocobo Stop and use a Cushion to fully heal the party’s HP and MP. |
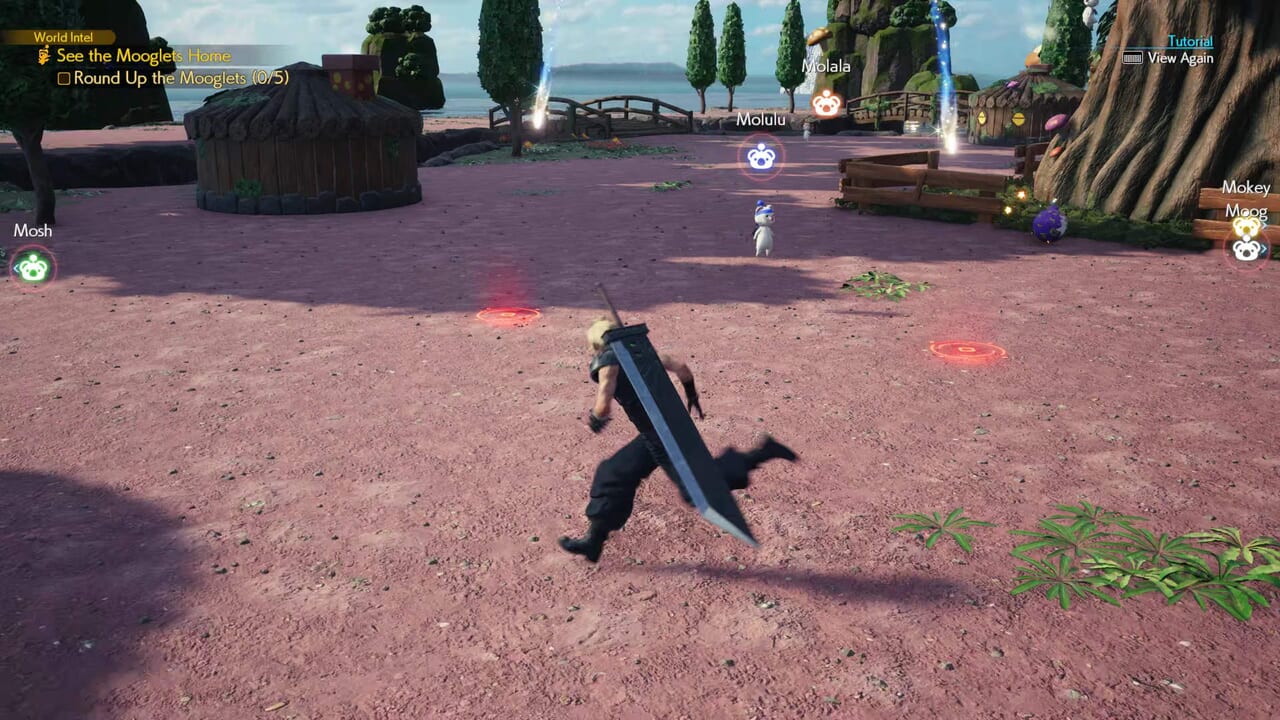
| 9 | From the Chocobo Stop, head west to another Area of Interest which is Gabe’s Chocobo Ranch. There is a vending machine here where you can buy and sell items.
You can also find Chadley here to the right of the Chocobo stable if you want to access Materia Development or Combat Simulator Challenges. Try doing a few of the latter as these will reward you with useful materia. Materia Development lets you create new materia using your accumulated data points for clearing Combat Challenges and other World Intel-related activities. |
| 10 | Afterwards, talk to the Ranch Hand to view Chocobo gear for sale at the Tack Shop. You cannot buy any of them for now as you need Golden Plumes which are rewarded for catching Chocobos in the wild or repairing Chocobo Stops. |
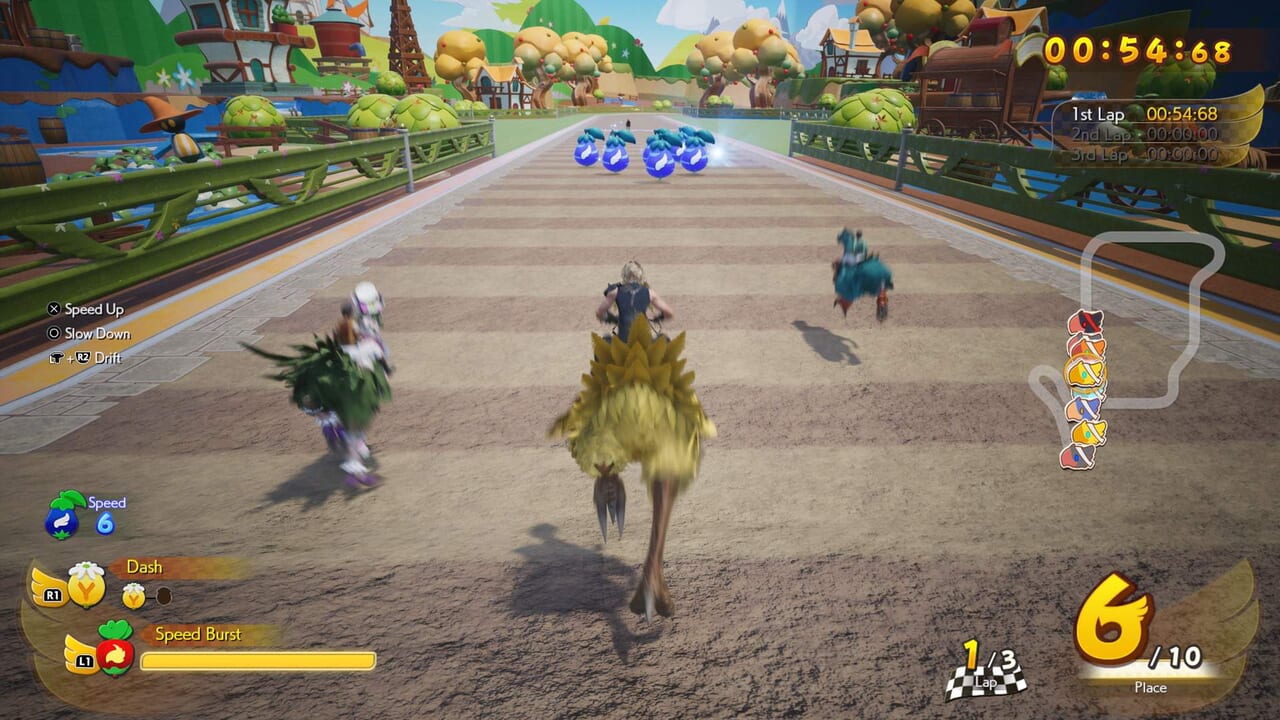
| 11 | Enter the Chocobo stable and inspect the toolkit in the middle. Here you can view and swap out your Chocobo’s gear. |
| 12 | Pass through the other exit of the stable to find another Chocobo chick. Follow it up the slope to view a tutorial on treasure hunting with Chocobos. |
| 13 | Hold ↑ on the directional pad when the “?” appears above your Chocobos head to display an arrow that points to the direction of the buried treasure. Do this a few times until you get closer to the treasure’s spot which will be highlighted by a beam of light. Approach the marked spot and scour it by pressing ↓ on the directional pad to get Emerald x3. |
| 14 | Afterwards, continue following the Chocobo chick as it will lead you to another Chocobo Stop. Unlike the first one, this one can be repaired so approach the fallen stop’s sign and press the △ button. Doing so lets you fast travel to and from this landmark. The Chocobo chick will also reward you with a Golden Plume for mending the stop which you can use back at the Tack Shop in Gabe’s Ranch. |
| 15 | From here, head back east towards another Area of Interest in the middle of the map. This will unlock Fiend Sighting 2: Cacophonic Corivid and another Combat Assignment against a Fonadu.
Fiend Sighting 2: Cacophonic Corivid Combat Assignment Strategy The Fonadu is weak to wind so have Aerith set-up Arcane Ward so any party member equipped with Wind Materia can double cast Aero on the enemy to build up stagger quickly. Despite Fonadu being alone, it will deal a lot of damage with its multi-hit Gouge move so Cloud and another party member (preferably Barret) should be ready to heal Aerith or other allies during the fight. Using the Bodyguard synergy skill will help keep Aerith alive which may prove a bit challenging given her low physical defense and HP. You can have Barret cast Barrier as well to improve her survivability. One of the objectives requires you to pressure Fonadu which cannot be done by just hitting it with Aero. You need to counter Fonadu’s attack using Cloud’s Punisher Mode parry. When Fonadu is close to death, use Cloud and Aerith’s Firework Blade synergy ability to close out the fight. |
| 16 | Before leaving the area, climb up the tower. At the very top are some crates you can break to get Moogle Medal x2. |
| 17 | From here, you can choose to continue exploring the map by going east and all the way northeast. You will find another Chocobo chick here which leads you to another Chocobo Stop you cannot fix right now. |
| 18 | Directly northeast of where you fought the Fonadu is a large excavated pit. If you walk a little ways more northeast, you will see an opening in the fence with a large pipe passing north. You can crawl under this pipe to find an area with two chests containing Precision Defense materia and a Whistlewind Scarf (accessory). |
| 19 | From here, head northwest to another Area of Interest which unlocks Fiend Sighting 1: Bearer of Grudges which requires you to take down 2 Enmidunks.
Fiend Sighting 1: Bearer of Grudges Combat Assignment Strategy Enmidunks are weak to Fire and Ice so using Cloud’s Firebolt Blade is essential for building up stagger or bursting down the enemies’ HP when they are down. Both Enmidunks will hit hard with moves like Trample and Charge so be ready with items and Cure to heal any allies who are near death. You can also purchase the Fire and Ice materia from Chadley (Materia Development) for 10 data points to exploit the Enmidunks’ weakness to both Fire and Ice, making it easier to stagger them during the fight. Killing both Enmidunks within the time limit is probably the only challenge in this assignment if you want to tick-off all objectives. A good way to do this is to have Red XIII use Stardust Ray to deal massive HP and stagger damage while another party member (preferably Tifa or Aerith with Synergy and elemental materia linked) casts Blizzard or Fire + Blizzard. Having Aerith use Arcane Ward again for dualcasting elemental magic will help you deplete both Enmidunk’s HPs faster, though it is perfectly doable without it. Cloud should simply build ATB to use Firebolt Blade over and over throughout the fight or occasionally use Cure or items on party members who are low on health. |
| 20 | Before heading to The Fortress and proceeding with the story, you can try clearing the last Combat Assignment by heading to the Area of Interest to the northwest. This will unlock the Fiend Sighting 3: Zemze Breaks which pits you against 2 Whymzellets.
Fiend Sighting 3: Zemze Breaks Combat Assignment Strategy Whymzellets are weak to Ice so having a party member with Ice materia is recommended for this fight. You can also just have Tifa in the party as her default materia setup has Ice and Synergy materia linked (she will cast Blizzard after the party leader uses an attack command without expending ATB or MP). Cloud should focus on building up the Whymzellets’ stagger with Focus Thrust. Have Aerith build ATB constantly to be able to use Arcane Ward wherever Tifa is. Tifa’s job is to spam Blizzard to also stagger the enemies fast. To clear one of the combat objectives (prevent enemies from taking flight when using Soothing Breeze), just cast Blizzard on the enemies whenever they start winding up Soothing Breeze. Because of this, reserve Tifa’s ATB for using Blizzard only. Alternatively, Cloud (as the party leader) can use any command ability on the enemy winding up Soothing Breeze so Tifa can follow-up with an auto-cast Blizzard regardless of whether she has enough ATB or MP. As soon as you stagger one of the Whymzellets, Aerith should use Arcane Ward again wherever Tifa is (it would just take time to stand on the ward again so just cast another wherever Tifa is). Then, bombard the target with double cast Blizzards. Repeat the process for the other Whymzellet to end the fight. |
| 21 | After clearing all Combat Assignments on the map, Chadley will call and thank you for the research data you helped him complete. You can also go back to him at Gabe’s Ranch to do any of the new Combat Simulator challenges that reward useful materia.
Clearing all missions in the Combat Simulator will unlock the secret summon boss fight against Phoenix. You can try completing this final Combat Simulator challenge to obtain the Phoenix Materia. Note that the Phoenix Materia can be obtained by beating Phoenix on any difficulty level. |
| 22 | Finally, head for The Fortress to proceed with the main story. Be warned that fast traveling back to the Junon open region will be unavailable once you enter The Fortress (Under Junon). |
Demo Part 2: Under a Steel Sky Walkthrough Summary
Under Junon
| 1 | Follow the path to Under Junon. |
|---|---|
| 2 | Watch the cutscene. |
| 3 | Proceed forward and you will eventually hear a girl (Priscilla) scream for help. |
Demo Part 2: Trouble Brewing Walkthrough Summary
Under Junon
| 1 | Follow Priscilla. When you reach Sea Dragon Square, use the resting bench to fully restore the party’s HP and MP. |
|---|---|
| 2 | Continue going after Priscilla by going the down the stairs and into docks at the lower level. |
| 3 | Watch the cutscene. |
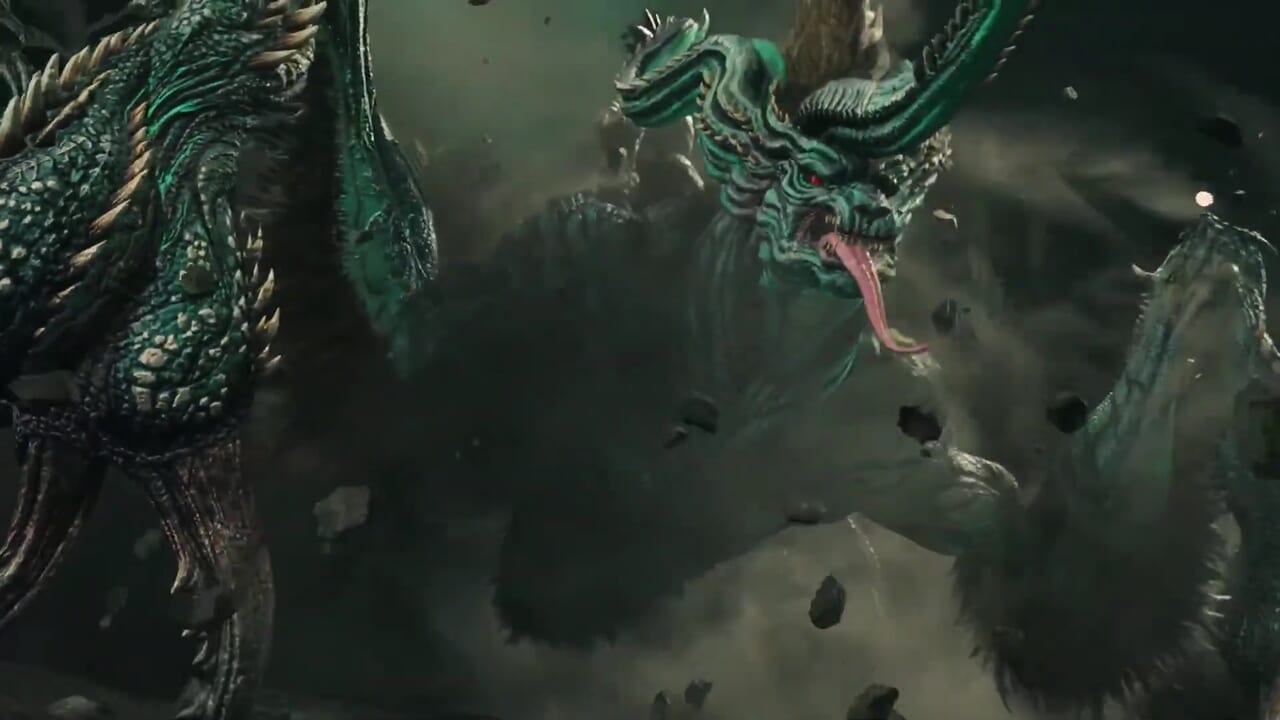
| 4 | Defeat Terror of the Deep (Boss Guide). |
| 5 | Watch the cutscene. |
| ← Demo Part 1 Walkthrough | Demo Carry Over Features → |
Final Fantasy 7 Rebirth Demo Part 2 Clear Rewards
Kupo Charm and Survival Set (Full Game)
The Kupo Charm (accessory) and Survival Set (item set) obtained for having save data of the Final Fantasy 7 Rebirth trial version can be transferred to the full game. Note that you do not need to complete Fall of a Hero in Nibelheim demo section to claim these items (you simply need to have made a save file of the demo on your PS5).
| Reward | Details |
|---|---|
| Kupo Charm (Accessory) | Increases the number of resource items you can extract at gathering points at a set rate. |
| Survival Set (Item Set) | Contains items that aid you in your adventure such as Potions and Ethers. |
Fall of a Hero in Nibelheim Story Skip (Full Game)
Clearing the trial version’s story sequence, meanwhile, lets you skip Fall of a Hero in Nibelheim in the full game to immediately jump into the explorable Junon section featured in this demo. You are essentially granted a head start in the story if you completed part 1 of the trial version.
Final Fantasy 7 Rebirth Recommended Article List
FF7 Rebirth Chapter Walkthroughs
 Final Fantasy 7 Rebirth All Chapter Walkthroughs List
 Ch. 1: Fall of a Hero
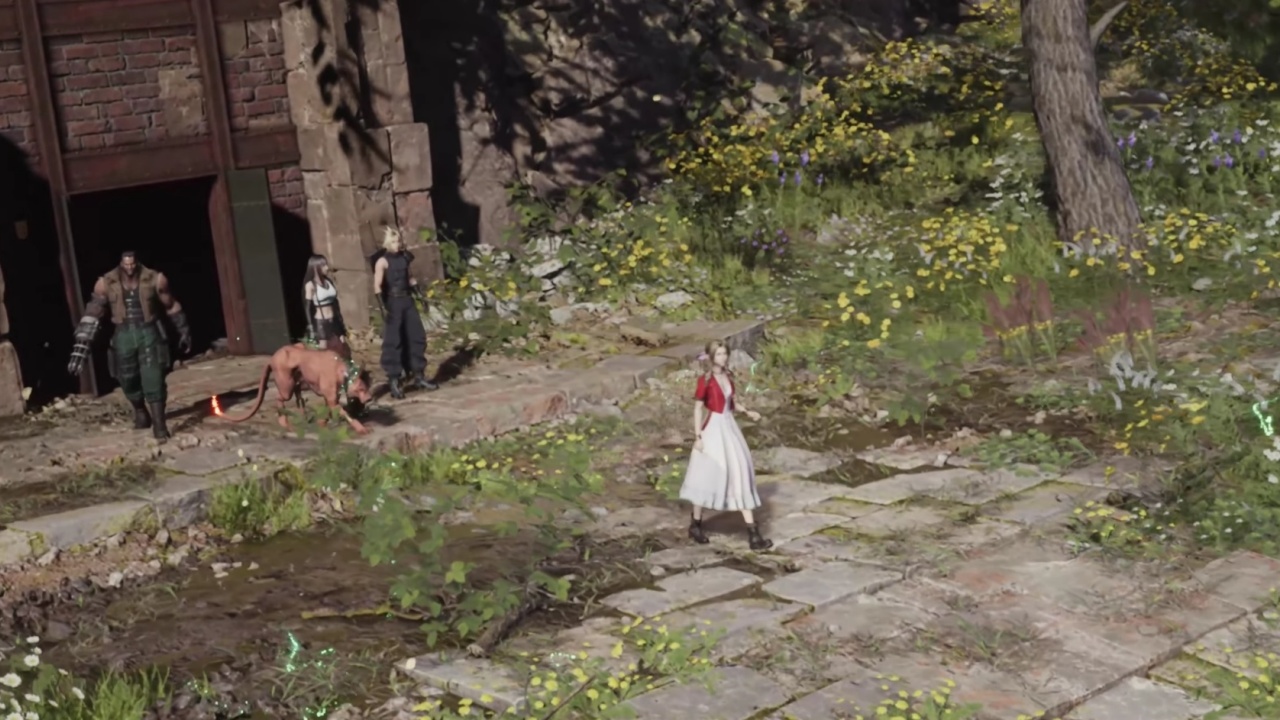 Ch. 2: A New Journey Begins
 Ch. 3: Deeper into Darkness
 Ch. 4: Dawn of a New Era
 Ch. 5: Blood in the Water
 Ch. 6: Fool's Paradise
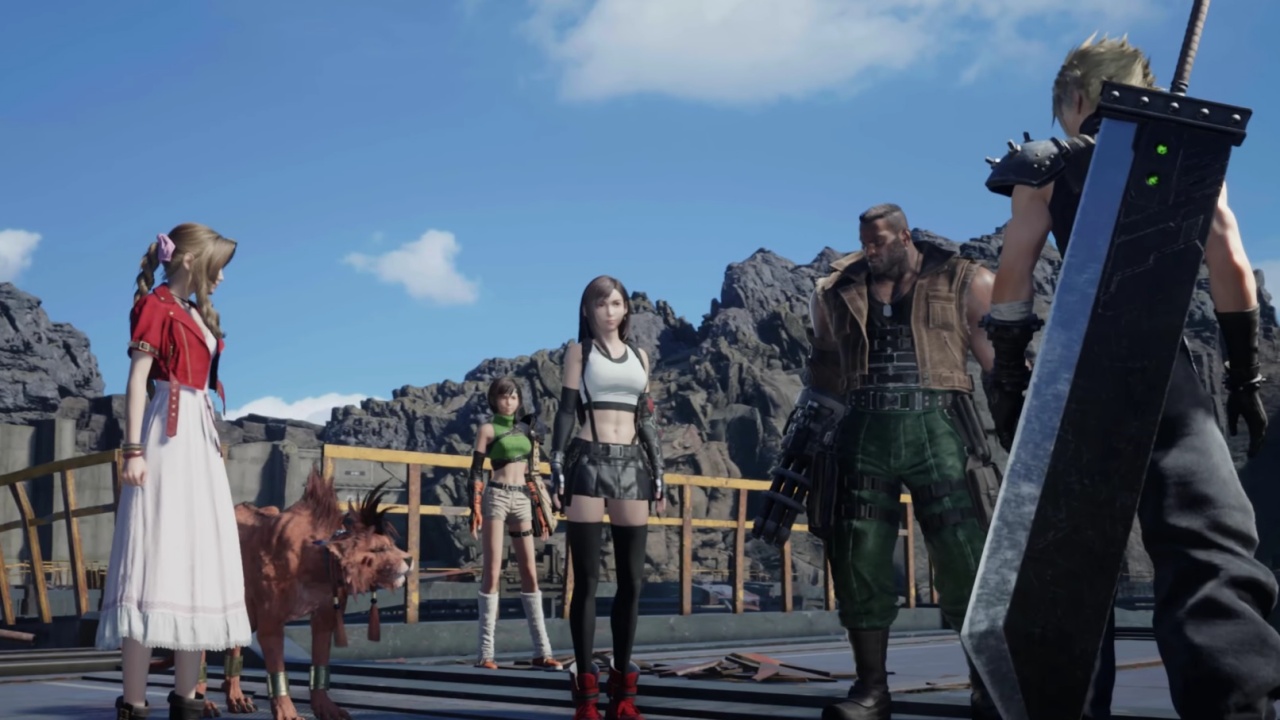 Ch. 7: Those Left Behind
 Ch. 8: All that Glitters
 Ch. 9: The Planet Stirs
 Ch. 10: Watcher of the Vale
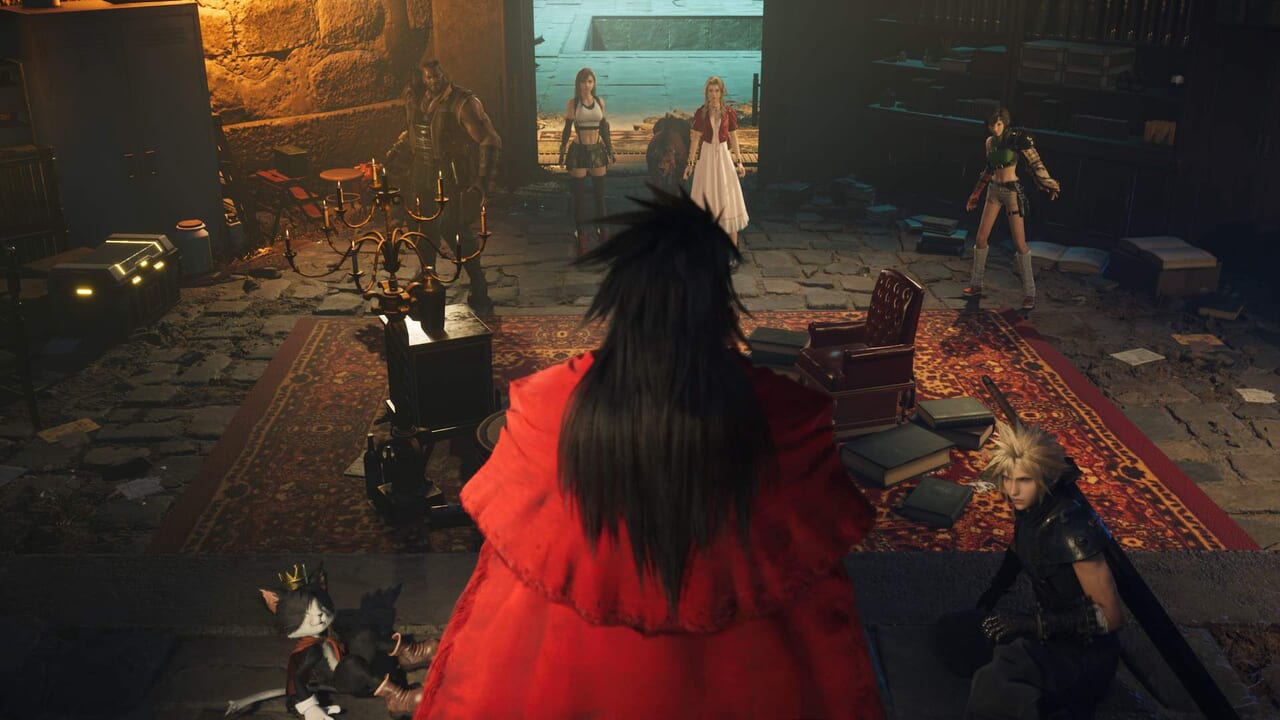 Ch. 11: The Long Shadow of Shinra
 Ch. 12: A Golden Key
 Ch. 13: Where Angels Fear to Tread
 Ch. 14: End of the World
FF7 Rebirth Side Quests (Odd Jobs)

Chapter 2 Side Quests
| ▼FF7 Rebirth Chapter 2 Side Quests | |
|---|---|
| Flowers from the Hill | Livestock’s Bane |
| Lifeline in Peril | Where the Wind Blows |
| A Rare Card Lost | |
Chapter 4 Side Quests
| ▼FF7 Rebirth Chapter 4 Side Quests | |
|---|---|
| Stuck in a Rut | When Words Won’t Do |
| The Hardest Sell | Dreaming of Blue Skies |
| Calling All Frogs | |
Chapter 7 Side Quests
| ▼FF7 Rebirth Chapter 7 Side Quests | |
|---|---|
| The Saga of the Seaside Inn | Rendezvous in Costa del Sol |
| Bodybuilders in a Bind | Of Robed Men and Ransoms |
Chapter 9 Side Quests
| ▼FF7 Rebirth Chapter 9 Side Quests | |
|---|---|
| Missing: Mr. Birdie | The Pursuit of Perfection |
| O Chicken, Where Art Thou | Teach Me, Great Warrior |
| The Spice of Life | |
Chapter 10 Side Quests
| ▼FF7 Rebirth Chapter 10 Side Quests | |
|---|---|
| Bonds of Trust | Absence of a Sign |
| From Whence Life Flows | Promises to Keep |
Chapter 11 Side Quests
| ▼FF7 Rebirth Chapter 11 Side Quests | |
|---|---|
| Esoteric Secrets of the Elders | My White-Haired Angel |
Chapter 12 Side Quests
| ▼FF7 Rebirth Chapter 12 Side Quests | |
|---|---|
| Hustle and Grind | Beneath Still Waters |
| Tides of War and Worry | Gold Cup or Bust |
| Trouble in Paradise | Sand and Circuses |
| Escape from Endless Writer’s Block | Woodland Vigil |
| Victim of Circumstance | Lament of the Damned |
| Can’t Stop Won’t Stop | |
FF7 Rebirth Strategy Guides

Beginner Guides
| ▼FF7 Rebirth Beginner Guides | |
|---|---|
| Game Controls | Game Difficulty |
| Beginner's Guide: Things to Do First | Best Gameplay Settings |
| Battle System Guide | Permanent Events and Missables |
| Characters List | Stats and Attributes Guide |
| Status Effects List and Guide | How to Recover HP and MP |
| How to Save | How to Fast Travel |
| How to Upgrade Weapons | How to Unlock Skill Cores |
| How to Increase Weapon Ability Slots | How to Unlock Weapon Abilities |
| How to Tame Chocobos | How to Ride Chocobos |
| How to Change Party Members | |
Useful Guides
Relationship Guides (Bonds of Friendship)
| ▼FF7 Rebirth Relationship Guides | |
|---|---|
| Aerith Intimate Date Guide | Tifa Intimate Date Guide |
| Barret Intimate Date Guide | Red XIII Intimate Date Guide |
| Yuffie Intimate Date Guide | |
Chocobo Mounts Guides
FF7 Rebirth Collectibles and Locations Guides
 Final Fantasy 7 Rebirth All Collectibles List and Guide
FF7 Rebirth Boss Guides

| ▼FF7 Rebirth Boss Guides | |
|---|---|
 Materia Guardian Materia Guardian |
 Terror of the Deep Terror of the Deep |
 Phoenix Phoenix |
|
FF7 Rebirth Mini Game Guides

| ▼FF7 Rebirth Mini Game Guides | |
|---|---|
 Chocobo Racing Chocobo Racing |
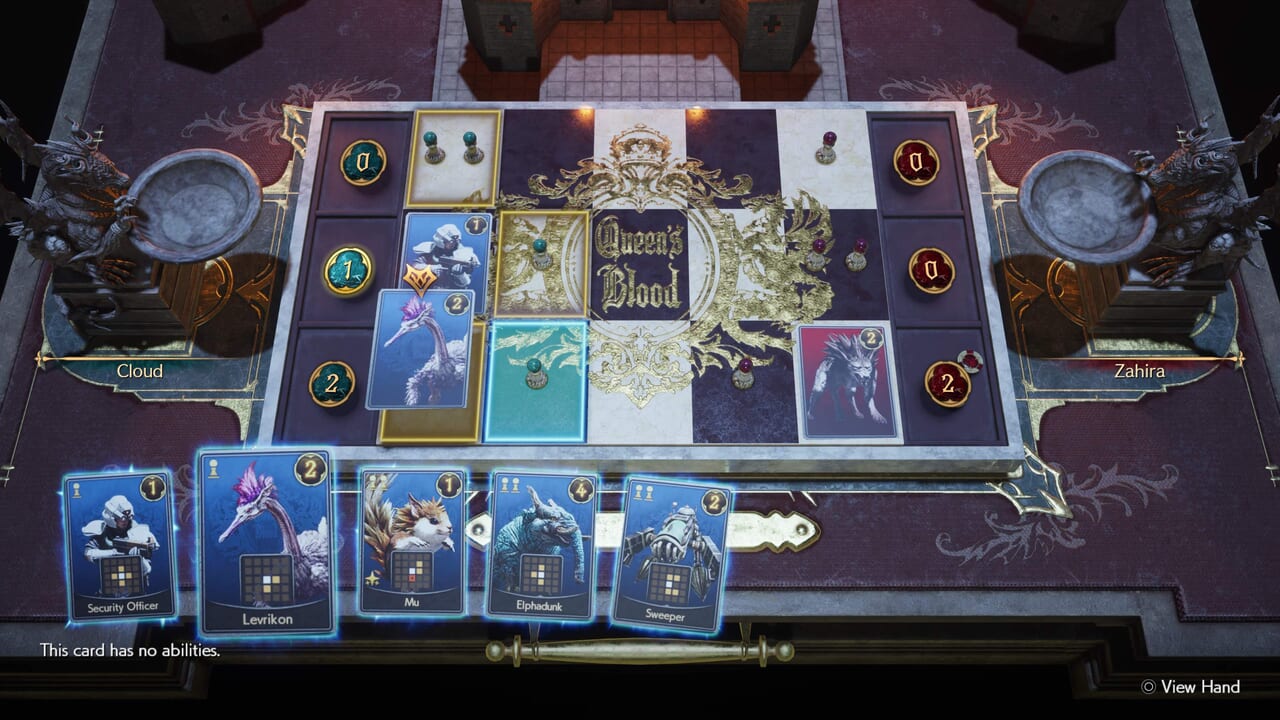 Queen's Blood Queen's Blood |
 Moogle Mischief Moogle Mischief |
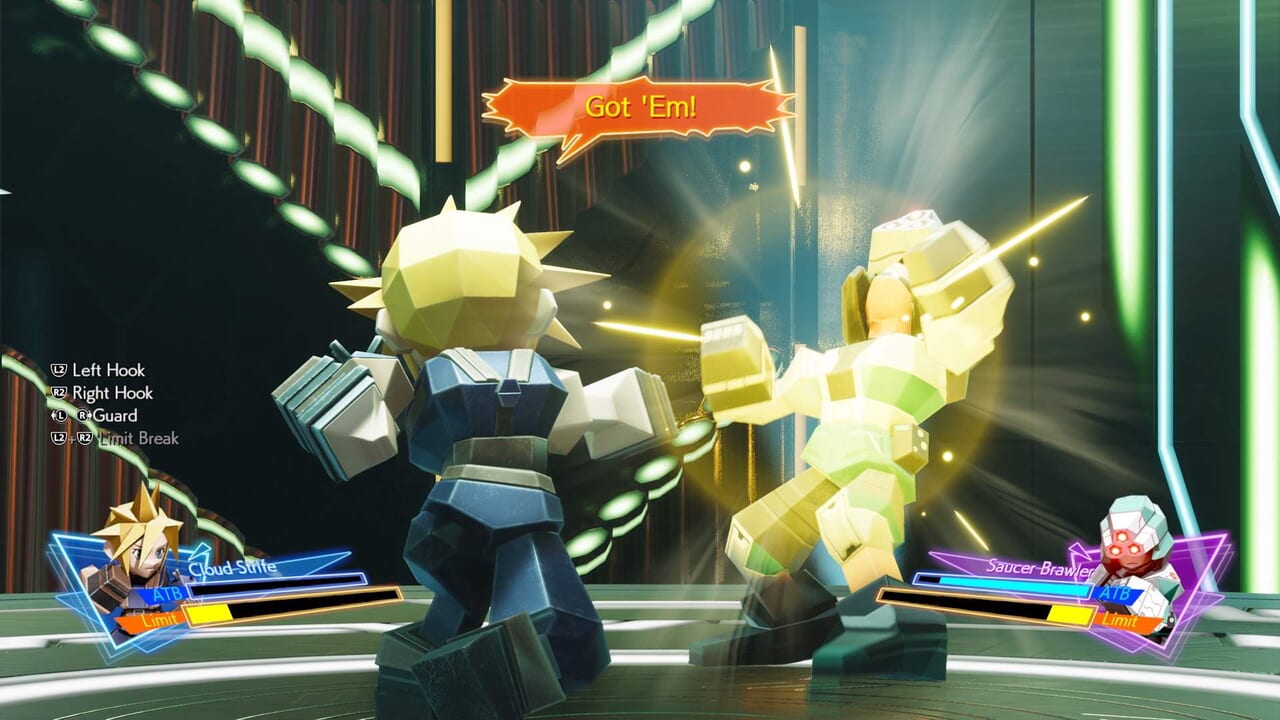 3D Brawler 3D Brawler |
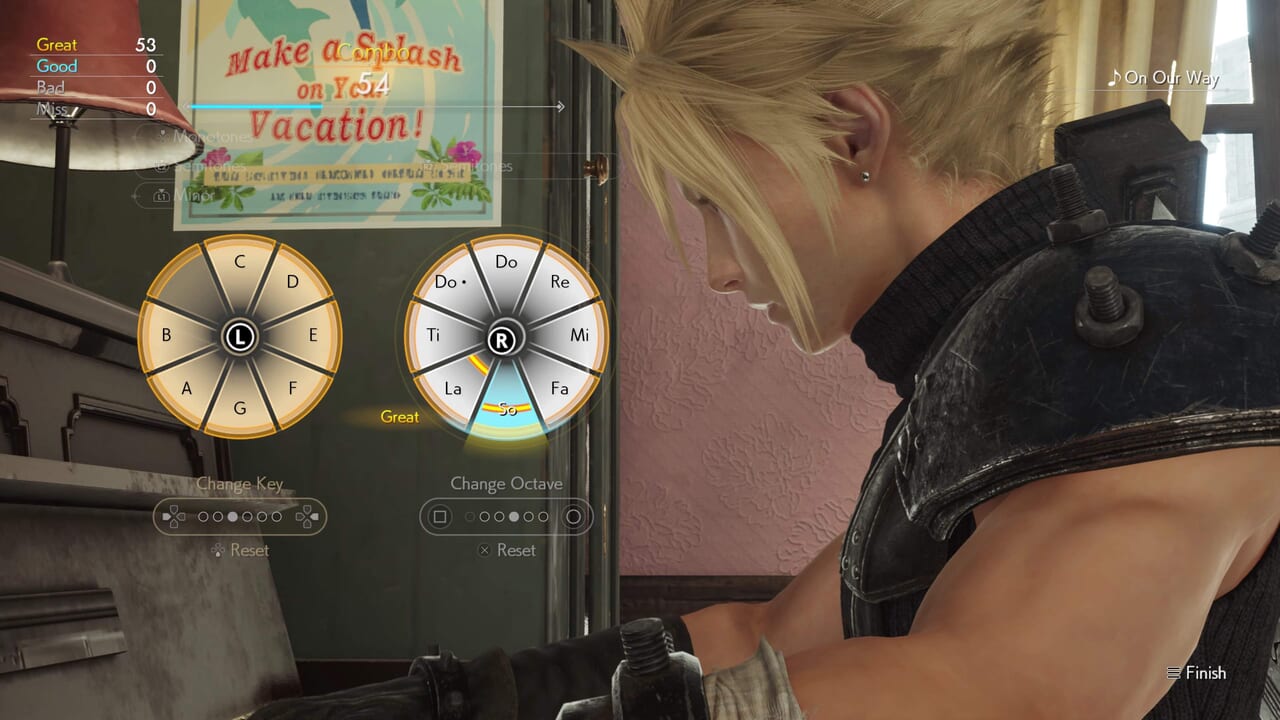 Piano Mini Game Piano Mini Game |
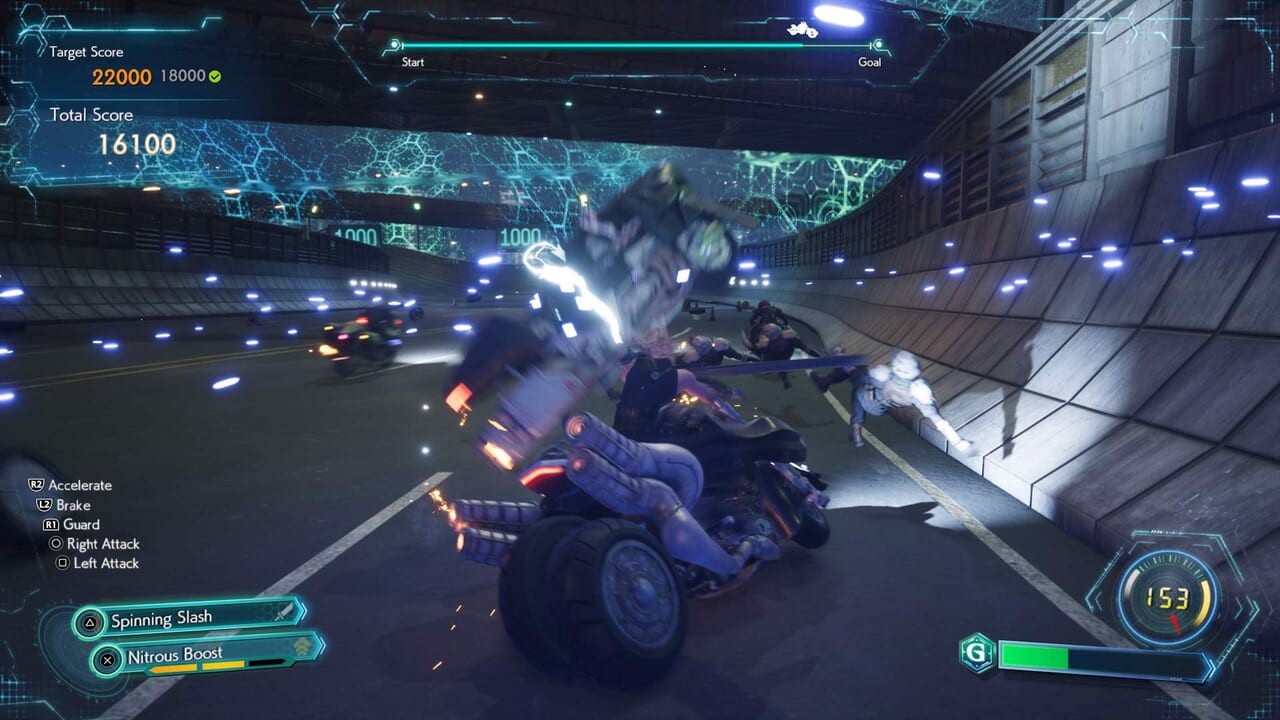 G-Bike G-Bike |
 Johnny's Seaside Inn Johnny's Seaside Inn |
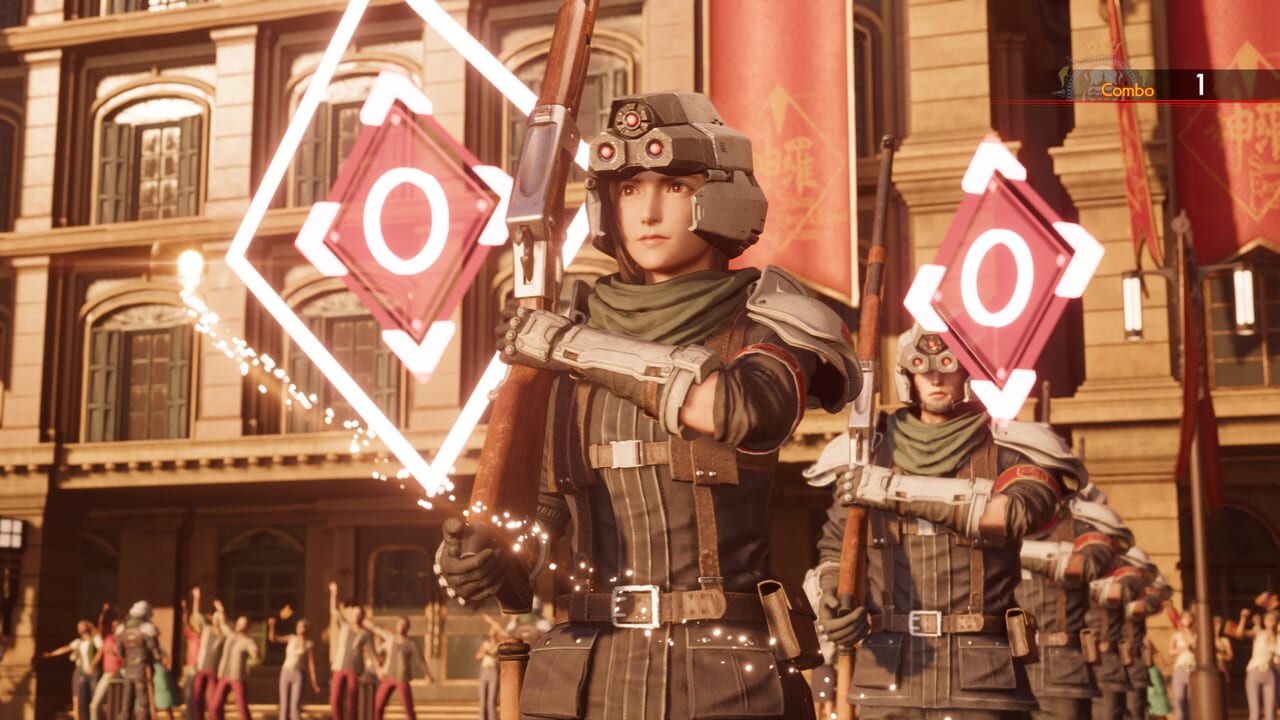 Junon Parade Junon Parade |
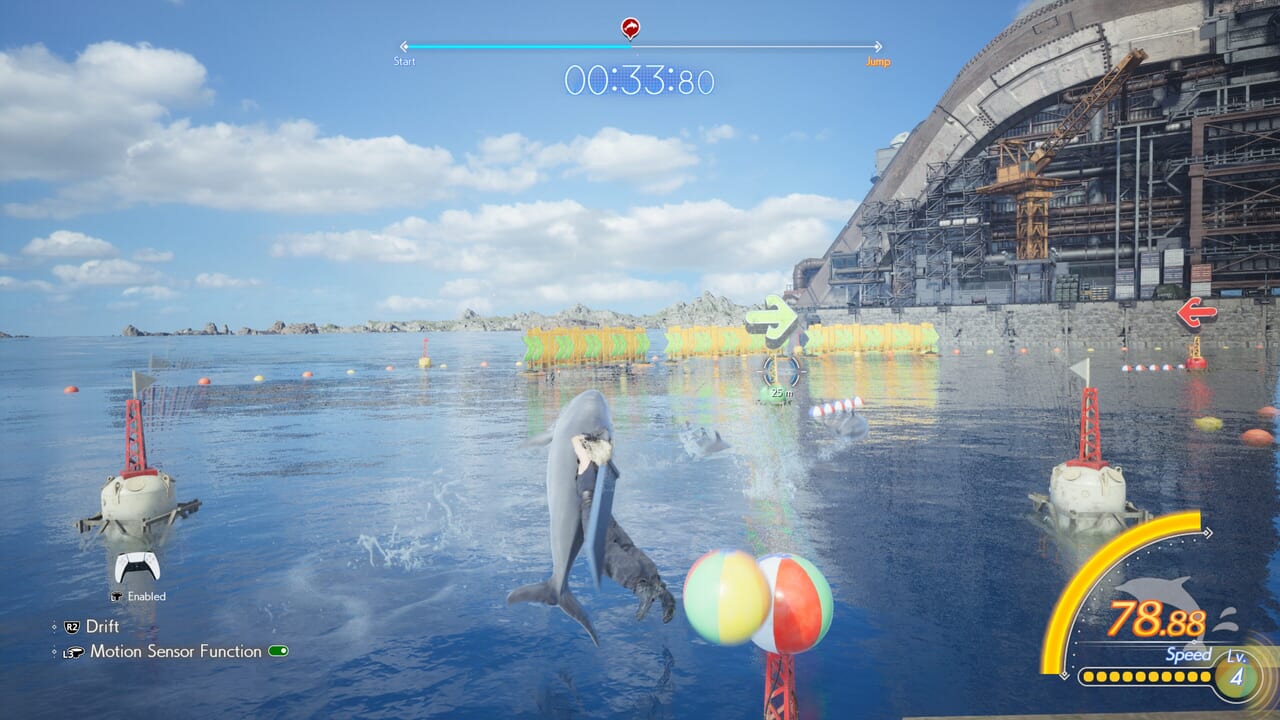 Dolphin Course Dolphin Course |
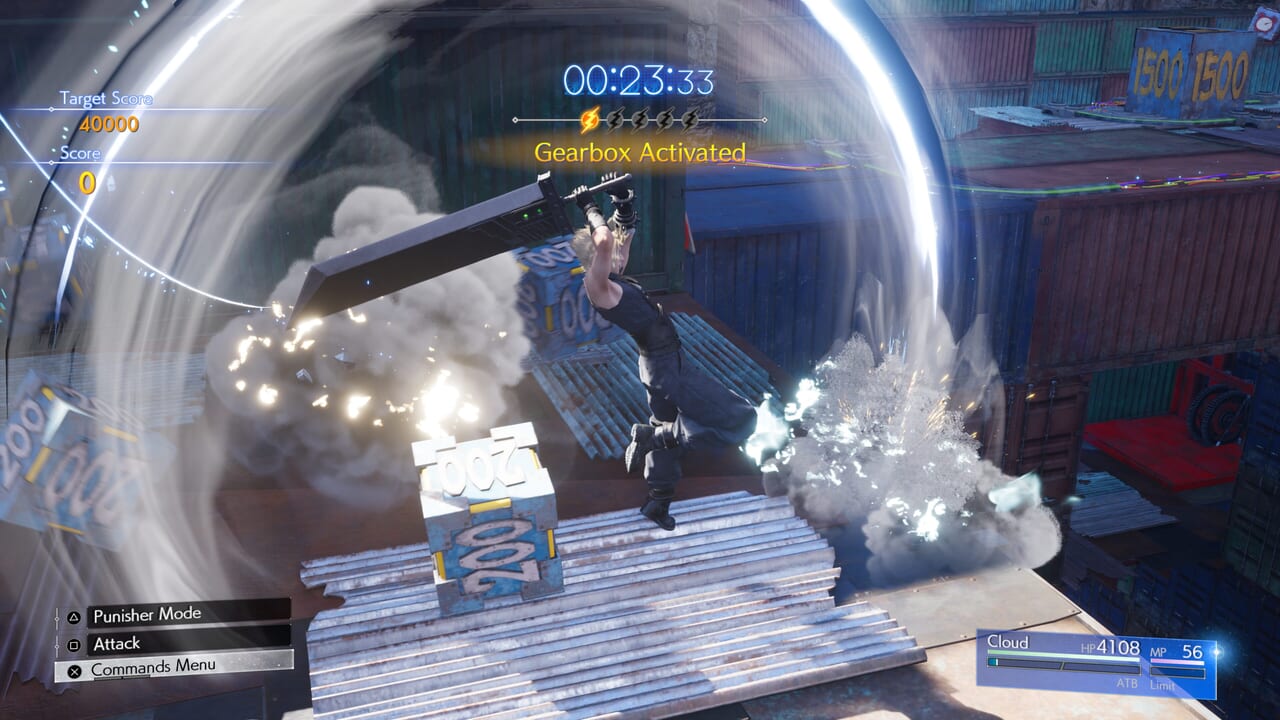 Desert Rush (Whack-a-Box) Desert Rush (Whack-a-Box) |
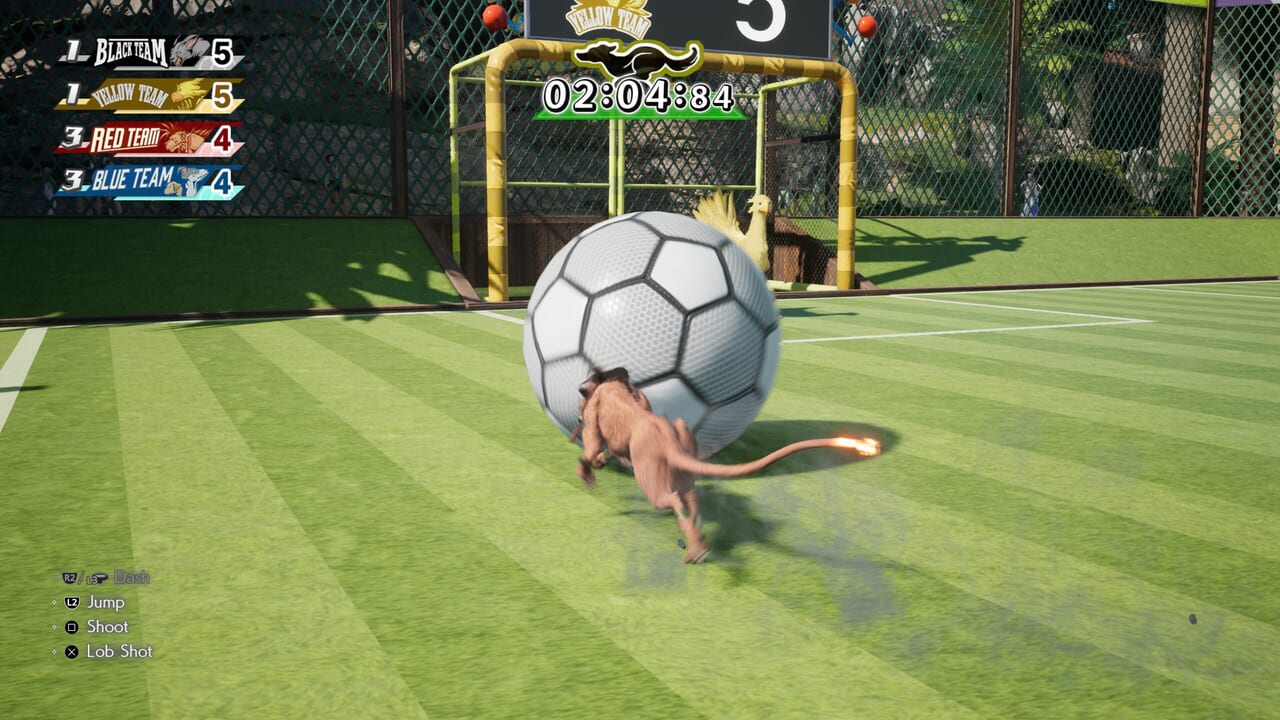 Run Wild (Soccer) Run Wild (Soccer) |
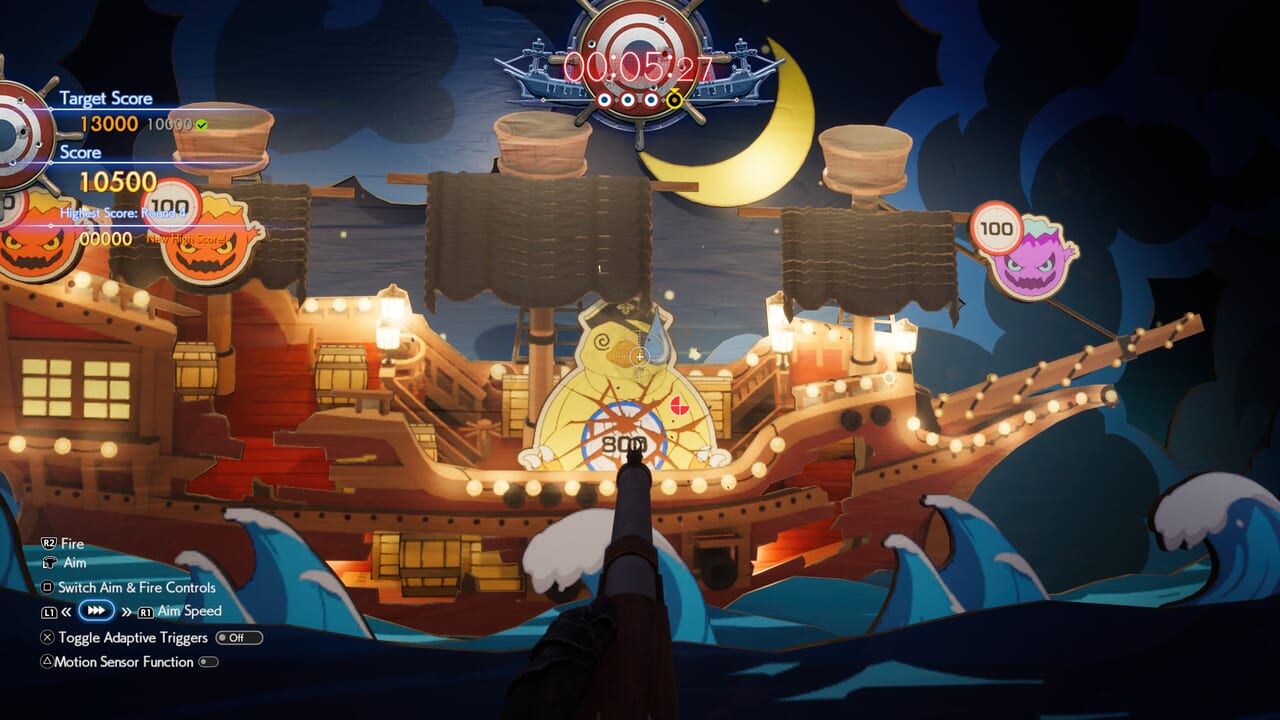 Pirate's Rampage Pirate's Rampage |
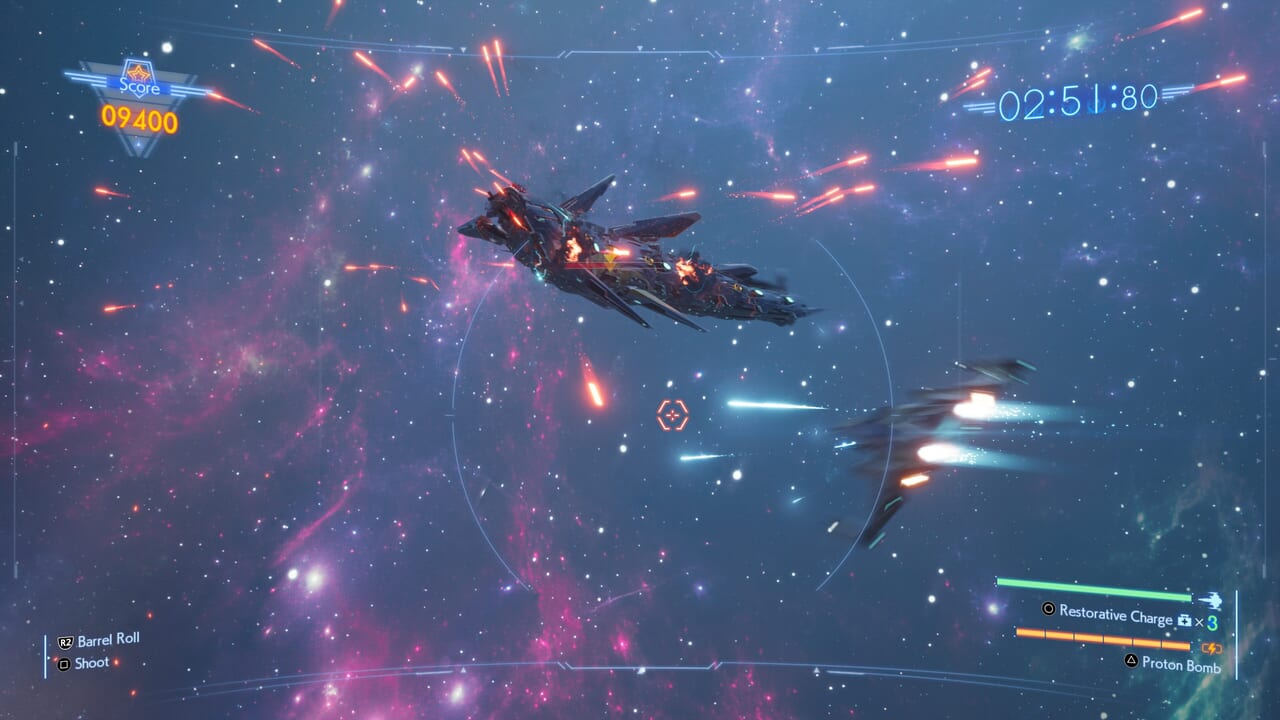 Galactic Saviors Galactic Saviors |
|
FF7 Rebirth Summon Guides

New Summons
| ▼FF7 Rebirth New Summons | |
|---|---|
Returning Summons
| ▼FF7 Rebirth Returning Summons | |
|---|---|
FF7 Rebirth Game Database

Equipment
| ▼FF7 Rebirth Equipment Database | |
|---|---|
Materia
| ▼FF7 Rebirth Materia Database | |
|---|---|
Skills and Magic
| ▼FF7 Rebirth Skills and Magic Database | |
|---|---|
| Weapon Abilities | Limit Breaks |
| Synergy Abilities | Synergy Skills |
| Magic | Summons |
FF7 Rebirth Characters

Playable Characters
| ▼FF7 Rebirth Playable Characters | |
|---|---|
Non-Playable Characters
| ▼FF7 Rebirth Non-Playable Characters | |
|---|---|
FF7 Rebirth Pre-Release Information

FF7 Rebirth Demo Walkthrough and Guides

Demo Walkthroughs
| ▼FF7 Rebirth Demo Walkthroughs | |
|---|---|
 Demo Part 1: Nibelheim Demo Part 1: Nibelheim |
 Demo Part 2: Junon Demo Part 2: Junon |
Demo Boss Guides
| ▼FF7 Rebirth Demo Boss Guides | |
|---|---|
| Materia Guardian |
Terror of the Deep |
| Phoenix |
|
Demo Useful Guides
FF7 Rebirth Game Forum

| ▼FF7 Rebirth Game Forum | |
|---|---|
| Chat Board | Question Board |
| Bug Report Board | |
Other FF7 Game Walkthroughs

| ▼FF7 Game Guides | |
|---|---|
| Final Fantasy 7 | Final Fantasy 7 Remake Intergrade |
| Crisis Core: Final Fantasy 7 Reunion | |
Leave a Reply