

Chapter 11: The Long Shadow of Shinra Walkthrough for Final Fantasy 7 Rebirth (FF7 Rebirth)
This page contains a complete walkthrough and guide for Chapter 11: The Long Shadow of Shinra in the Final Fantasy 7 Rebirth (FF7 Rebirth) including all party members (playable characters), obtainable items, enemies and bosses encountered, and strategies to clear the first main story section of the game.
Chapter 11: The Long Shadow of Shinra Walkthrough Overview
Party Members
| Name | Availability |
|---|---|
| Cloud Strife |
Nibelheim, Mt. Nibel Path, Nibel Reactor, Shinra Manor (Basement) |
| Aerith Gainsborough |
Nibelheim, Shinra Manor, Shinra Manor (Basement) |
| Barret Wallace |
Nibelheim, Shinra Manor, Shinra Manor (Basement) |
| Tifa Lockhart |
Nibelheim, Mt. Nibel Path, Nibel Reactor, Shinra Manor (Basement) |
| Red XIII |
Nibelheim |
| Yuffie Kisaragi |
Nibelheim, Mt. Nibel Path, Nibel Reactor, Shinra Manor (Basement) |
| Cait Sith |
Nibelheim, Shinra Manor, Shinra Manor (Basement) |
Final Fantasy 7 Rebirth Playable Characters List and Guide
Obtainable Items
| Item | Location |
|---|---|
| Resounding Megaphone (Cait Sith Weapon) | Nibelheim |
| Crystal Gloves (Tifa Weapon) | Mt. Nibel Path |
| HP <> MP Materia | Mt. Nibel Path |
| Igneous Saber (Cloud Weapon) | Mt. Nibel Path |
| Mythril Ore | Mt. Nibel Path |
| Sapphire | Mt. Nibel Path |
| Fortification Materia | Mt. Nibel Path |
| Warding Materia | Mt. Nibel Path |
| Giga-Potion | Mt. Nibel Path |
| Golden Megaphone (Cait Sith Weapon) | Shinra Manor |
| Revival Earrings (Accessory) | Shinra Manor |
| Gravity Materia | Shinra Manor |
| Dry Ether | Shinra Manor |
| ATK <> MATK Materia | Shinra Manor |
| Collector’s Item: Stuffed Fat Moogle | Shinra Manor |
| Giga Potion | Shinra Manor |
| Turbo Ether | Shinra Manor (Basement) |
| Valron (QB Card) | Nibelheim (Beat Turner in Queen’s Blood) |
| Twin Brain (QB Card) | Nibelheim (Beat Dale in Queen’s Blood) |
Enemies
| Enemy | Weakness |
|---|---|
| Twin Brain | None |
| Zu | Wind |
| Dragon | Ice |
| Black Bats | None |
| Adjudicator | None |
Final Fantasy 7 Rebirth Enemies List: Weaknesses and Obtainable Items
Bosses
| Enemy | Weakness |
|---|---|
| Diabolic Variant | Ice |
| Yin & Yang | Fire |
| Forgotten Specimen | None |
| Galian Beast | Fire, Deprotect, Deshell, Debrave, Defaith |
| Roche | None |
Chapter 11 Odd Jobs (Side Quests)
| Side Quest | Location |
|---|---|
| Esoteric Secrets of the Elders | Nibelheim |
| My White-Haired Angel | Nibelheim |
Final Fantasy 7 Rebirth Odd Jobs (Side Quests) List
Chapter 11 Bonds of Friendship Dialogue Choices and Answers
Aerith (Mako Tower)
| Dialogue | Answers |
|---|---|
| “You never came up here hopin’ she’d wave?” | ‘Sounds like something I’d do.’ (★★★) |
| ‘What? No way.’ (★★) | |
| ‘That’s not funny.’ (★) |
Tifa (Tifa’s House)
| Dialogue | Answers |
|---|---|
| “It was taking a toll… Then you turned up.” | ‘Have I helped you get through it at all?’ (★★★) |
| ‘Like it was fate.’ (★★) | |
| ‘I never knew that.’ (★) |
Barret (Inn)
| Dialogue | Answers |
|---|---|
| “We gotta do something, right?” | ‘Hell yeah you’re right. Screw them.’ (★★★) |
| ‘I wanna know why they put the robes here.’ (★★) | |
| ‘Not much we can do.’ (★) |
Red XIII (Near the Stairs Going out of the Town)
| Dialogue | Answers |
|---|---|
| “No one wants to hear people badmouth their hometown.” | ‘This isn’t my hometown.’ (★★★) |
| ‘I never liked that place either.’ (★★) | |
| ‘Yeah, does kinda make you feel like shit.’ (★) |
Yuffie (Near the Stairs Going out of the Town)
| Dialogue | Answers |
|---|---|
| “What about, say, oh…materia?” | ‘Yup.’ (★★★) |
| ‘Dunno.’ (★★) | |
| ‘Come to think of it…nope.’ (★) |
Final Fantasy 7 Rebirth Bonds of Friendship Dialogue Answers List
Chapter 11 Story Beat Relationship Events
There are no story beat events to increase relationships with any party member in this chapter.
Final Fantasy 7 Rebirth All Chapter Relationship Events List
Chapter 11 Walkthrough Summary
Nibelheim
| 1 | After arriving at the Nibel airstrip, clear the Chocobo Intel to allow you travel around the region faster. |
|---|---|
| 2 | Head to Nibelheim and go to the village center for a cutscene. |
| 3 | Talk to your party members to trigger relationship dialogue events with them. |
| 4 | Head to the shop to buy Resounding Megaphone (Cait Sith Weapon). |
| 5 | Go to the inn. Afterward, go upstairs and approach the door. |
| 6 | Watch the cutscene. Then, head to the mayor’s office and talk to Cait Sith. |
| 7 | Exit the village by going north. |
| 8 | Head to the reactor. Note that your party for upcoming first dungeon section will consist of Cloud, Tifa, and Yuffie. |
Mt. Nibel Path – Mt. Nibel Reactor
| 1 | Follow the quest marker along the path. Pick up Crystal Gloves (Tifa weapon) by opening the chest along the way. |
|---|---|
| 2 | Use the rest spot further along the path if you need to. Then, take down the enemies nearby. |
| 3 | Go inside the cave and take out more enemies near the mako spring. |
| 4 | Head down the mako spring and watch the cutscene. Then, grab the nearby HP <> MP Materia on the ground. |
| 5 | Once you are out of the cave, continue moving forward. You will eventually come to a section where Yuffie fixes a rope to climb up the upper mountain level. |
| 6 | Go up the rope. Then, move forward and take down the monsters along the path. |
| 7 | Get Igneous Saber (Cloud weapon) from the chest on the platform between the walls on either side as you go up. |
| 8 | Afterwards, go down again and head for the wall on the left. Go up the fenced area and open the chest to get Mythril Ore x1. |
| 9 | Go back down again. Then, head for the wall on the right. Climb up and move to the platform next to it. Head right again and go up the ledge to find a chest containing Sapphire. |
| 10 | Just nearby is another wall you can climb. Go up and head left to find another chest near some boards with Fortification materia. |
| 11 | From here, go all the way up the to the top of the climbable walls. Move forward while staying on the right of the path and pick up the Warding materia. |
| 12 | Afterwards, head for the quest marker and take out the Dragon along the way. |
| 13 | Go inside the opening to reach the pipeline. |
| 14 | When you reach the next area, use the pipes to move through the area. Feel free to go through any pipe as you will eventually reach the next destination regardless of which ones you move through. |
| 15 | When you reach the bottom of the area, approach the gate. Then, grab the generator and place it near the fence and some boards. Jump over it before pulling the switch that opens the gate for your allies. |
| 16 | From here, you can choose to use the now-operational elevator to collect some items from the other areas you can reach via the other pipes you did not take. |
| 17 | When you are ready to proceed, move forward along the main path again. Take out the enemies along the way and exit the room through the door. |
| 18 | In the next area, go left to get Giga-Potion from the nearby chest. Then, follow the main path on the right to find another elevator. |
| 19 | Go up to the upper level. Then, move forward and use the rest stop if you need to. Then, head for the reactor and prepare to battle Diabolic Variant. |
| 20 | Diabolic Variant is weak to ice so using Ice materia is recommended for this fight.
Your main focus for a good portion of the fight against Diabolic Variant is to destroy its Right Arm. This will allow you to easily pressure the boss before unloading on it to build its stagger gauge even more. When the boss creates copies of itself, focus on taking them out before turning your attention to the boss’ real body. |
| 21 | After taking down Diabolic Variant, watch the cutscene. |
Nibelheim – Shinra Manor
| 1 | In the next section, you will take control of a party that consists of Cait Sith, Aerith, and Barret. |
|---|---|
| 2 | Head to Shinra Manor and enter the main entrance. |
| 3 | Go down the elevator to reach the basement. |
| 4 | When you find yourself in the cell, have Cait Sith pass through the vent nearby by pressing and holding the R2 button. |
| 5 | Take out the enemies outside the cell. Then, call Cait Sith’s Moogle friend by pressing ↑ on the directional pad. You must then use boxes to hit the lock switch of the cell where Aerith and Barret to open the door. |
| 6 | Get a box by stepping on a provision switch (button on the floor), Then, grab the box by pressing the L2 button. Then, aim for the switch on the wall before throwing the box. |
| 7 | There is another cell nearby that holds a Golden Megaphone (Cait Sith weapon) that you can also open using this method. |
| 8 | From here, move down the hallway and take out the enemies. On the way to the quest marker is another vent that you can enter to reach a cell housing a chest. Open it to get Revival Earrings (accessory). |
| 9 | Backtrack to the hallway through the vent again. Go through the door ahead and use the elevator terminal. |
| 10 | The elevator will be blocked by a pipe, preventing it from coming down. You need to drop a box here using the button again. Then, head to the right and go up the small platform and aim for the pipe. |
| 11 | Use another box and throw it at the crates in the room to get Gravity materia. |
| 12 | Head back to the elevator and ride it to the upper level. |
| 13 | Head to the next room while taking out the enemies along the way. Afterwards, enter the vent near Aerith and Barret. |
| 14 | Take out the enemies in the room before using the panel by the door. Then, head to the left to find a room with chest containing Giga-Potion. |
| 15 | Head back and push the cart in the previous room toward the spot that the boxes will drop onto. Then, use the button to drop a box that will bounce off the cart. Finally, grab the box and aim at the valve to open the door for Aerith and Barret. |
| 16 | Move to the next area and into a large room. You can grab a Barrier materia nearby next to some mako crates. |
| 17 | From here, you will need to open the door by hurling mako crates at red-lit funnels of the spinning machine in the middle. If you run out of crates, just use the provision switches to drop some more. |
| 18 | Head to the next room and take out the enemies here. |
| 19 | Go up the elevator. Then, deal with more enemies in the next area. Open the nearby chest to get 1,700 Gil. |
| 20 | Use the rest stop if you need to. Then, head for the quest marker and use the console near the door. |
| 21 | Head to the next area. Then, use a box to hit the red switch to turn it blue which gives you access to the blue vent. |
| 22 | Go through the vent and take out the enemies in the next area. Pick up Dry Ether to the north. |
| 23 | Enter another blue vent and take out the Adjudicator. Then, grab a box and throw it down to the switch on in the middle of the lower area. Afterwards, enter another vent to find ATK <> MATK materia. Head back through the vent and throw another box to turn the switch to red again. |
| 24 | From here, enter the red vent. Turn left to find a Hades Armlet from a chest. |
| 25 | Take out more enemies in the next floor. Then, head for the ramp to find the elevator terminal |
| 26 | After trying to use the terminal, you must make the cargo elevator come down by throwing boxes at it. Use the metal crates to force the elevator down. If you need more, use the provision switch nearby. |
| 27 | One the elevator is heavy enough, walk to it. Then, destroy the crates to allow you to go up. |
| 28 | Move forward in the next area and use the terminal. Then, prepare to battle Yin & Yang (this will be a one-on-one battle so take the time to setup Cait Sith’s loadout before proceeding). |
| 29 | Yin & Yang is weak to fire so use fire spells to build up its stagger gauge faster.
It is also recommended to come to the fight with good physical and magic damage protection so spells like Protect, Manaward, and Manawall will be very useful. Focus on building up the boss’ stagger gauge during the fight. When one of the boss’ heads stop moving, it will begin to attack relentlessly so be on the defensive and dodge or block to avoid taking too much damage. Be sure to save some ATB charges as well to be able to use healing items or magic when you need to. |
| 30 | After the fight, and use the elevator to go up. When it stops, use the boxes that drop down to hit at least 10 boxes on the conveyor on the other side within the time limit. Doing so lets you obtain Collector’s Item: Stuffed Fat Moogle (Johnny’s Treasure Trove item) afterwards. |
| 31 | When the elevator goes up and arrive at the top floor, move forward and approach the password-locked door. Then, turn left and pull the cart away from the ladder that leads to a chest containing Giga Potion. |
| 32 | From here, grab onto the other carts and pull them out of the walls to get the password which is 36-10-59-97. |
| 33 | After opening the door using the password, use the rest stop. Then, prepare to battle Forgotten Specimen. |
| 34 | Forgotten Specimen will constantly switch between gaining physical and magic damage resistance when you inflict enough of either damage types to it.
Forgotten Specimen starts of with high magic resistance, so have Barret use normal attacks and abilities to force it to change its affinities. When it becomes weak to magic (and strong against physical), setup Arcane Ward with Aerith and hit it with your strongest elemental spells. Repeat the processes of switching your main attacker until you drop the boss’ HP to half. When the boss is at 50% health, it will use Metamorph to gain physical and magic resistance. At this stage, it will also gain Reflect which you can negate using physical attacks. Afterwards, the boss will apply Shield to itself which can be disable using magic. |
| 35 | After taking down the boss, go through the door and ride the elevator to where Cloud and the rest of the party are. |
Shinra Manor (Basement)
| 1 | When you regain control of Cloud, go west and approach the doors ahead. |
|---|---|
| 2 | Watch the cutscene. Then, answer with “Sephiroth” (though any answer is okay). |
| 3 | Use the rest stop to heal if you need to. Then, head left and open the chest to get Turbo Ether. |
| 4 | Go out of the room and head for the next door. Before proceeding, it is recommended to equip Fire, Disempowerment, and Enervation materia for the upcoming boss fight. |
| 5 | Follow the mako cable and prepare to battle Galian Beast. |
| 6 | Build up Galian Beast’s stagger gauge by having Aerith setup Arcane Ward to doublecast fire spells. |
| 7 | You will want to mitigate as much damage as you can from Galian Beast’s relentless assault as well as make the boss more vulnerable to your own attacks. Using spells like Deprotect, Deshell, Debrave, and Defaith will help you outlast the boss, especially if you get hit too often or have a hard time parrying his attacks with Cloud’s Operator mode. |
| 8 | After the battle, watch the cutscene. Then, head for the exit to leave the manor and use the rest stop outside. |
Nibelheim
| 1 | Head for the gate and prepare to battle Roche. |
|---|---|
| 2 | Roche will put up a better fight this time around, though he is still far easier to deal with compared to the other bosses you faced prior. Just time your counter with Cloud’s Operator Mode to be able to give you a good opening to pummel him with strong attacks. When he is staggered, just unload on him with Braver or any other strong single target attack. Finally, close out the fight with a Limit Break. |
| 3 | Watch the cutscene. |
| 4 | From here, it is recommended to do some of the side quests that become available as well as some of the World Intel objectives here in Nibel region. |
| 5 | You can also challenge the Queen’s Blood players here to get new cards. Turner is found at the Town Hall and gives you the Valron card for beating him. |
| 6 | Dale is at the Treatment Center (Tifa’s old house). Defeat him to get Twin Brain card. |
| 7 | When you are ready to proceed with the main story again, talk to Cid at Nibel airstrip to go back to Gold Saucer. |
| ← Ch. 10: Watcher of the Vale | Ch. 12: A Golden Key → |
Final Fantasy 7 Rebirth Recommended Article List
FF7 Rebirth Chapter Walkthroughs
 Final Fantasy 7 Rebirth All Chapter Walkthroughs List
 Ch. 1: Fall of a Hero
 Ch. 2: A New Journey Begins
 Ch. 3: Deeper into Darkness
 Ch. 4: Dawn of a New Era
 Ch. 5: Blood in the Water
 Ch. 6: Fool's Paradise
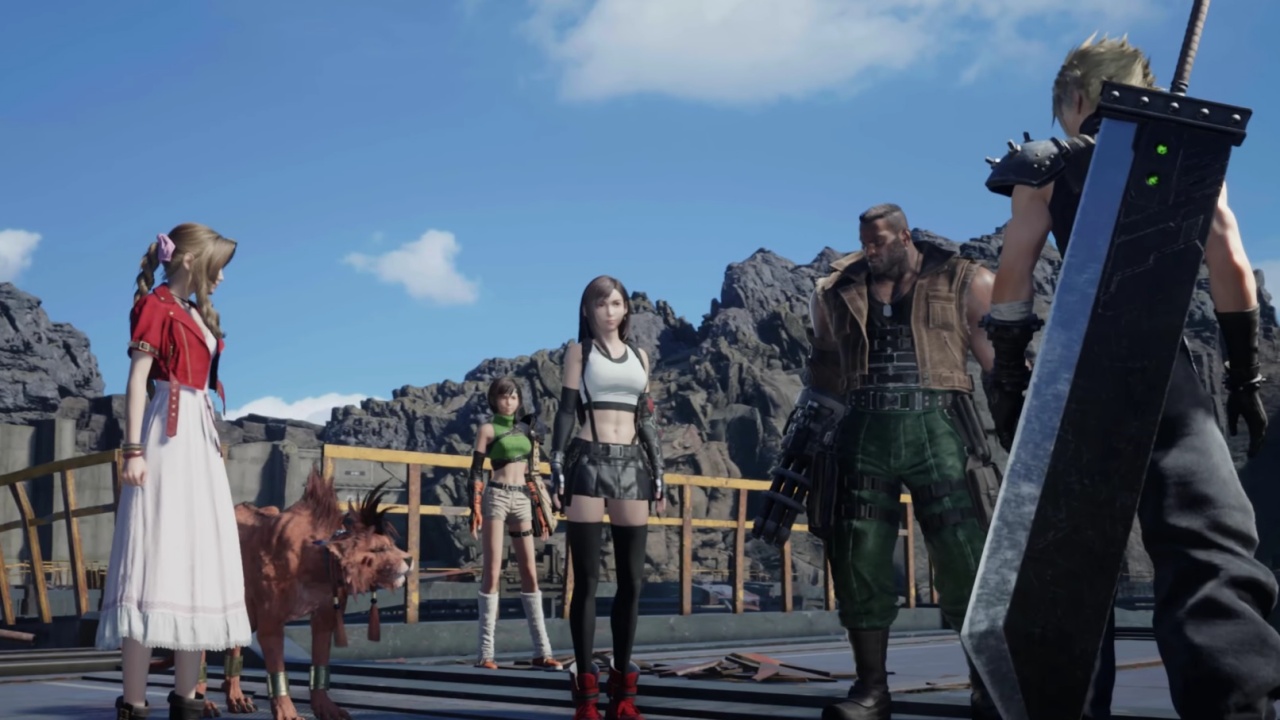 Ch. 7: Those Left Behind
 Ch. 8: All that Glitters
 Ch. 9: The Planet Stirs
 Ch. 10: Watcher of the Vale
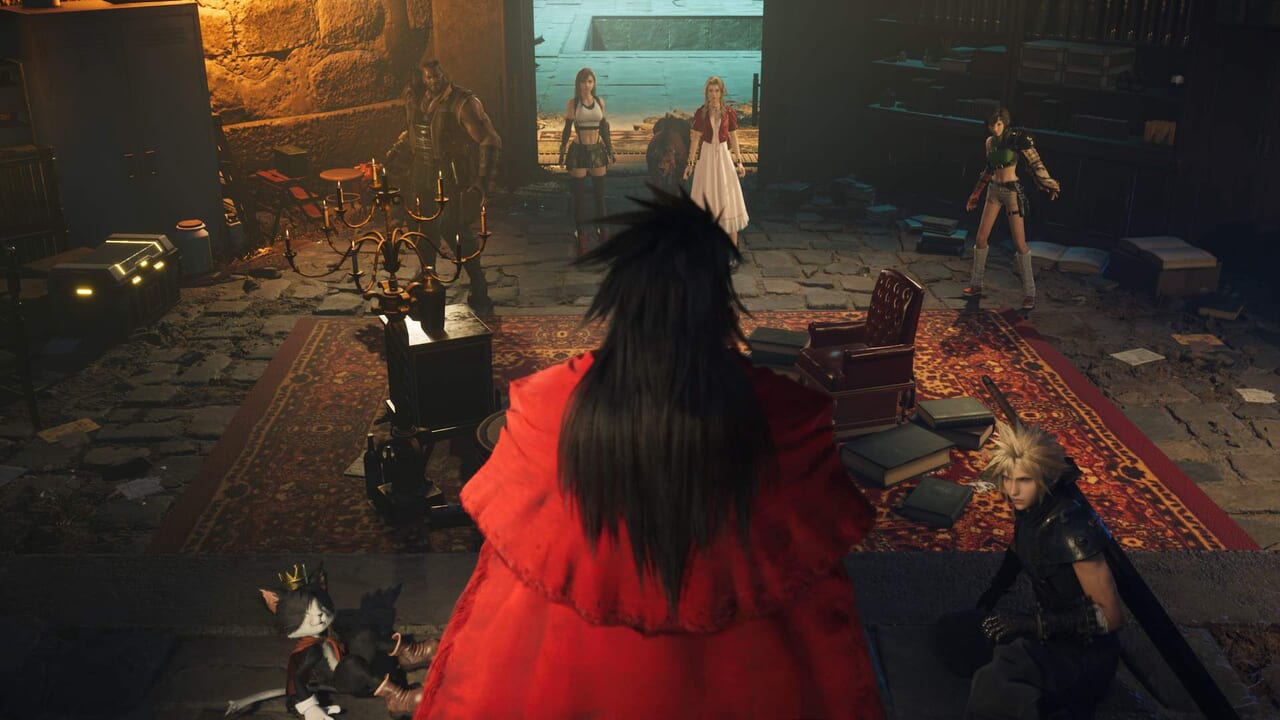 Ch. 11: The Long Shadow of Shinra
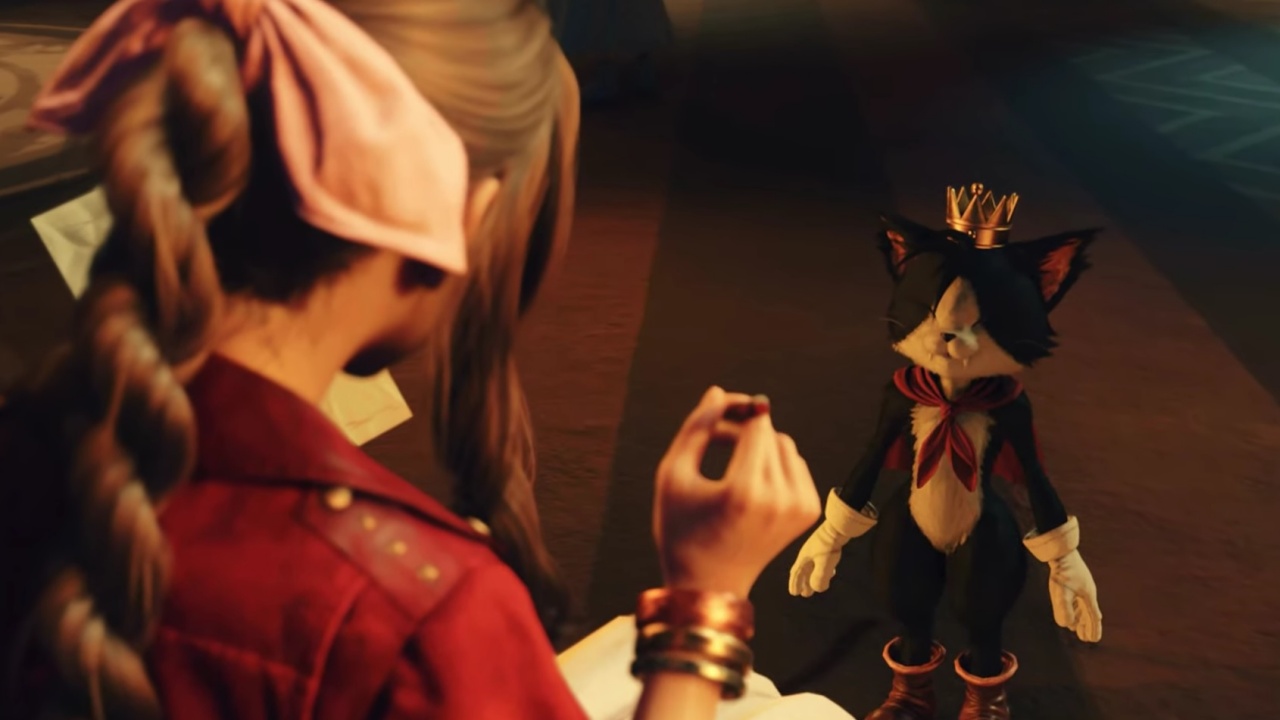 Ch. 12: A Golden Key
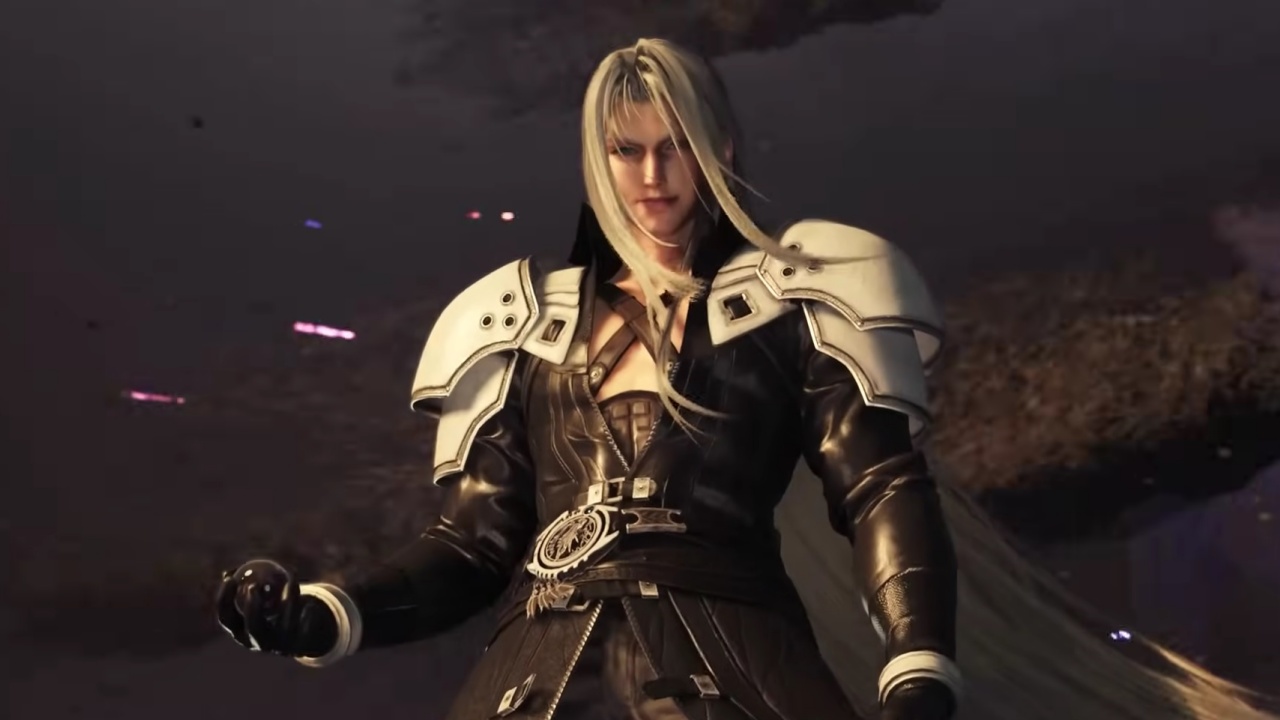 Ch. 13: Where Angels Fear to Tread
 Ch. 14: End of the World
FF7 Rebirth Side Quests (Odd Jobs)

Chapter 2 Side Quests
| ▼FF7 Rebirth Chapter 2 Side Quests | |
|---|---|
| Flowers from the Hill | Livestock’s Bane |
| Lifeline in Peril | Where the Wind Blows |
| A Rare Card Lost | |
Chapter 4 Side Quests
| ▼FF7 Rebirth Chapter 4 Side Quests | |
|---|---|
| Stuck in a Rut | When Words Won’t Do |
| The Hardest Sell | Dreaming of Blue Skies |
| Calling All Frogs | |
Chapter 7 Side Quests
| ▼FF7 Rebirth Chapter 7 Side Quests | |
|---|---|
| The Saga of the Seaside Inn | Rendezvous in Costa del Sol |
| Bodybuilders in a Bind | Of Robed Men and Ransoms |
Chapter 9 Side Quests
| ▼FF7 Rebirth Chapter 9 Side Quests | |
|---|---|
| Missing: Mr. Birdie | The Pursuit of Perfection |
| O Chicken, Where Art Thou | Teach Me, Great Warrior |
| The Spice of Life | |
Chapter 10 Side Quests
| ▼FF7 Rebirth Chapter 10 Side Quests | |
|---|---|
| Bonds of Trust | Absence of a Sign |
| From Whence Life Flows | Promises to Keep |
Chapter 11 Side Quests
| ▼FF7 Rebirth Chapter 11 Side Quests | |
|---|---|
| Esoteric Secrets of the Elders | My White-Haired Angel |
Chapter 12 Side Quests
| ▼FF7 Rebirth Chapter 12 Side Quests | |
|---|---|
| Hustle and Grind | Beneath Still Waters |
| Tides of War and Worry | Gold Cup or Bust |
| Trouble in Paradise | Sand and Circuses |
| Escape from Endless Writer’s Block | Woodland Vigil |
| Victim of Circumstance | Lament of the Damned |
| Can’t Stop Won’t Stop | |
FF7 Rebirth Strategy Guides

Beginner Guides
| ▼FF7 Rebirth Beginner Guides | |
|---|---|
| Game Controls | Game Difficulty |
| Beginner's Guide: Things to Do First | Best Gameplay Settings |
| Battle System Guide | Permanent Events and Missables |
| Characters List | Stats and Attributes Guide |
| Status Effects List and Guide | How to Recover HP and MP |
| How to Save | How to Fast Travel |
| How to Upgrade Weapons | How to Unlock Skill Cores |
| How to Increase Weapon Ability Slots | How to Unlock Weapon Abilities |
| How to Tame Chocobos | How to Ride Chocobos |
| How to Change Party Members | |
Useful Guides
Relationship Guides (Bonds of Friendship)
| ▼FF7 Rebirth Relationship Guides | |
|---|---|
| Aerith Intimate Date Guide | Tifa Intimate Date Guide |
| Barret Intimate Date Guide | Red XIII Intimate Date Guide |
| Yuffie Intimate Date Guide | |
Chocobo Mounts Guides
FF7 Rebirth Collectibles and Locations Guides
 Final Fantasy 7 Rebirth All Collectibles List and Guide
FF7 Rebirth Boss Guides

| ▼FF7 Rebirth Boss Guides | |
|---|---|
 Materia Guardian Materia Guardian |
 Terror of the Deep Terror of the Deep |
 Phoenix Phoenix |
|
FF7 Rebirth Mini Game Guides

| ▼FF7 Rebirth Mini Game Guides | |
|---|---|
 Chocobo Racing Chocobo Racing |
 Queen's Blood Queen's Blood |
 Moogle Mischief Moogle Mischief |
 3D Brawler 3D Brawler |
 Piano Mini Game Piano Mini Game |
 G-Bike G-Bike |
 Johnny's Seaside Inn Johnny's Seaside Inn |
 Junon Parade Junon Parade |
 Dolphin Course Dolphin Course |
 Desert Rush (Whack-a-Box) Desert Rush (Whack-a-Box) |
 Run Wild (Soccer) Run Wild (Soccer) |
 Pirate's Rampage Pirate's Rampage |
 Galactic Saviors Galactic Saviors |
|
FF7 Rebirth Summon Guides

New Summons
| ▼FF7 Rebirth New Summons | |
|---|---|
Returning Summons
| ▼FF7 Rebirth Returning Summons | |
|---|---|
FF7 Rebirth Game Database

Equipment
| ▼FF7 Rebirth Equipment Database | |
|---|---|
Materia
| ▼FF7 Rebirth Materia Database | |
|---|---|
Skills and Magic
| ▼FF7 Rebirth Skills and Magic Database | |
|---|---|
| Weapon Abilities | Limit Breaks |
| Synergy Abilities | Synergy Skills |
| Magic | Summons |
FF7 Rebirth Characters

Playable Characters
| ▼FF7 Rebirth Playable Characters | |
|---|---|
Non-Playable Characters
| ▼FF7 Rebirth Non-Playable Characters | |
|---|---|
FF7 Rebirth Pre-Release Information

FF7 Rebirth Demo Walkthrough and Guides

Demo Walkthroughs
| ▼FF7 Rebirth Demo Walkthroughs | |
|---|---|
 Demo Part 1: Nibelheim Demo Part 1: Nibelheim |
 Demo Part 2: Junon Demo Part 2: Junon |
Demo Boss Guides
| ▼FF7 Rebirth Demo Boss Guides | |
|---|---|
| Materia Guardian |
Terror of the Deep |
| Phoenix |
|
Demo Useful Guides
FF7 Rebirth Game Forum

| ▼FF7 Rebirth Game Forum | |
|---|---|
| Chat Board | Question Board |
| Bug Report Board | |
Other FF7 Game Walkthroughs

| ▼FF7 Game Guides | |
|---|---|
| Final Fantasy 7 | Final Fantasy 7 Remake Intergrade |
| Crisis Core: Final Fantasy 7 Reunion | |
is it Fortification materia or Fortification earring though? Can’t find the materia but the box on the ledge is an earring