

All Accessories List for Final Fantasy 7 Rebirth (FF7 Rebirth)
List of All Accessories in Final Fantasy 7 Rebirth
| Name | Price | Effects | How to Get |
|---|---|---|---|
| Power Wristguards | 800 Gil | Increases Strength by 5%. | Buy from the Vending Machine at Bill’s Ranch. |
| Hi-Power Wristguards | N/A | Increases Strength by 5%. Increases max HP by 250. | Craft via the Item Transmuter. |
| Supernatural Wristguards | N/A | Increases Strength by 10%. | Complete Odd Job: Body Builders in a Bind and defeat Ronnie in Crunch-Off at the Training Gym. |
| Full Throttle Wristguards | N/A | Increases Strength by 10%. Increases max HP by 500. | Craft via the Item Transmuter. |
| Bulletproof Vest | 800 Gil | Increases Vitality by 5%. |
|
| Bulletproof Vest Mk. II | N/A | Increases Vitality by 5%. Increases max HP by 250. | Craft via the Item Transmuter. |
| Survival Vest | N/A | Increases Vitality by 10%. | Found in a treasure chest in Larboard Passage, near the lockers where you will change into soldier uniforms. |
| Riot Vest | N/A | Increases Vitality by 10%. Increases max HP by 500. | Craft via the Item Transmuter. |
| Earrings | 800 Gil | Increases Magic power by 5%. | Buy from Vending Machines and shops. |
| Magical Earrings | N/A | Increases Magic power by 5%. Increases max MP by 3. | Craft via the Item Transmuter. |
| Platinum Earrings | To be confirmed. | Increases Magic power by 10%. |
|
| Sorcerer’s Earrings | N/A | Increases Magic power by 10%. Increases max MP by 6. | Craft via the Item Transmuter. |
| Talisman | 800 Gil | Increases Spirit by 5%. |
|
| Talisman of Focus | N/A | Increases Spirit by 5%. Increases max MP by 3. | Craft via the Item Transmuter. |
| Timeworn Talisman | To be confirmed. | Increases Spirit by 10%. |
|
| Cetra Talisman | N/A | Increases Spirit by 10%. Increases max SP by 6. | Craft via the Item Transmuter. |
| Lucky Amulet | To be confirmed. | Increases Speed by 10. | To be confirmed. |
| Aureate Pinion | N/A | Increases Speed by 10. | Found in a treasure chest at Bill’s Ranch, near the east fence of the largest chocobo stable. |
| Champion Belt | N/A | Increases max HP by 10%. Increases Strength by 5%. | Complete the Odd Job: Bodybuilders in a Bind and defeat Jules in Crunch-Off at the Training Gym during Chapter 7. |
| Circlet | N/A | Increases max HP by 10%. Increases Magic power by 5%. |
|
| Space Ranger Service Medal | N/A | Increases Strength and Magic power by 5%. | Achieve 35,000 points on the Galactor Saviors mini game at Speed Square. |
| Space Ranger Medal of Honor | N/A | To be confirmed. | Achieve 45,000 points on the Galactor Saviors (Expert) mini game at Golden Saucer. |
| Fortitude Ring | N/A | Increases Vitality and Spirit by 50. | Can be acquired as a reward from Muscle Colosseum. Beat the Six-Person Bouts: Four-Way Deadlock in the Battle Square. |
| Jeweled Ring | N/A | Grants immunity to Petrify and Stone. | Craft via the Item Transmuter. |
| White Cape | N/A | Grants immunity to Toad. | Can be acquired as a reward from Muscle Colosseum. Beat the Six-Person Bouts: The Befouled at Musclehead Colosseum in the Battle Square. |
| Safety Bit | N/A | Grants immunity to Instant Death, Stone, and Petrify. |
|
| Star Pendant | To be confirmed. | Grants immunity to Poison. |
|
| Headband | N/A | Grants immunity to Sleep. |
|
| Protective Boots | N/A | Grants immunity to Slow and Stop. |
|
| Psychic’s Charm | N/A | Increases max MP and Magic power by 5%. Grants immunity to Silence. | Craft via the Item Transmuter. |
| Enhanced Psychic’s Charm | N/A | Increases max MP and Magic power by 8%. Grants immunity to Silence. | Craft via the Item Transmuter. |
| Karmic Cowl | N/A | Increases Vitality and Spirit by 30. Grants immunity to Slow and Instant Death. | Craft via the Item Transmuter. |
| Enhanced Karmic Cowl | N/A | Increases Vitality and Spirit by 50. Grants immunity to Slow and Instant Death. | Craft via the Item Transmuter. |
| Ribbon | N/A | Prevents detrimental status effects. Makes it harder to be interrupted while casting spells. | Complete the Odd Job: Can’t Stop Won’t Stop and defeat Sephiroth in the 3D Brawler. |
| Tarot Cards | N/A | Extends the duration of detrimental status effects applied to foes. | Complete Odd Job: Absence of a Sign. |
| Otherworldly Crystal | N/A | Reduces the duration of detrimental status inflicted on the wearer. | Complete Odd Job: Esoteric Secrets of the Elders and deliver 40 tucks of Chocograss to the Chocograss Collector at the Tack Shop. |
| Marlboro Orb | To be confirmed. | Extends the duration of detrimental status effects to foes. Reduces the duration of detrimental status inflicted on the wearer. | To be confirmed. |
| Enhanced Marlboro Orb | To be confirmed. | Increases max HP by 5%, extends the duration of detrimental status effects applied to foes. Reduces the duration of detrimental status inflicted on the wearer. | To be confirmed. |
| Enchanted Ring | N/A | Extends the duration of beneficial status effects by the wearer. | Clear the Odd Job: Lament of the Damned and complete all of the Shinra Combat Simulator Challenges. |
| Whistlewind scarf | N/A | Slightly fills the ATB gauge at the start of the battle. |
|
| Revival Earrings | 500 Gil | Grants Auto-Life at the start of the battle. Breaks upon use. |
|
| Fury Ring | N/A | Grants Berserk at the start of the battle, increasing damage dealt and received. | Complete Muscle Colessem Six-Person Bouts: The Archfiends. |
| Hermes Shoes | N/A | Grants Haste at the start of the battle. | Complete The Titan Slam Grade II Chocobo Race in Golden Saucer. |
| Enfeeblement Ring | N/A | Grants Toad at the start of the battle. |
|
| Gi Warrior’s Charm | N/A | Increases the Limit gauge fill rate by 10%. | Found inside a treasure in the Cave of the Gi during Chapter 10: The First Trial. Located inside the room in the Hall of Diversion, wherein you must bring the artifacts to Bugenhagen. |
| Silver Brawler’s Gloves | N/A | Slightly increases the Limit gauge charge rate upon staggering a foe. | Defeat Dio in the 3D Brawler minigame at Wonderment Square. |
| Golden Brawler’s Gloves | N/A | Increases the Limit gauge charge rate upon staggering a foe. | Defeat Ifrit in the 3D Brawler minigame at Gold Saucer. |
| Expeditionary Medal | N/A | Increases Limit level by 1 at the start of the battle. | Craft via the Item Transmuter. |
| Enhanced Expeditionary Medal | N/A | Increases Limit level to maximum at the start of the battle. | Craft via the Item Transmuter. |
| Draconic Ring | N/A | Increases the Limit gauge charge rate upon successfully blocking. | Craft via the Item Transmuter. |
| Enhanced Draconic Ring | N/A | Increases max HP by 5%. Increases the Limit gauge charge rate upon successfully blocking. | Craft via the Item Transmuter. |
| Limit Booster | N/A | Fills the Limit gauge halfway at the start of the battle. | Achieve a 31,000 score in the G-Bike Expert course at Gold Saucer. |
| Transference Module | N/A | Fills the Limit gauge after consuming ATB. | Complete the Musclehead Colosseum Six-Person Bouts: Riotous Feast. |
| Spectral Cogwheel | N/A | Fills the Limit gauge after consuming MP. | Complete the Musclehead Colosseum Six-Person Bouts: Access Denied. |
| Gotterdammerung | N/A | Completely fills the Limit Break gauge at the start of the battle. Gradually fills the Limit Break gauge during battle. | Complete the Brutal Challenge: Rulers of the Outer Worlds. |
| Chocoking’s Cape | N/A | Fills one ATB charge at the start of the battle. | Complete the Gold Cup or Bust side quest and win the Gold Cup in the Gold Saucer. |
| Speed Demon Keychain | N/A | Slightly replenishes ATB gauge when using a weapon ability. | Acquired automatically after defeating the boss during Chapter 4: Hue and Cry. |
| Corsair’s Compass | N/A | Partitions ATB gauge into three segments for a short period after using five types of commands. | Craft via the Item Transmuter. |
| Healing Materia Earrings | N/A | Allows use of the highest level of Healing Materia. | Can be acquired from the Corel Moogle Emporium South. |
| Cleansing Materia Earrings | N/A | Allows use of the highest level of Cleansing Materia. | Deliver 50 tufts of Chocograss at the Tack Shop. |
| Revival Materia Earrings | To be confirmed. | Allows use of the highest level of Revival Materia. | Can be acquired from the Corel Moogle Emporium North. |
| Fire Materia Earrings | N/A | Allows use of the highest level of Fire Materia. | Can be acquired from the Corel Moogle Emporium North. |
| Ice Materia Earrings | N/A | Allows use of the highest level of Ice Materia. | Can be acquired from a treasure chest during Chapter 9. Head to the Open World Cache: Sundappled Storehouses’ location. |
| Lightning Materia Earrings | N/A | Allows use of the highest level of Lightning Materia. | Complete the Musclehead Colosseum Six-Person Bouts: League of Reprobates. |
| Wind Materia Earrings | N/A | Allows use of the highest level of Wind Materia. | Achieve a 22,000 score in the Ghost Ship stage of the Pirate’s Rampage. |
| Poison Materia Earrings | N/A | Allows use of the highest level of Poison Materia. | Found inside a treasure on the east of the Fiend Intel 5: A Two-Pronged Assault during Chapter 9. |
| Binding Materia Earrings | N/A | Allows use of the highest level of Binding Materia. | Complete Combat Simulator Brutal Challenge: Army of the Damned. |
| Time Materia Earrings | N/A | Allows use of the highest level of Time Materia. | Complete The Bahamut Skirmish Grade II Chocobo Race in the Gold Saucer. |
| Subversion Materia Earrings | N/A | Allows use of the highest level of Subversion Materia. | Complete the Evaluation: Forsaken Specimens in the Shinra Combat Simulator. |
| Barrier Materia Earrings | N/A | Allows use of the highest level of Barrier Materia. | Achieve a 9,600 points in the Glide de Chocobo Training Course No. 3. |
| Empowerment Materia Earrings | N/A | Allows use of the highest level of Empowerment Materia. | Can be acquired from the Cosmo Canyon Moogle Emporium North. |
| Fortification Materia Earrings | N/A | Allows use of the highest level of Fortification Materia. | Found inside a treasure chest in the Norther Ridge during Chapter 11: To the Reactor. After arriving at the climbable wall during one of the main objectives, climb the right route instead. |
| Disempowerment Materia Earrings | N/A | Allows use of the highest level of Disempowerment Materia. | Can be found inside the submarine during the Phenomenon Intel 2: Airstrip Amblers. |
| Enervation Materia Earrings | N/A | Allows use of the highest level of Enervation Materia. | Complete the Musclehead Colosseum Two-Person Bout: Sedition. |
| Chakra Materia Earrings | To be confirmed. | Allows use of the highest level of Chakra Materia. | To be confirmed. |
| Assess Materia Earrings | N/A | Allows use of the highest level of Assess Materia. | Win in the Queen’s Blood Tournament. |
| Prayer Materia Earrings | N/A | Allows use of the highest level of Prayer Materia. | Complete the Combat Simulator Brutal Challenge: Unending Nightmare. |
| HP Up Materia Earrings | N/A | Allows use of the highest level of HP Up Materia. | Can be acquired from the Grasslands Moogle Emporium. |
| MP Up Materia Earrings | N/A | Allows the use of the highest MP Up materia, increasing maximum MP by 30%. | Complete the Combat Simulator Brutal Challenge: The Seventh Seal. |
| Item Master Materia Earrings | N/A | Allows the use of the highest level of Master Materia. | Achieve 2,500 points in the Protorelic 2 Intel at Cactuar Crush – Reactor 2. |
| Steadfast Block Materia Earrings | N/A | Allows the use of the highest level of Steadfast Block Materia. | Complete the Musclehead Colosseum Six-Person Bouts: Scratch That. |
| Precision Defense Focus Materia Earrings | N/A | Allows the use of the highest level of Precision Defense Focus Materia. | Can be acquired from Junon Moogle Emporium. |
| Noble’s Thief Gloves | To be confirmed. | Increases the success rate of Steal. | To be confirmed. |
| Pedometer Pin | N/A | Grants 1 gil every 100 steps taken. | Drive the Wheelie for 4,000 meters and claim the reward from the Help Desk. |
| Camaraderie Earrings | N/A | Increases damage dealt with Synergy Skills and Synergy Abilities by 10%. | Craft via the Item Transmuter. |
| Enhanced Camaraderie Earrings | N/A | Increases damage dealt with Synergy Skills and Synergy Abilities by 20%. | Craft via the Item Transmuter (Upgrade). |
| Beastkiller Badge | N/A | Grants a small chance to take zero damage when afflicted by a detrimental status effect. | Complete the Prison Tourney: Proof of Life at the Dustbowl. |
| Boxcrusher Keychain | N/A | Restores a small amount own HP and MP when staggering a foe. | Achieve 55,000 points in the Gold Rush minigame at the Dustbowl. |
| Crescent Moon Charm | N/A | Reduces damage taken while not actively controlled in battle. | Complete Chapter 2: Break in the Saddle. |
| Salvation Badge | N/A | Increases the effectiveness of healing items and spells applied to you when HP is 25% or lower. | Found on the highest level of the shipwreck during Chapter 4: Cargo Shipwreck. |
| Healing Carcanet | N/A | Increases the effectiveness of healing items, spells, and abilities during battle. |
|
| Mythical Amulet | N/A | Strengthens Summons called forth in battle. | Complete the Odd Job: Promises to Keep. |
| Genji Gloves | N/A | Breaks 9,999 damage limit. | Craft via the Item Transmuter. |
| Genji Earrings | N/A | Increases damage dealt by 15%, but also increases damage taken by 15%. | Craft via the Item Transmuter. |
| Genji Ring | N/A | Reduces damage taken by 15%, but also reduces damage dealt by 15%. | Craft via the Item Transmuter. |
| Reclaimant Choker | N/A | To be confirmed. | Can be obtained by purchasing the Deluxe Edition of the game. |
How to Get Accessories in Final Fantasy 7 Rebirth
Open treasure chests.
Treasure chests are scattered throughout the game’s massive open world. These chests may contain various items, including weapons, armor, consumable items, and, of course, accessories. Open the treasures that you come across as you explore the areas in the game.
Buy at the shop and vending machines.
Some of the accessories in the game can be bought at the shops and vending machines. Therefore, if you see a shop or vending machine, check out the products they are offering.
Craft via the Item Transmuter.
Pick up the materials, mostly found on the ground in each area of the game, and gather the amount required to transmute or craft items and accessories. To check the items available for you to transmute, open the main menu and select the Item Transmuter. Here, you will be able to see the items and their required materials, as well as the ones that you can already transmute.
Final Fantasy 7 Rebirth Item Transmuter Guide
Final Fantasy 7 Rebirth Recommended Article List
FF7 Rebirth Chapter Walkthroughs
 Final Fantasy 7 Rebirth All Chapter Walkthroughs List
 Ch. 1: Fall of a Hero
 Ch. 2: A New Journey Begins
 Ch. 3: Deeper into Darkness
 Ch. 4: Dawn of a New Era
 Ch. 5: Blood in the Water
 Ch. 6: Fool's Paradise
 Ch. 7: Those Left Behind
 Ch. 8: All that Glitters
 Ch. 9: The Planet Stirs
 Ch. 10: Watcher of the Vale
 Ch. 11: The Long Shadow of Shinra
 Ch. 12: A Golden Key
 Ch. 13: Where Angels Fear to Tread
 Ch. 14: End of the World
FF7 Rebirth Side Quests (Odd Jobs)

Chapter 2 Side Quests
| ▼FF7 Rebirth Chapter 2 Side Quests | |
|---|---|
| Flowers from the Hill | Livestock’s Bane |
| Lifeline in Peril | Where the Wind Blows |
| A Rare Card Lost | |
Chapter 4 Side Quests
| ▼FF7 Rebirth Chapter 4 Side Quests | |
|---|---|
| Stuck in a Rut | When Words Won’t Do |
| The Hardest Sell | Dreaming of Blue Skies |
| Calling All Frogs | |
Chapter 7 Side Quests
| ▼FF7 Rebirth Chapter 7 Side Quests | |
|---|---|
| The Saga of the Seaside Inn | Rendezvous in Costa del Sol |
| Bodybuilders in a Bind | Of Robed Men and Ransoms |
Chapter 9 Side Quests
| ▼FF7 Rebirth Chapter 9 Side Quests | |
|---|---|
| Missing: Mr. Birdie | The Pursuit of Perfection |
| O Chicken, Where Art Thou | Teach Me, Great Warrior |
| The Spice of Life | |
Chapter 10 Side Quests
| ▼FF7 Rebirth Chapter 10 Side Quests | |
|---|---|
| Bonds of Trust | Absence of a Sign |
| From Whence Life Flows | Promises to Keep |
Chapter 11 Side Quests
| ▼FF7 Rebirth Chapter 11 Side Quests | |
|---|---|
| Esoteric Secrets of the Elders | My White-Haired Angel |
Chapter 12 Side Quests
| ▼FF7 Rebirth Chapter 12 Side Quests | |
|---|---|
| Hustle and Grind | Beneath Still Waters |
| Tides of War and Worry | Gold Cup or Bust |
| Trouble in Paradise | Sand and Circuses |
| Escape from Endless Writer’s Block | Woodland Vigil |
| Victim of Circumstance | Lament of the Damned |
| Can’t Stop Won’t Stop | |
FF7 Rebirth Strategy Guides

Beginner Guides
| ▼FF7 Rebirth Beginner Guides | |
|---|---|
| Game Controls | Game Difficulty |
| Beginner's Guide: Things to Do First | Best Gameplay Settings |
| Battle System Guide | Permanent Events and Missables |
| Characters List | Stats and Attributes Guide |
| Status Effects List and Guide | How to Recover HP and MP |
| How to Save | How to Fast Travel |
| How to Upgrade Weapons | How to Unlock Skill Cores |
| How to Increase Weapon Ability Slots | How to Unlock Weapon Abilities |
| How to Tame Chocobos | How to Ride Chocobos |
| How to Change Party Members | |
Useful Guides
Relationship Guides (Bonds of Friendship)
| ▼FF7 Rebirth Relationship Guides | |
|---|---|
| Aerith Intimate Date Guide | Tifa Intimate Date Guide |
| Barret Intimate Date Guide | Red XIII Intimate Date Guide |
| Yuffie Intimate Date Guide | |
Chocobo Mounts Guides
FF7 Rebirth Collectibles and Locations Guides
 Final Fantasy 7 Rebirth All Collectibles List and Guide
FF7 Rebirth Boss Guides

| ▼FF7 Rebirth Boss Guides | |
|---|---|
 Materia Guardian Materia Guardian |
 Terror of the Deep Terror of the Deep |
 Phoenix Phoenix |
|
FF7 Rebirth Mini Game Guides

| ▼FF7 Rebirth Mini Game Guides | |
|---|---|
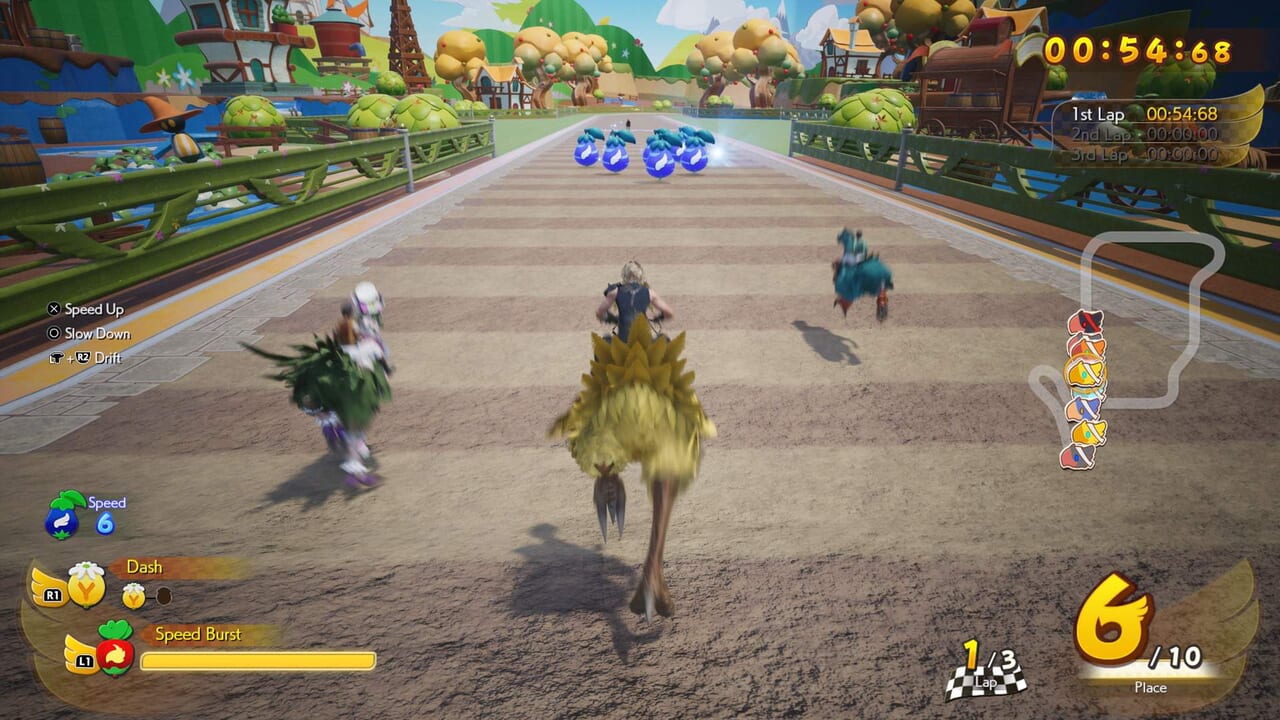 Chocobo Racing Chocobo Racing |
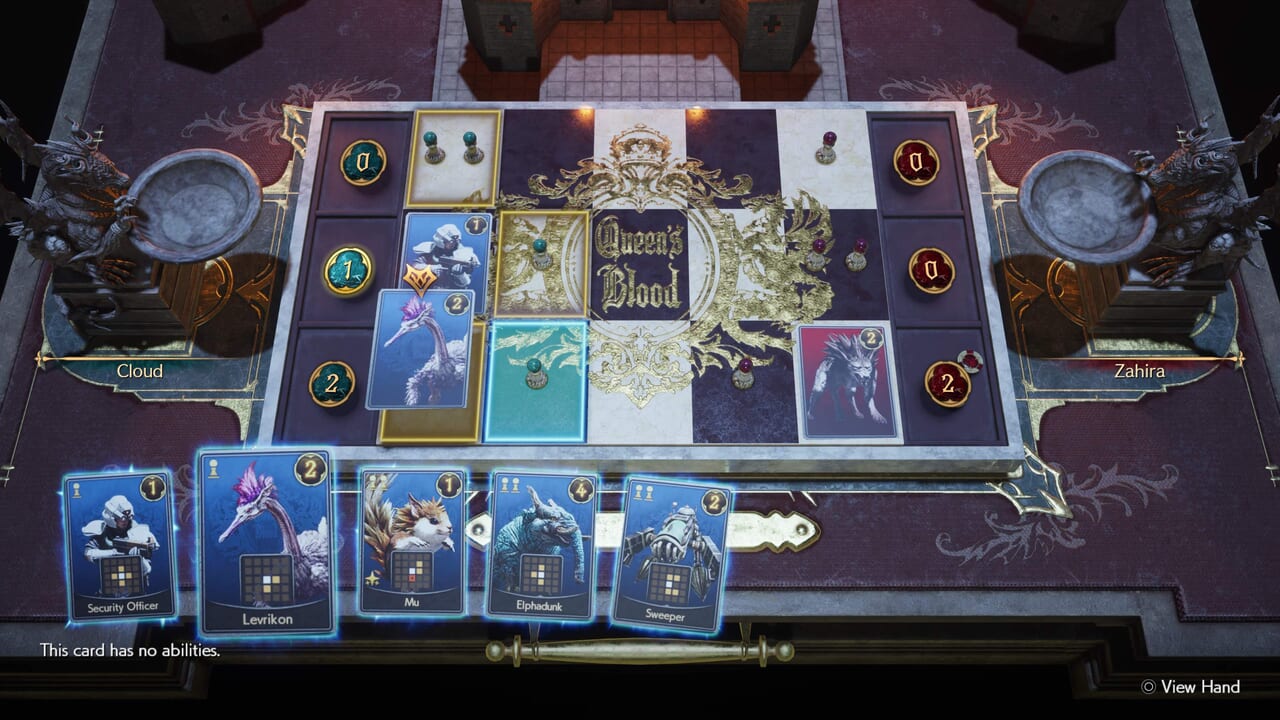 Queen's Blood Queen's Blood |
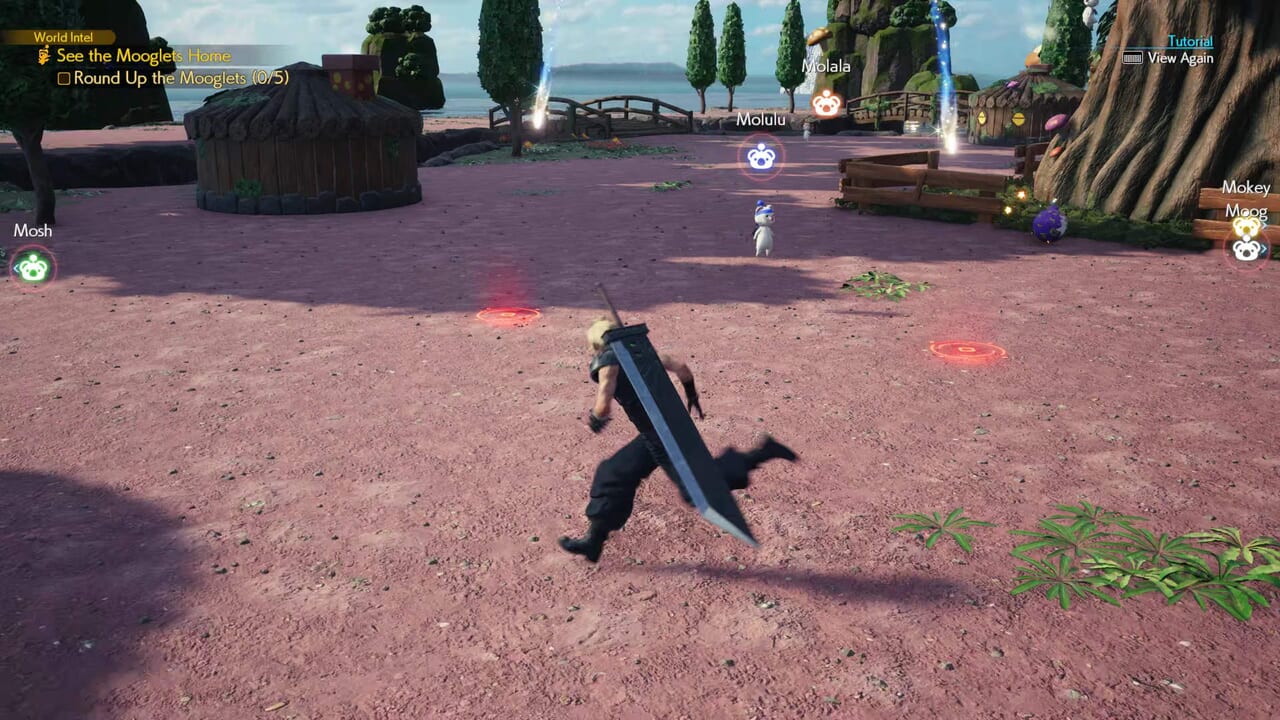 Moogle Mischief Moogle Mischief |
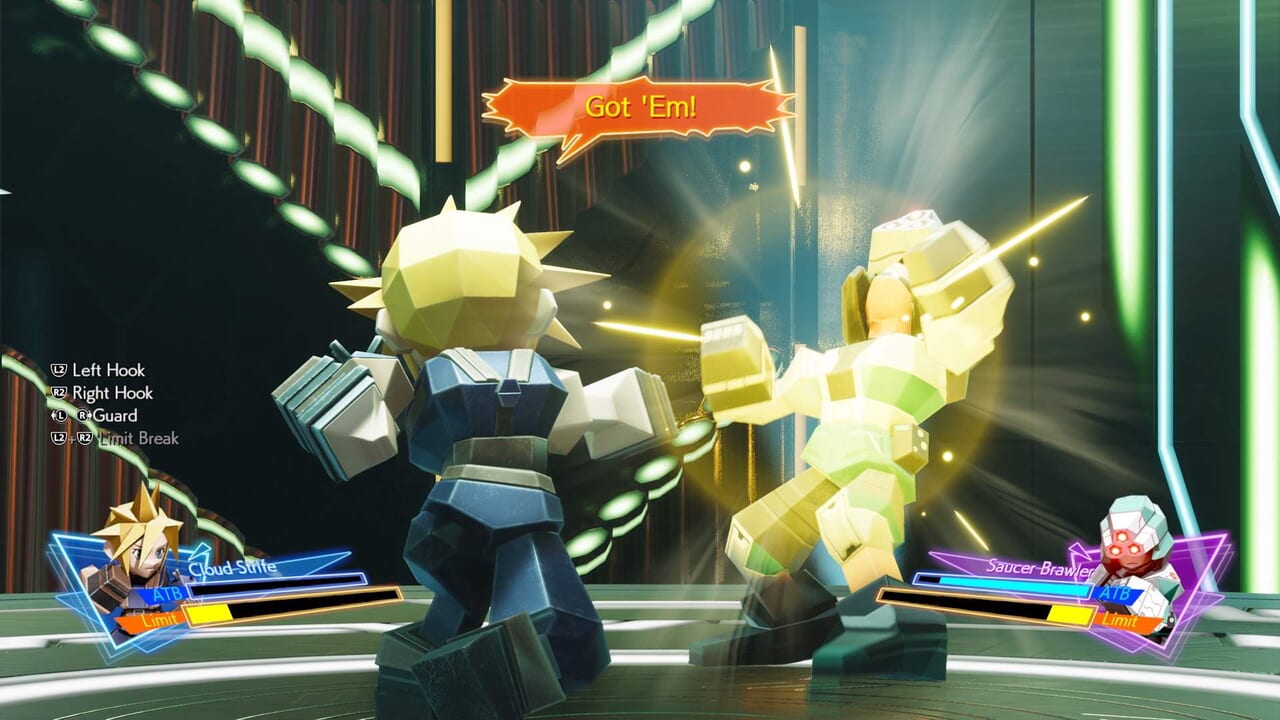 3D Brawler 3D Brawler |
 Piano Mini Game Piano Mini Game |
 G-Bike G-Bike |
 Johnny's Seaside Inn Johnny's Seaside Inn |
 Junon Parade Junon Parade |
 Dolphin Course Dolphin Course |
 Desert Rush (Whack-a-Box) Desert Rush (Whack-a-Box) |
 Run Wild (Soccer) Run Wild (Soccer) |
 Pirate's Rampage Pirate's Rampage |
 Galactic Saviors Galactic Saviors |
|
FF7 Rebirth Summon Guides

New Summons
| ▼FF7 Rebirth New Summons | |
|---|---|
Returning Summons
| ▼FF7 Rebirth Returning Summons | |
|---|---|
FF7 Rebirth Game Database

Equipment
| ▼FF7 Rebirth Equipment Database | |
|---|---|
Materia
| ▼FF7 Rebirth Materia Database | |
|---|---|
Skills and Magic
| ▼FF7 Rebirth Skills and Magic Database | |
|---|---|
| Weapon Abilities | Limit Breaks |
| Synergy Abilities | Synergy Skills |
| Magic | Summons |
FF7 Rebirth Characters

Playable Characters
| ▼FF7 Rebirth Playable Characters | |
|---|---|
Non-Playable Characters
| ▼FF7 Rebirth Non-Playable Characters | |
|---|---|
FF7 Rebirth Pre-Release Information

FF7 Rebirth Demo Walkthrough and Guides

Demo Walkthroughs
| ▼FF7 Rebirth Demo Walkthroughs | |
|---|---|
 Demo Part 1: Nibelheim Demo Part 1: Nibelheim |
 Demo Part 2: Junon Demo Part 2: Junon |
Demo Boss Guides
| ▼FF7 Rebirth Demo Boss Guides | |
|---|---|
| Materia Guardian |
Terror of the Deep |
| Phoenix |
|
Demo Useful Guides
FF7 Rebirth Game Forum

| ▼FF7 Rebirth Game Forum | |
|---|---|
| Chat Board | Question Board |
| Bug Report Board | |
Other FF7 Game Walkthroughs

| ▼FF7 Game Guides | |
|---|---|
| Final Fantasy 7 | Final Fantasy 7 Remake Intergrade |
| Crisis Core: Final Fantasy 7 Reunion | |
Leave a Reply