
Plumose Rod Weapon Location and Abilities Guide for Final Fantasy 7 Rebirth (FF7 Rebirth)
This page contains a guide on the Plumose Rod in Final Fantasy 7 Rebirth (FF7 Rebirth), including how to get the Plumose Rod, weapon location, crafting materials (transmutation), stats, abilities, proficiency bonus, materia slots, and other useful information.
Plumose Rod Weapon Stats
| Weapon Name | Type | User |
|---|---|---|
| Plumose Rod | Staves | Aerith Gainsborough |
| Attack | Magic Attack | Abilities |
| 49 | 143 | Ray of Judgement |
| Proficiency Bonus | ||
| Strike a staggered enemy. | ||
| Materia Slots | ||
| 6 (1 Link) | ||
Final Fantasy 7 Rebirth Weapons List and Locations
Plumose Rod Weapon Abilities
| Ability | Effect |
|---|---|
| Ray of Judgement | Fire an energy burst that hits multiple times. Increased stagger damage bonus. |
How to Get Plumose Rod (Location)
Open the treasure chest inside the Simulator Control Room on Mako Research Facility Section X in Shinra Manor.
The Plumose Rode can be obtained by opening the purple-lit treasure chest inside the Simulator Control Room of the Shinra Manor’s Mako Research Facility, Section X. However, you must first complete Odd Job: Lament of the Damned and all of the Hojo Exams in the Mako Research Combat Simulator to unlock the treasure chest’s location. You can accept Odd Job: Lament of the Damned at the Community Noticeboard of Nibelheim as soon as you begin Chapter 12.
How to Craft Plumose Rod (Transmutation)
The Plumose Rod can be craft at Craftsmanship Level ? using the materials listed below.
| Material | Required Number |
|---|---|
| ? | To be confirmed. |
Plumose Rod Weapon Description
“A bewitching staff decorated with the feathers of a bird known for its beautiful song.”
Final Fantasy 7 Rebirth Recommended Article List
FF7 Rebirth Chapter Walkthroughs
 Final Fantasy 7 Rebirth All Chapter Walkthroughs List
FF7 Rebirth Side Quests (Odd Jobs)

Chapter 2 Side Quests
| ▼FF7 Rebirth Chapter 2 Side Quests | |
|---|---|
| Flowers from the Hill | Livestock’s Bane |
| Lifeline in Peril | Where the Wind Blows |
| A Rare Card Lost | |
Chapter 4 Side Quests
| ▼FF7 Rebirth Chapter 4 Side Quests | |
|---|---|
| Stuck in a Rut | When Words Won’t Do |
| The Hardest Sell | Dreaming of Blue Skies |
| Calling All Frogs | |
Chapter 7 Side Quests
| ▼FF7 Rebirth Chapter 7 Side Quests | |
|---|---|
| The Saga of the Seaside Inn | Rendezvous in Costa del Sol |
| Bodybuilders in a Bind | Of Robed Men and Ransoms |
Chapter 9 Side Quests
| ▼FF7 Rebirth Chapter 9 Side Quests | |
|---|---|
| Missing: Mr. Birdie | The Pursuit of Perfection |
| O Chicken, Where Art Thou | Teach Me, Great Warrior |
| The Spice of Life | |
Chapter 10 Side Quests
| ▼FF7 Rebirth Chapter 10 Side Quests | |
|---|---|
| Bonds of Trust | Absence of a Sign |
| From Whence Life Flows | Promises to Keep |
Chapter 11 Side Quests
| ▼FF7 Rebirth Chapter 11 Side Quests | |
|---|---|
| Esoteric Secrets of the Elders | My White-Haired Angel |
Chapter 12 Side Quests
| ▼FF7 Rebirth Chapter 12 Side Quests | |
|---|---|
| Hustle and Grind | Beneath Still Waters |
| Tides of War and Worry | Gold Cup or Bust |
| Trouble in Paradise | Sand and Circuses |
| Escape from Endless Writer’s Block | Woodland Vigil |
| Victim of Circumstance | Lament of the Damned |
| Can’t Stop Won’t Stop | |
FF7 Rebirth Strategy Guides

Beginner Guides
| ▼FF7 Rebirth Beginner Guides | |
|---|---|
| Game Controls | Game Difficulty |
| Beginner's Guide: Things to Do First | Best Gameplay Settings |
| Battle System Guide | Permanent Events and Missables |
| Characters List | Stats and Attributes Guide |
| Status Effects List and Guide | How to Recover HP and MP |
| How to Save | How to Fast Travel |
| How to Upgrade Weapons | How to Unlock Skill Cores |
| How to Increase Weapon Ability Slots | How to Unlock Weapon Abilities |
| How to Tame Chocobos | How to Ride Chocobos |
| How to Change Party Members | |
Useful Guides
Relationship Guides (Bonds of Friendship)
| ▼FF7 Rebirth Relationship Guides | |
|---|---|
| Aerith Intimate Date Guide | Tifa Intimate Date Guide |
| Barret Intimate Date Guide | Red XIII Intimate Date Guide |
| Yuffie Intimate Date Guide | |
Chocobo Mounts Guides
FF7 Rebirth Collectibles and Locations Guides
 Final Fantasy 7 Rebirth All Collectibles List and Guide
FF7 Rebirth Boss Guides

| ▼FF7 Rebirth Boss Guides | |
|---|---|
 Materia Guardian Materia Guardian |
 Terror of the Deep Terror of the Deep |
 Phoenix Phoenix |
|
FF7 Rebirth Mini Game Guides

| ▼FF7 Rebirth Mini Game Guides | |
|---|---|
 Chocobo Racing Chocobo Racing |
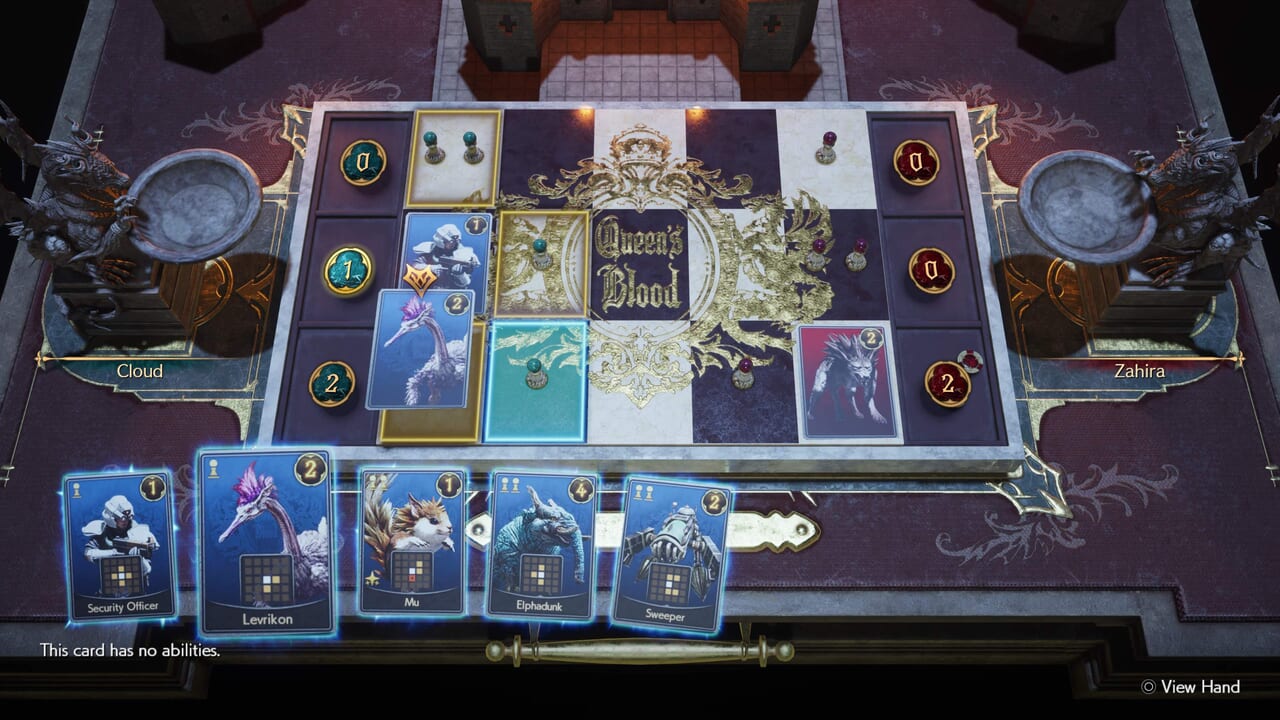 Queen's Blood Queen's Blood |
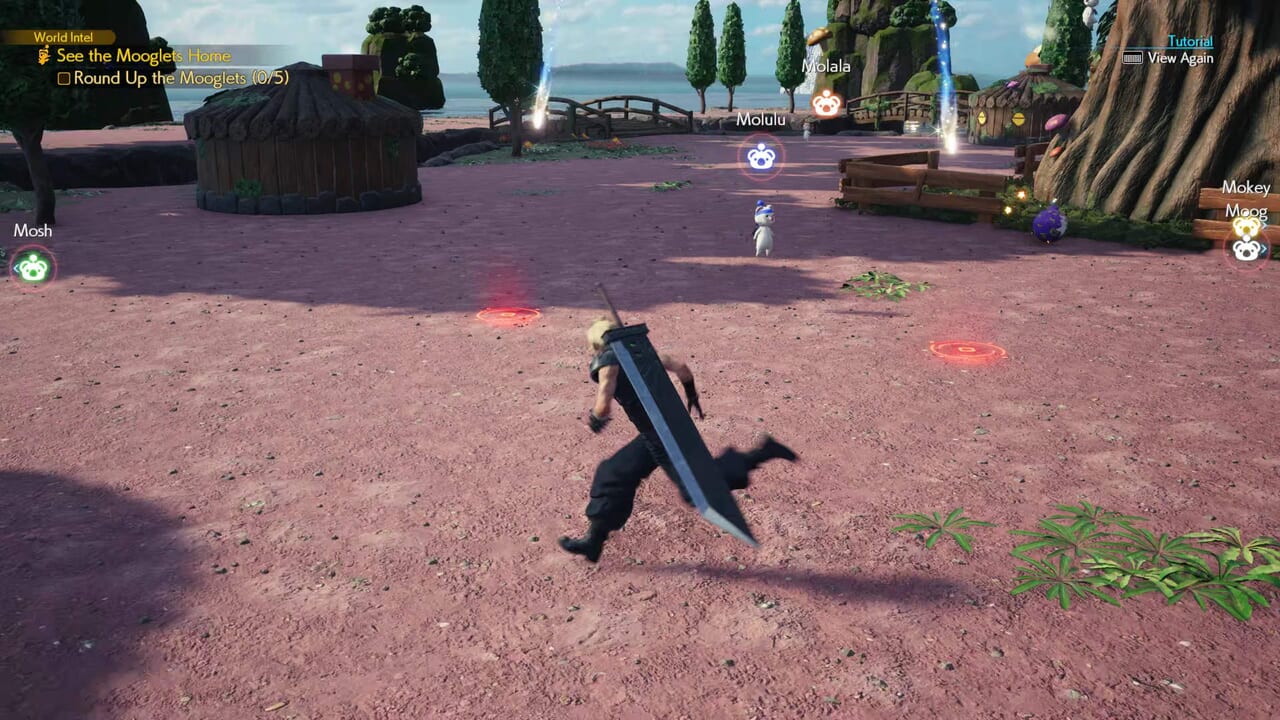 Moogle Mischief Moogle Mischief |
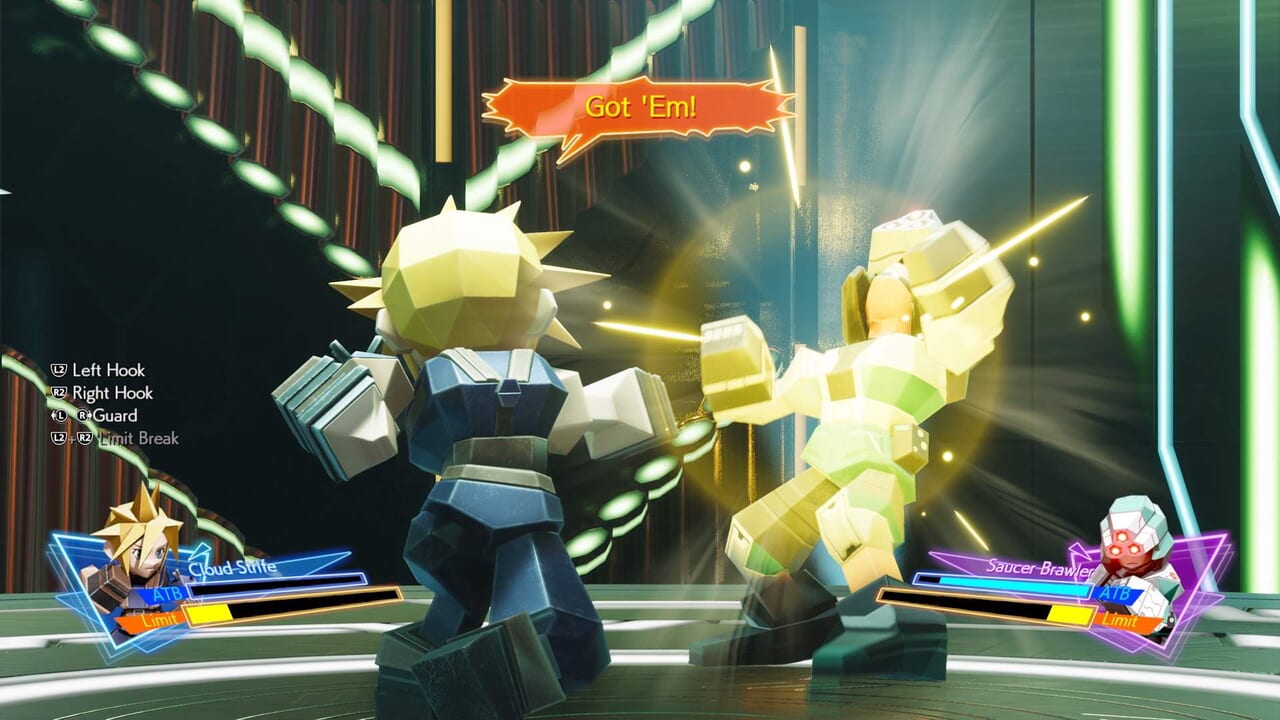 3D Brawler 3D Brawler |
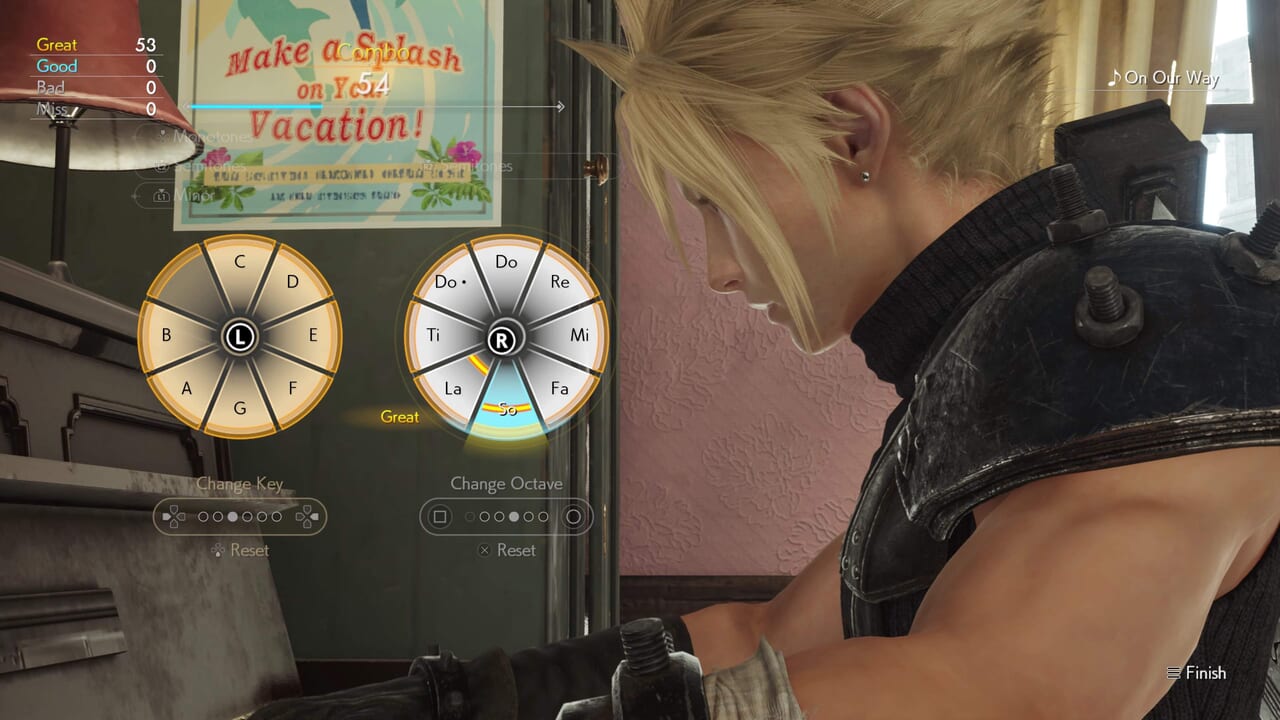 Piano Mini Game Piano Mini Game |
 G-Bike G-Bike |
 Johnny's Seaside Inn Johnny's Seaside Inn |
 Junon Parade Junon Parade |
 Dolphin Course Dolphin Course |
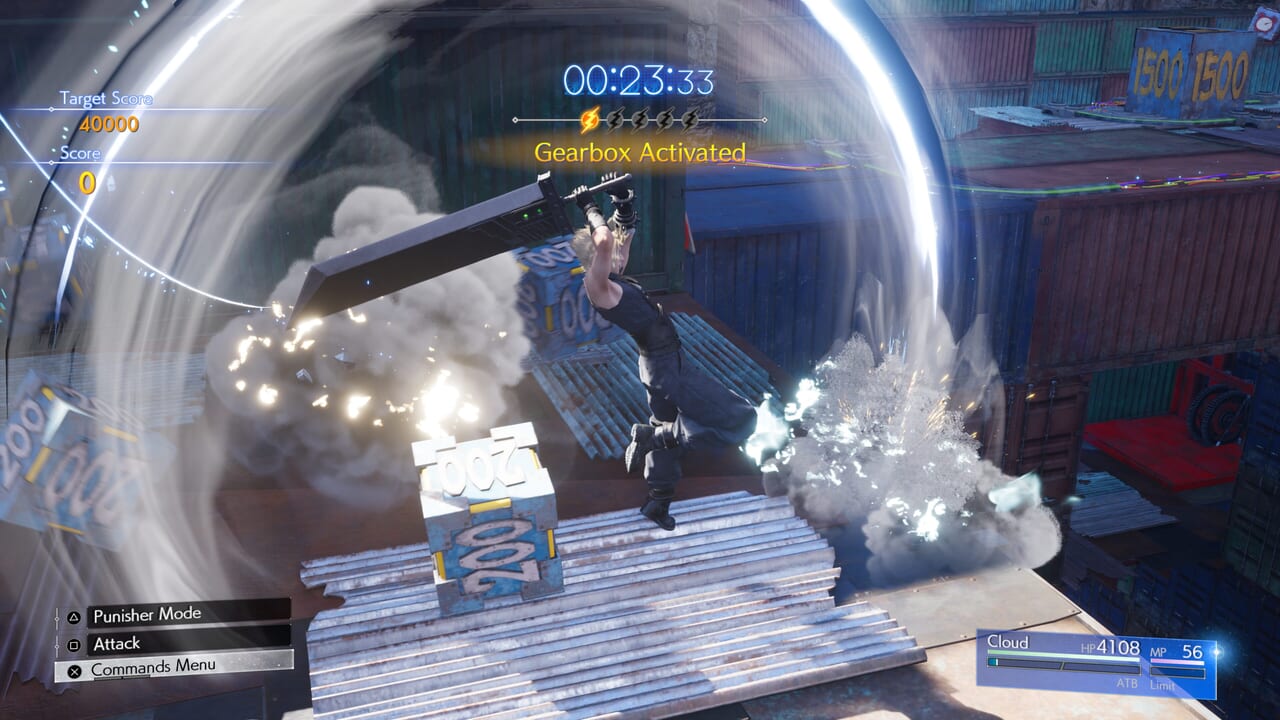 Desert Rush (Whack-a-Box) Desert Rush (Whack-a-Box) |
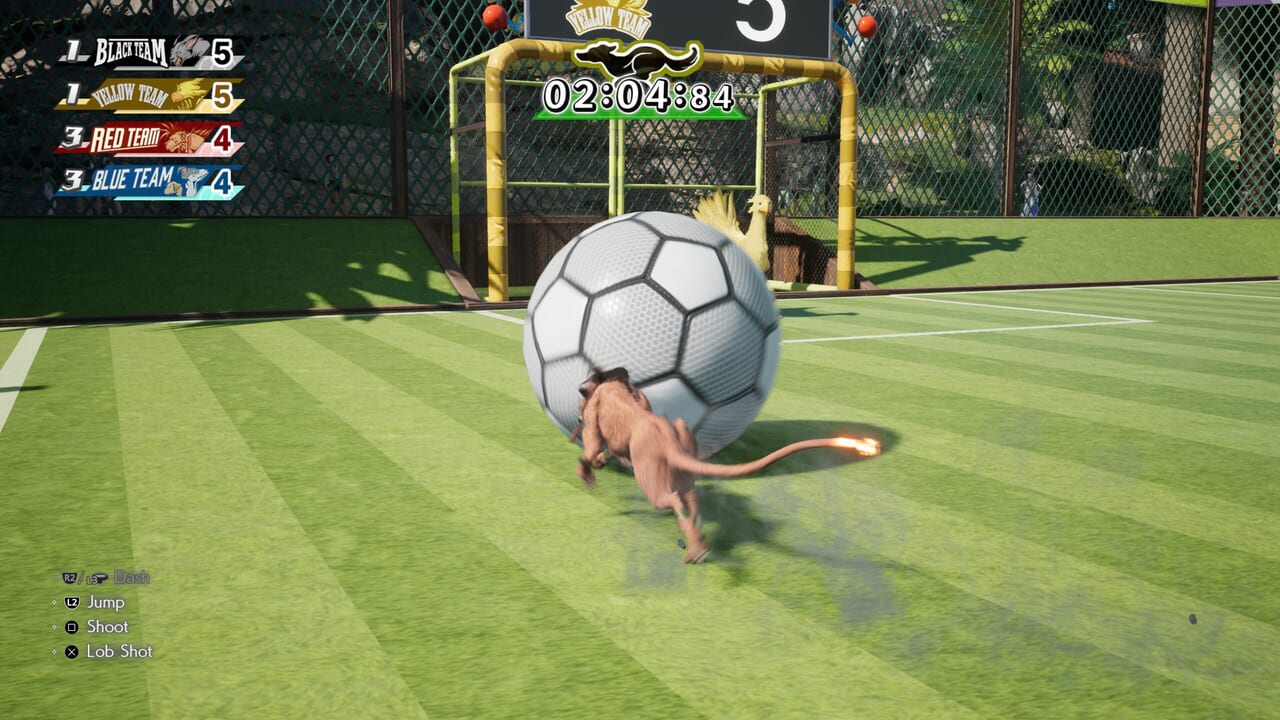 Run Wild (Soccer) Run Wild (Soccer) |
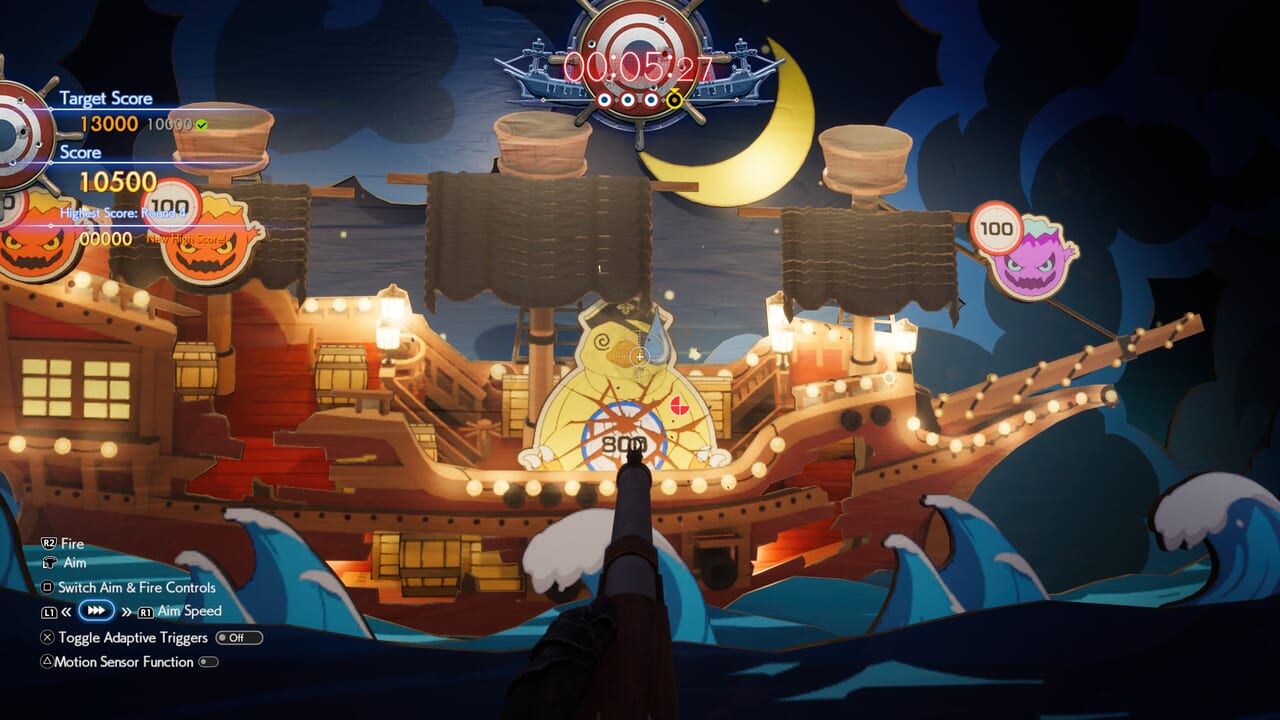 Pirate's Rampage Pirate's Rampage |
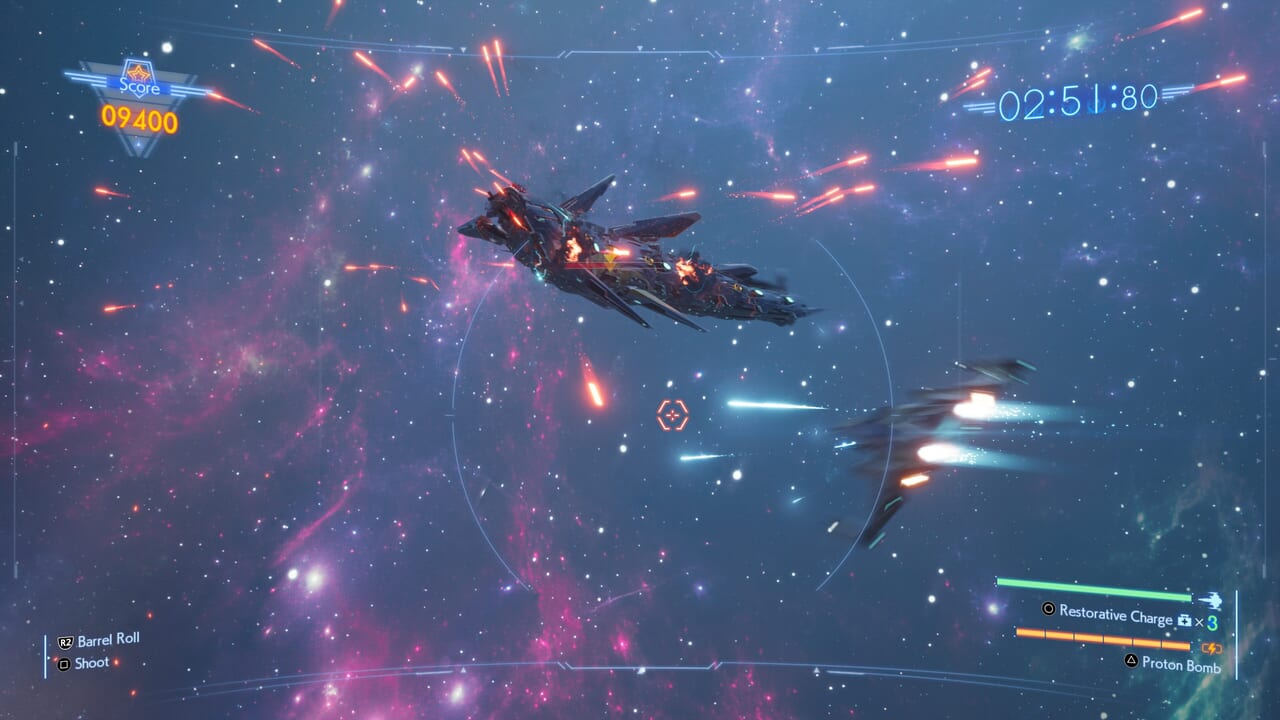 Galactic Saviors Galactic Saviors |
|
FF7 Rebirth Summon Guides

New Summons
| ▼FF7 Rebirth New Summons | |
|---|---|
Returning Summons
| ▼FF7 Rebirth Returning Summons | |
|---|---|
FF7 Rebirth Game Database

Equipment
| ▼FF7 Rebirth Equipment Database | |
|---|---|
Materia
| ▼FF7 Rebirth Materia Database | |
|---|---|
Skills and Magic
| ▼FF7 Rebirth Skills and Magic Database | |
|---|---|
| Weapon Abilities | Limit Breaks |
| Synergy Abilities | Synergy Skills |
| Magic | Summons |
FF7 Rebirth Characters

Playable Characters
| ▼FF7 Rebirth Playable Characters | |
|---|---|
Non-Playable Characters
| ▼FF7 Rebirth Non-Playable Characters | |
|---|---|
FF7 Rebirth Pre-Release Information

FF7 Rebirth Demo Walkthrough and Guides

Demo Walkthroughs
| ▼FF7 Rebirth Demo Walkthroughs | |
|---|---|
 Demo Part 1: Nibelheim Demo Part 1: Nibelheim |
 Demo Part 2: Junon Demo Part 2: Junon |
Demo Boss Guides
| ▼FF7 Rebirth Demo Boss Guides | |
|---|---|
 Materia Guardian Materia Guardian |
 Terror of the Deep Terror of the Deep |
 Phoenix Phoenix |
|
Demo Useful Guides
FF7 Rebirth Game Forum

| ▼FF7 Rebirth Game Forum | |
|---|---|
| Chat Board | Question Board |
| Bug Report Board | |
Other FF7 Game Walkthroughs

| ▼FF7 Game Guides | |
|---|---|
| Final Fantasy 7 | Final Fantasy 7 Remake Intergrade |
| Crisis Core: Final Fantasy 7 Reunion | |

 Ch. 1: Fall of a Hero
 Ch. 2: A New Journey Begins
 Ch. 3: Deeper into Darkness
 Ch. 4: Dawn of a New Era
 Ch. 5: Blood in the Water
 Ch. 6: Fool's Paradise
 Ch. 7: Those Left Behind
 Ch. 8: All that Glitters
 Ch. 9: The Planet Stirs
 Ch. 10: Watcher of the Vale
 Ch. 11: The Long Shadow of Shinra
 Ch. 12: A Golden Key
 Ch. 13: Where Angels Fear to Tread
 Ch. 14: End of the World
Leave a Reply